Sewing mens jeans is one of the most rewarding projects because it combines my favorite things: raw denim, top stitching, selfless sewing, and my newly acquired vintage sewing machine. Sewing mens jeans on a vintage machine is a far superior experience to what I’ve experienced in the past. My other machine is a modern cheap Singer. It just can’t handle sewing through thick denim like my vintage Singer can. I’ll break down the fitting process for mens jeans, some top stitching tips, and some golden hour photos of my husband-turned-personal-model.
The Details
- Pattern is hybrid of modified Morgan Jeans by Closet Case Patterns and Levi’s 511 jeans
- My entire fleet of sewing machines were used: Singer Promise II, vintage Singer 603 Touch’n’Sew, and Juki MO654DE serger lovingly nicknamed the Juke Jam.
- Modifications for length, deeper pocket bags, wider pocket openings, and straight selvedge edge
- Raw selvedge denim from Denver Fabrics
- Tex 60 top stitching thread in Gabardine and Rust colors from Wawak
- Buttons and rivets from Citron Jeans
Vintage Singer 603, A Workhorse
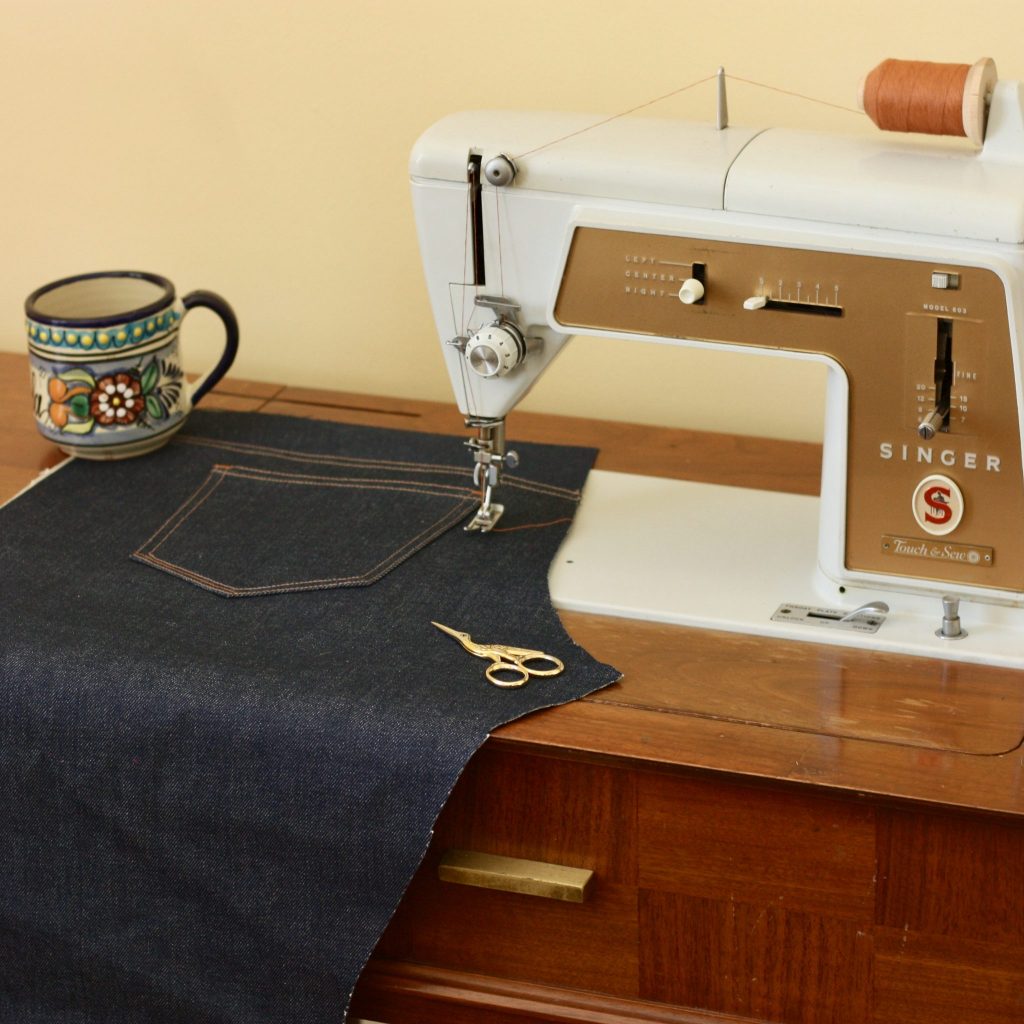
Before finding this machine at the thrift store, I had sewn everything I’ve made on an entry level Singer Promise II that you can get from a big box store for around $100. I didn’t know how incapable that machine was on denim until I used this vintage machine. It’s just like that one time when I was a bike commuter on an old Schwinn that rode like a tank. I just didn’t know how much easier riding could be on a better bike. I’ll never forget the day my now-husband gave me a Surly steel bike and I glided around the neighborhood amazed at how good it could get. This vintage Singer showed me how much nicer sewing denim can be. The parts are all metal, and I found it from a local thrift store with the original mid-century style table for $30. I’m sure I’ll be singing a different tune if I ever splurge on a fancy Bernina or something, but until then… this baby is doing a great job.
I sew the construction seams on the modern Singer. It’s completely adequate when sewing two layers of denim together. It also makes sewing jeans much more efficient because you don’t have to rethread the machine to switch between construction thread and top stitching thread over and over. I use the vintage Singer for top stitching only, because she can sew much better through 3+ layers of denim.
Modifications for Men’s Jeans Using a Women’s Pattern
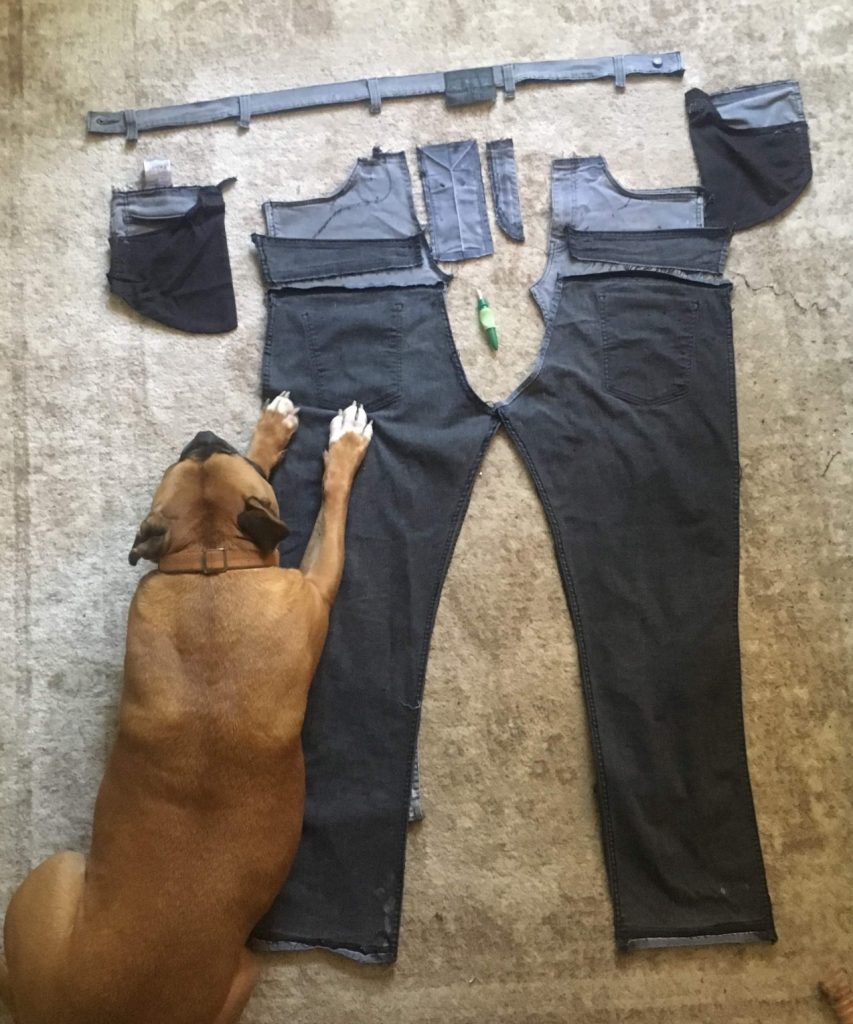
Nick took a pair of his old Levi’s 511 Jeans to compare with the Morgan Jeans Pattern. He put the seam ripper to work and deconstructed all the pattern pieces and laid them over the Morgan Jeans Pattern. The pattern was pretty similar, so he used the crotch curve from the 511 jeans, and kept the other elements from the Morgan Jeans. He traced his own pattern and learned a lot in the process. He said, “Wow, so you could spend just as much if not more time preparing the pattern, adjustments, and fabric than you actually spend sewing.” Bingo!
Adjusting the Pattern for Selvedge Edge
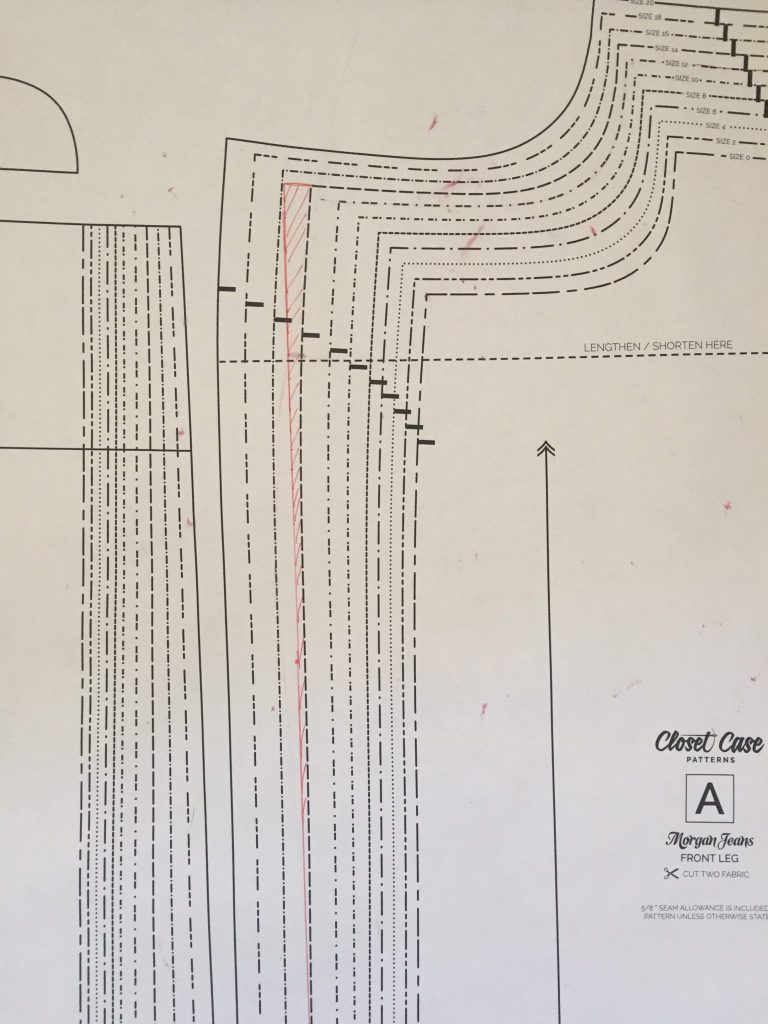
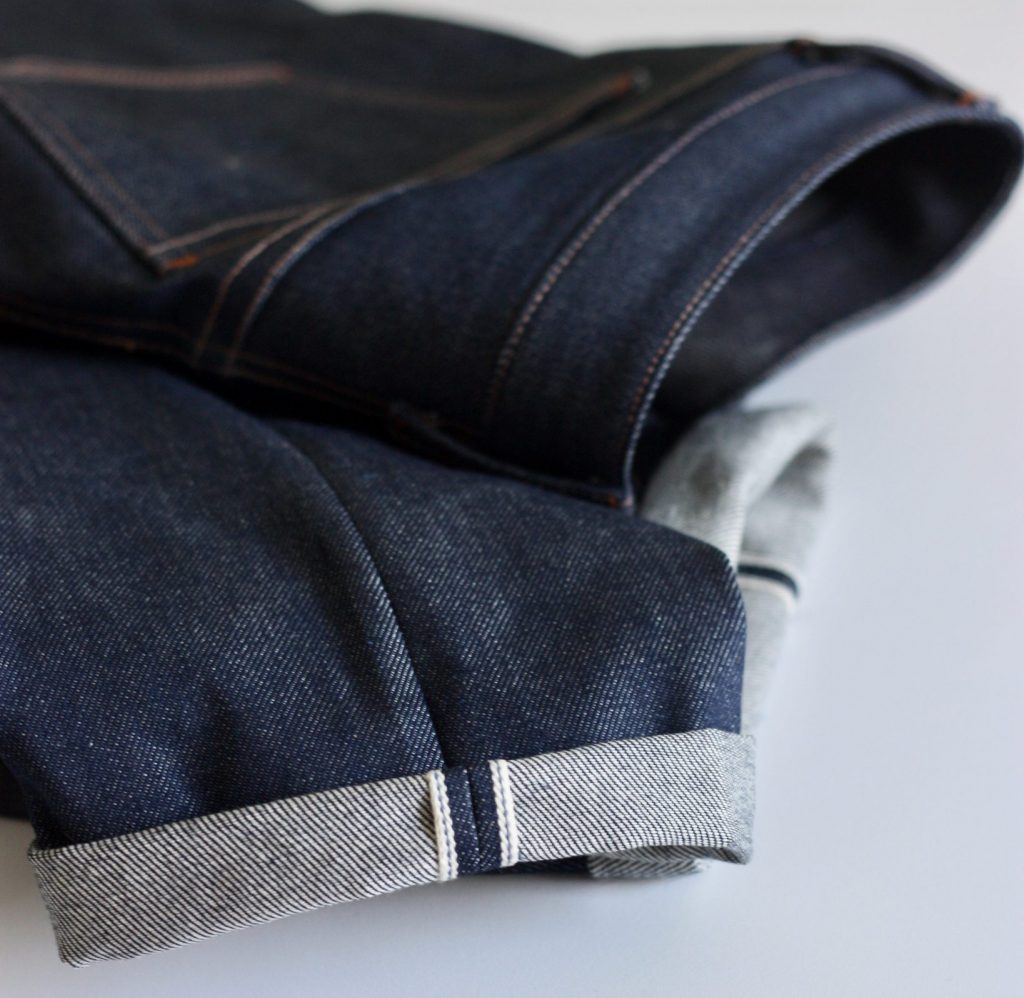
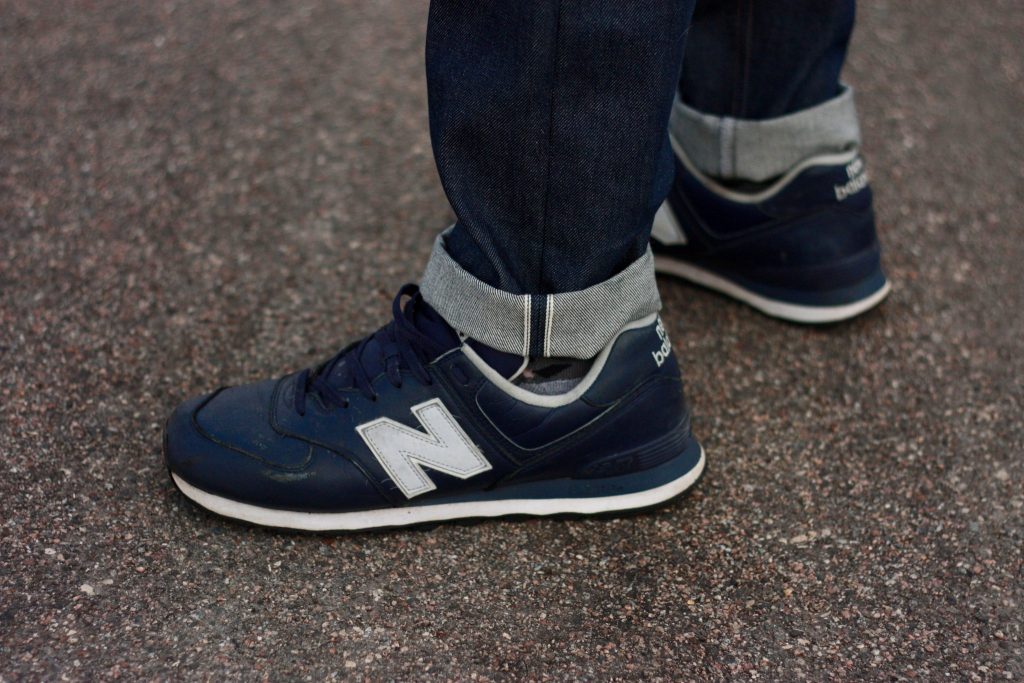
The selvedge edge of the denim is that beautiful white stripe that peeks out when you roll the hem of your jeans. I totally spy on rolled up jeans in public to see if they are selvedge. I’m pretty sure Nick does too. His new dream is to have a modest-size closet full of selvedge jeans. The Morgan Jeans pattern has a side seam with a gentle curve, so it technically doesn’t work for the straight selvedge edge. In the image above, you can see in red how I straightened out the hip curve to make it work for selvedge. For a size 14, I straightened the side seam from the knee up to the waist. You could cut into the hip, but since Nick’s figure isn’t very curvy, I kept it a straight edge up to the waistline. Doing this does affect the grain line, so if you try this yourself, try to find a happy medium between the selvedge and the grain line.
Modifying Pocket Bags
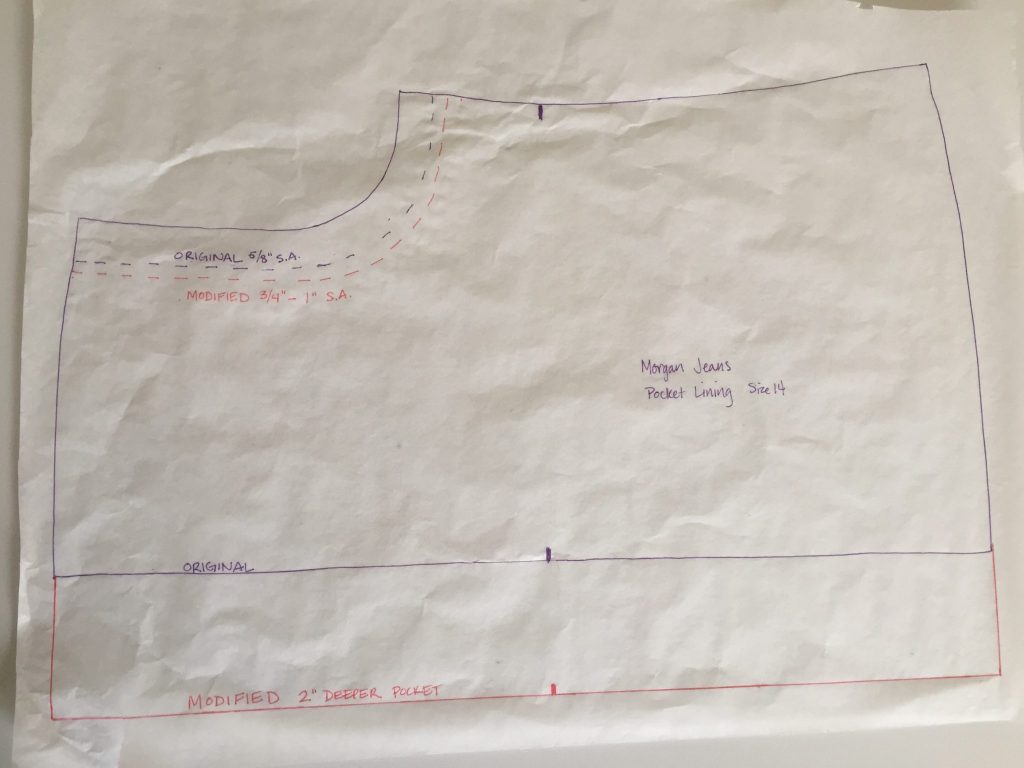
In the image above you can see the original pocket lining pattern piece in purple ink. In sewing mens jeans, I lengthen the pocket by 2″, as seen in red ink. I also increased the seam allowance of the pocket opening curve to be around 3/4″ to 1″. Not exactly sure how much I did, because I started with the original 5/8″ seam allowance and then realized that is a pretty small opening for his big hands, so I went back and increased the seam allowance to give him more room. You can baste and check the size of the opening before you top stitch.
Top Stitching Back Pockets
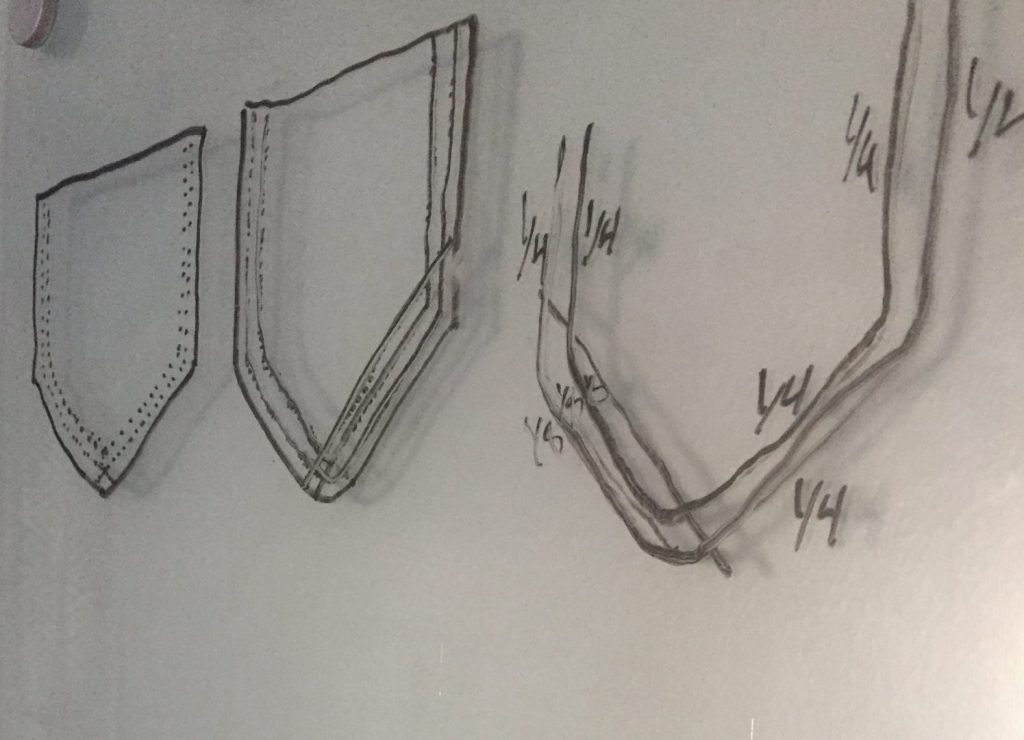
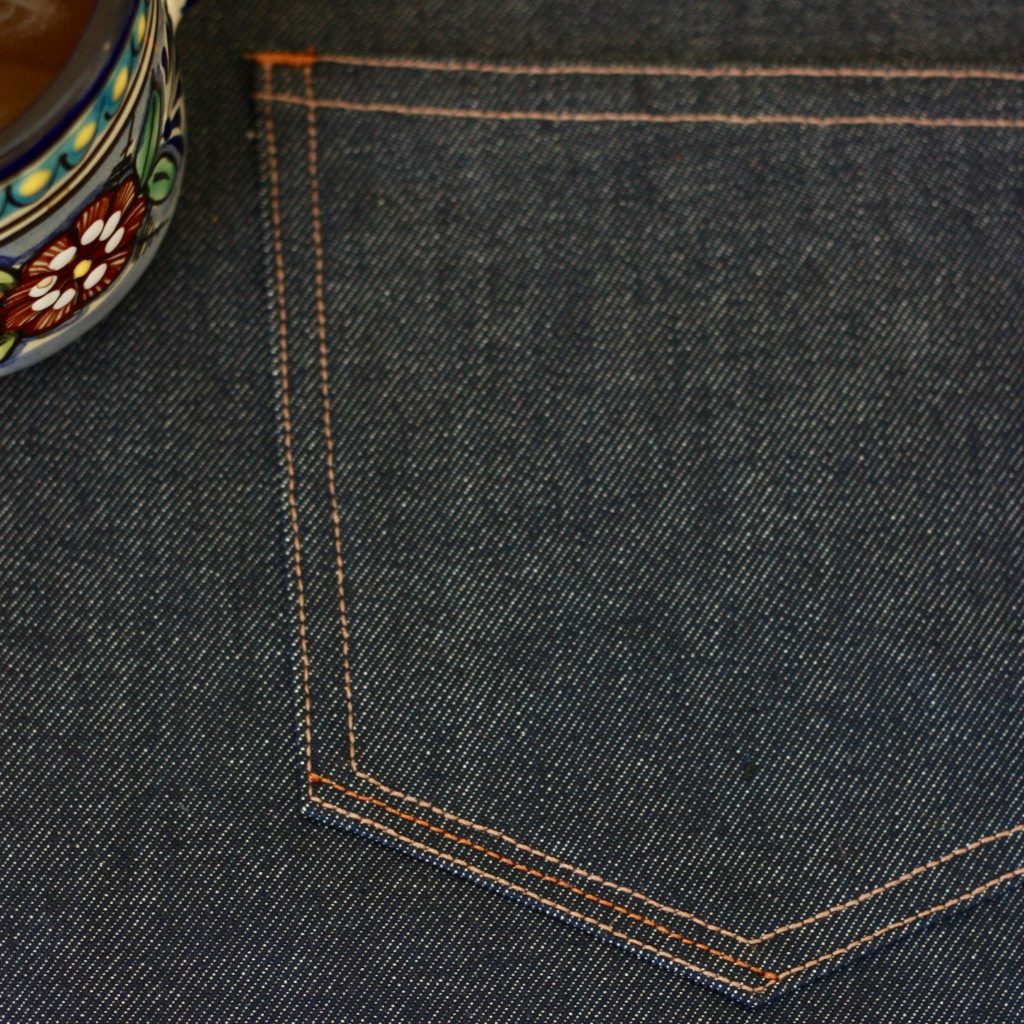
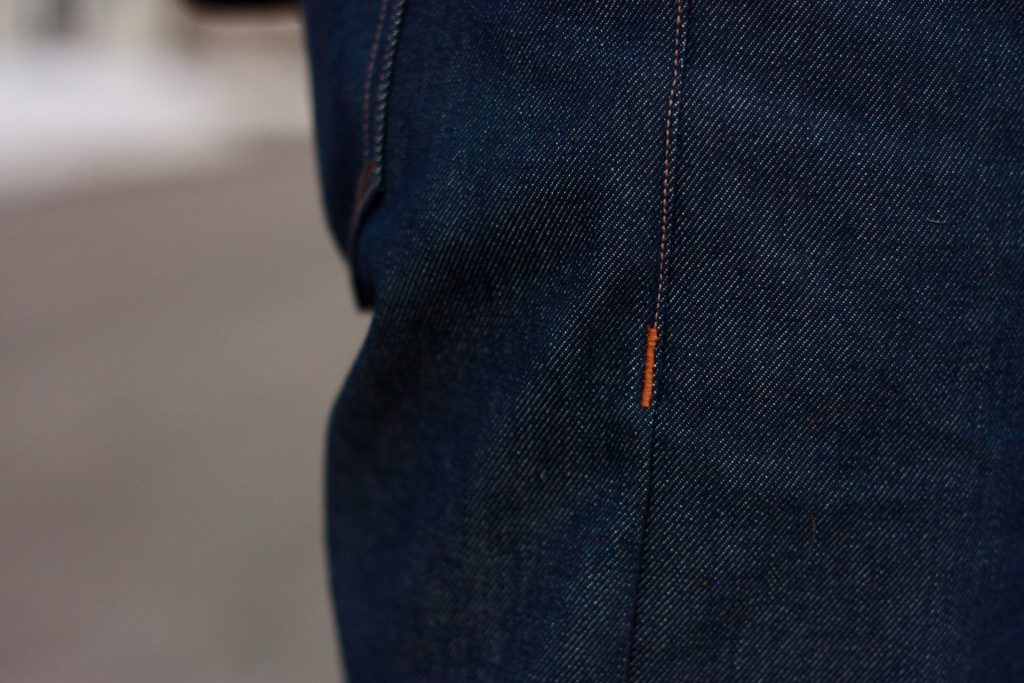
We have a glass dry-erase board that we usually use for to-do’s and lists, but it sure came in handy when we were discussing back pocket top stitching design. Nick sketched some ideas out and you can see my interpretation below.
Top stitching tips
- Practice on scraps! Replicate the same number of layers and any curves.
- Use quality top stitching thread and play with contrast colors.
- Use regular thread in the bobbin, matching the wrong side of the fabric. I used navy blue.
- Hand crank over thick spots if you need to.
- The Jean-a-ma-Jig is your friend!
- For your second row of top stitching, use the edge of your presser foot as a guide. On a regular presser foot, this puts your two rows of top stitching 1/4″ apart.
- Most importantly, give yourself some grace. Little mistakes are ok and a nice reminder that you are freaking making jeans yourself!
Use the Selvedge Creatively
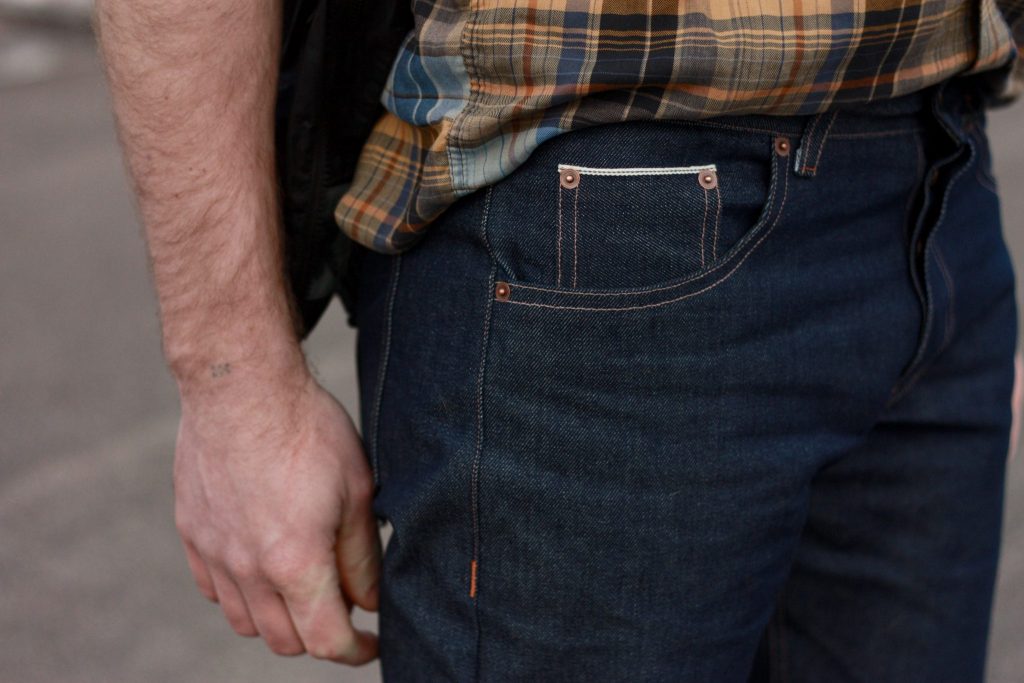
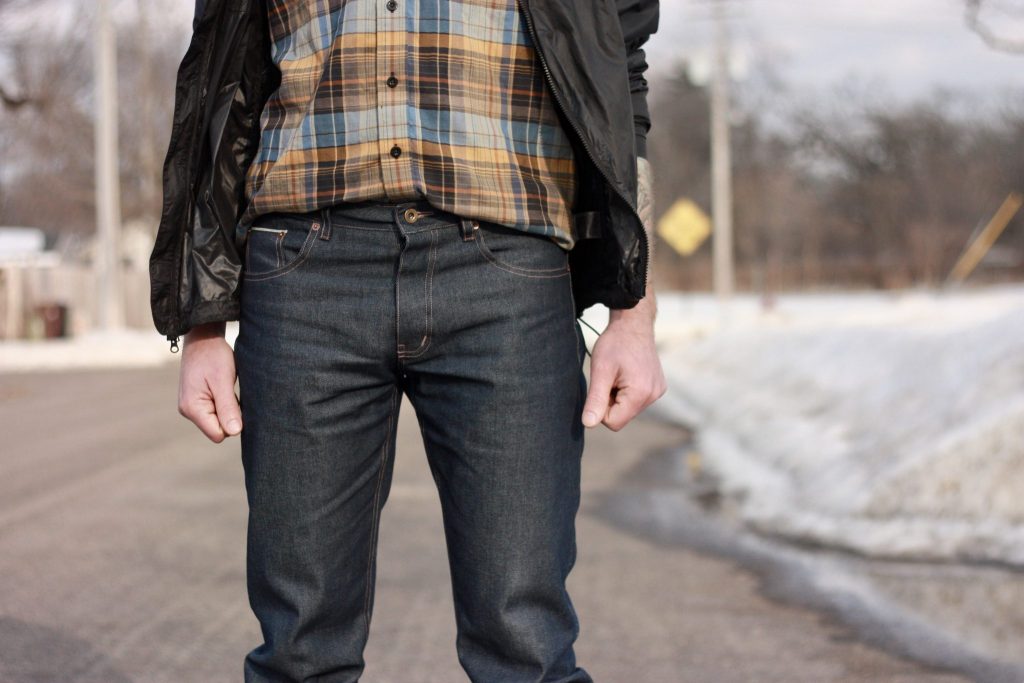
Think about where you can feature the beautiful selvedge edge elsewhere on the jeans. Here we decided to cut the coin pocket on the selvedge. I’ve seen jeans that use the selvedge on the belt loops or back pockets too. It makes for a fun and easy custom detail. These rivets come from Citron Jeans, who have a shop on Etsy.
Skinny Selvedge
The first time he tried on his jeans, the ankle hole was a bit too tight for his feet. He could get them on with a good pull, but it took both of us and some serious wrestling to get them back off! I let out the side seams along the selvedge edge to about 3/8″. This gave the legs a more relaxed fit. More importantly, it made the ankle hole big enough to comfortably put these on and take them off.
Heart Eyes for my Jeans Model
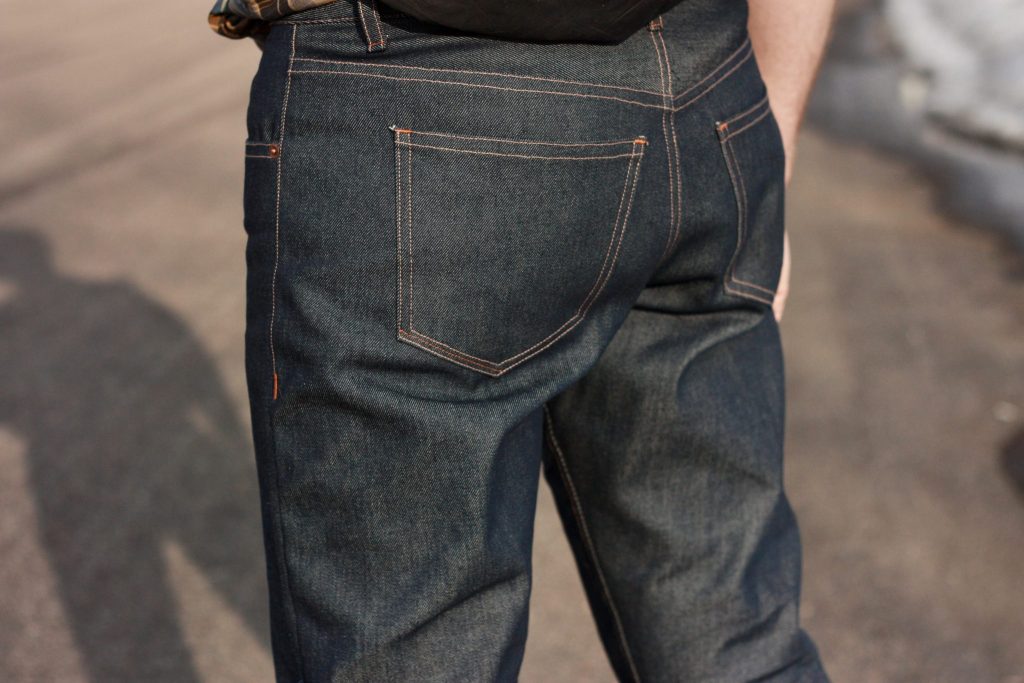
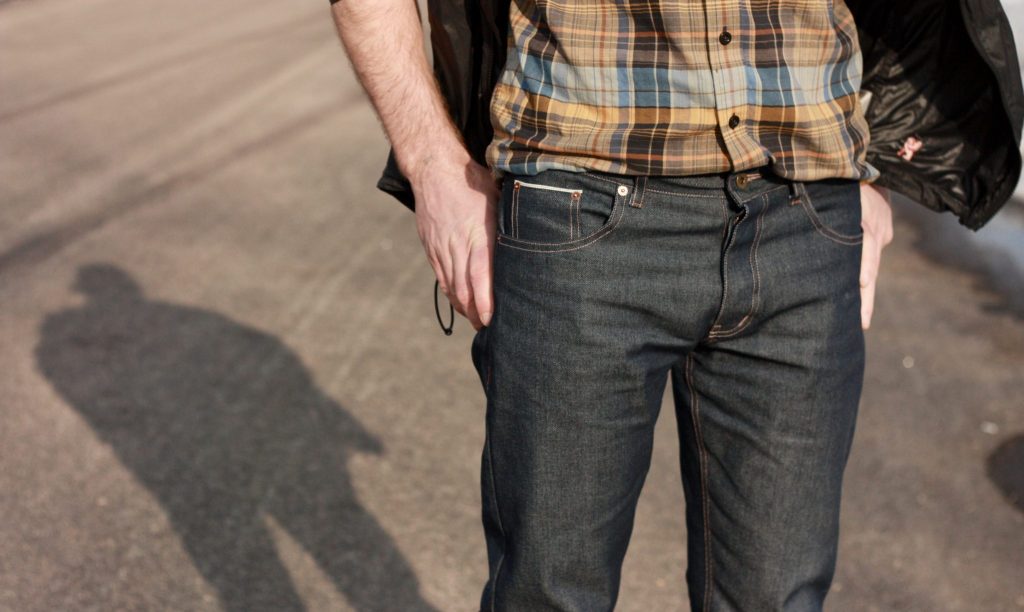
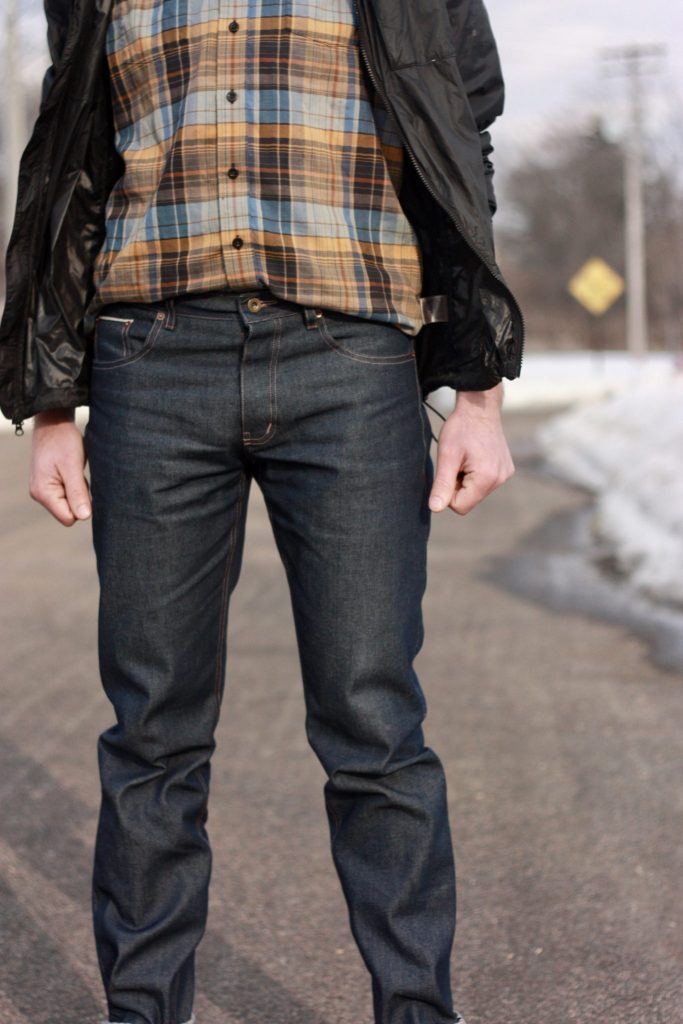
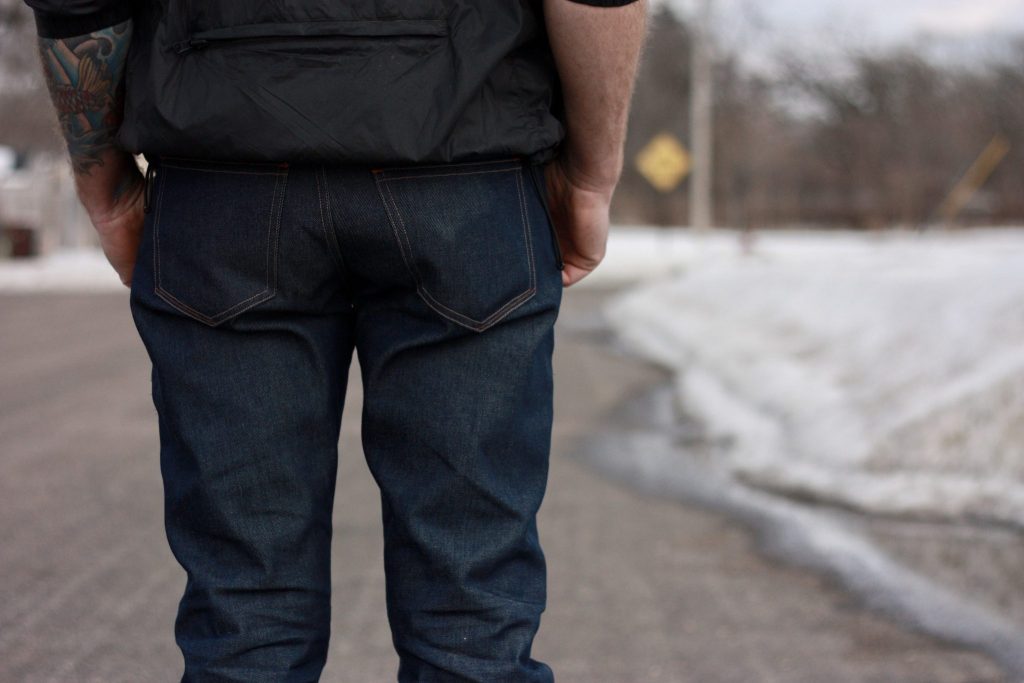
I’m really proud of the craftsmanship on these jeans. I kind of wish they were mine. The process gets easier each time, and I definitely get more confident in my abilities. Sewing mens jeans for another person in your life will not only make them feel so special, but also give you a chance to practice and try out some techniques before you make a “real” pair for yourself. Ha! I feel a huge sense of pride seeing him in these jeans. These will fade over time and I can’t wait to see how they age.


LOVE these 😍 one day (hopefully not *too* far off) I’m gonna make the husbeast some jeans, and if they are half as good as these I’ll be super stoked 🙌🏻
Thanks so much for writing such a detailed, thorough post – I really enjoyed reading it!
Thank you, friend! I love the husbeast nickname! Since this is my third pair for him, I’ve got some blog posts in the queue to write about his first two pairs. Stay tuned as there may be some more helpful info for your next project!!
Awesome! I will be keeping your tips in mind – finally got my guy to agree to let me make him raw denim jeans for his birthday 🙃
Woohoo! How fun and what a great gift. I’m notorious for finishing a project for my husband *just* before a gift-worthy holiday. His birthday is around the corner and I should have saved these… now to rush to make something else!
Gorgeous work! I especially love the red accents. The topstitching is top notch 😉
Thank you – very proud of this round of topstitching! 🙂
Great job! Thanks for sharing!
Thank you so much, Kim!
Pingback: Custom McCall's M6044 Mens Shirt - SewNorth - Sewing for Men
Wow many many thanks for your tips. In this article all your tips are very helpful. I’m always finding difficulties to buying my jeans . You tell very think very much clearly in this article. You also give the measurement which is great. Thanks again for your tips.