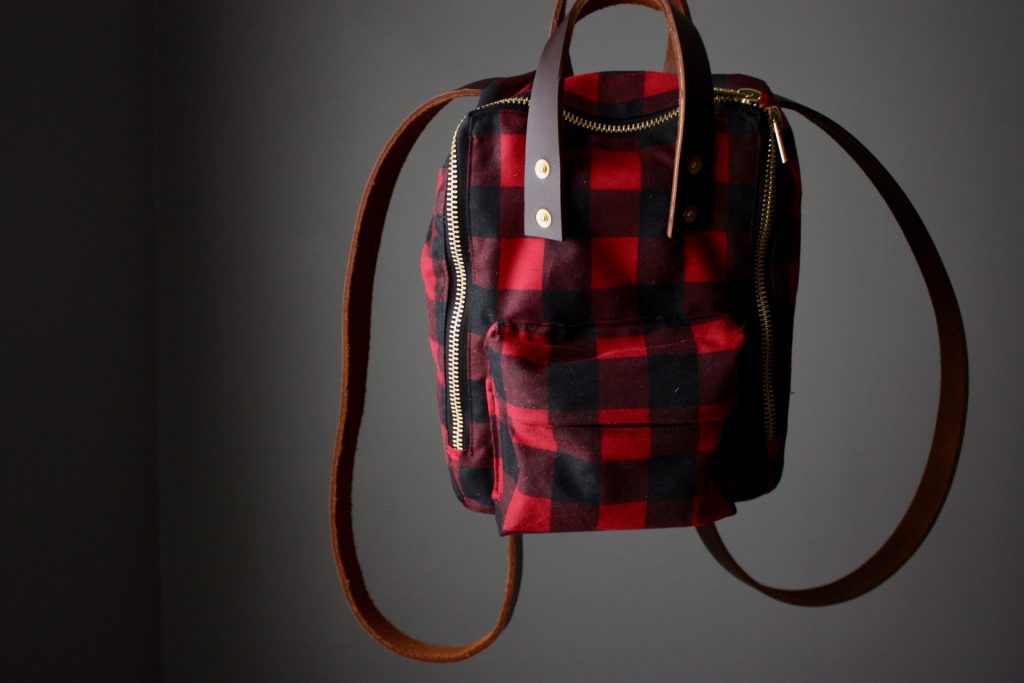
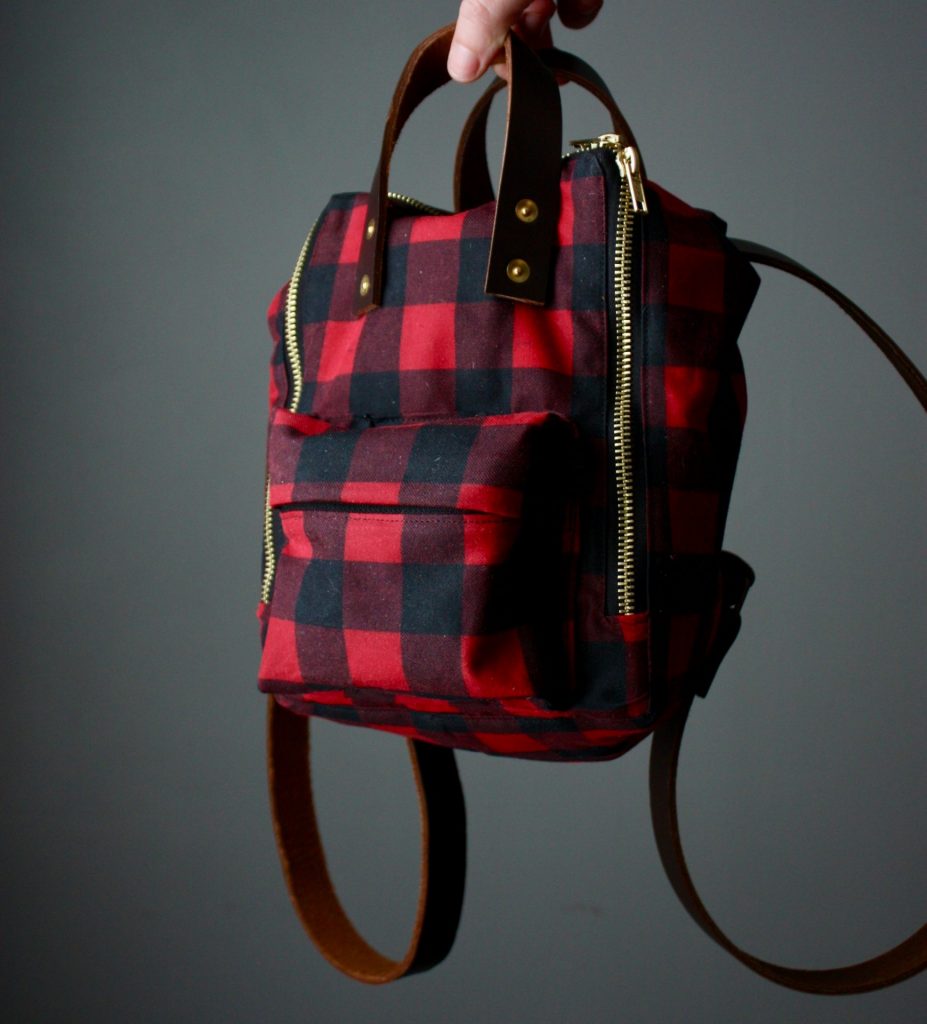
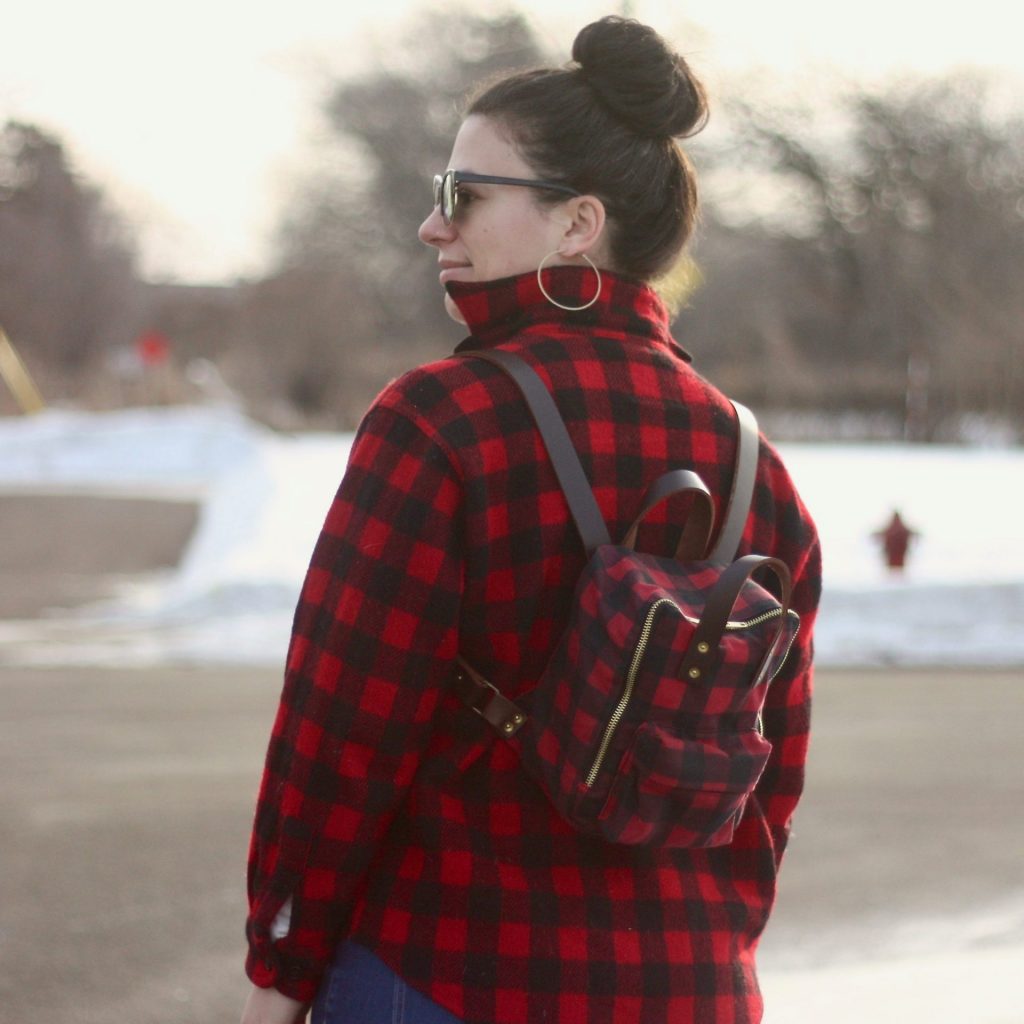
I doubt I’ve ever made anything that is so ME than this buffalo check Raspberry Rucksack. The inspiration came from a fabric store visit with an open mind. I waited for some fabric to speak to me and this buffalo check waxed canvas was an immediate and beautiful slap in my face. Is there anything better than that lightning moment where your whole being says, “I need to make this NOW.”? Follow along with me on this photo-filled bag-making journey where I show you how I elevated the rucksack with some nice touches and finishes (notice the leather and rivets?). Also, I’ll show you how to get a really nice enclosed zipper and how to finish the lining without bias binding!
The Details
- Pattern is the Mini Raspberry Rucksack by Sarah Kirsten
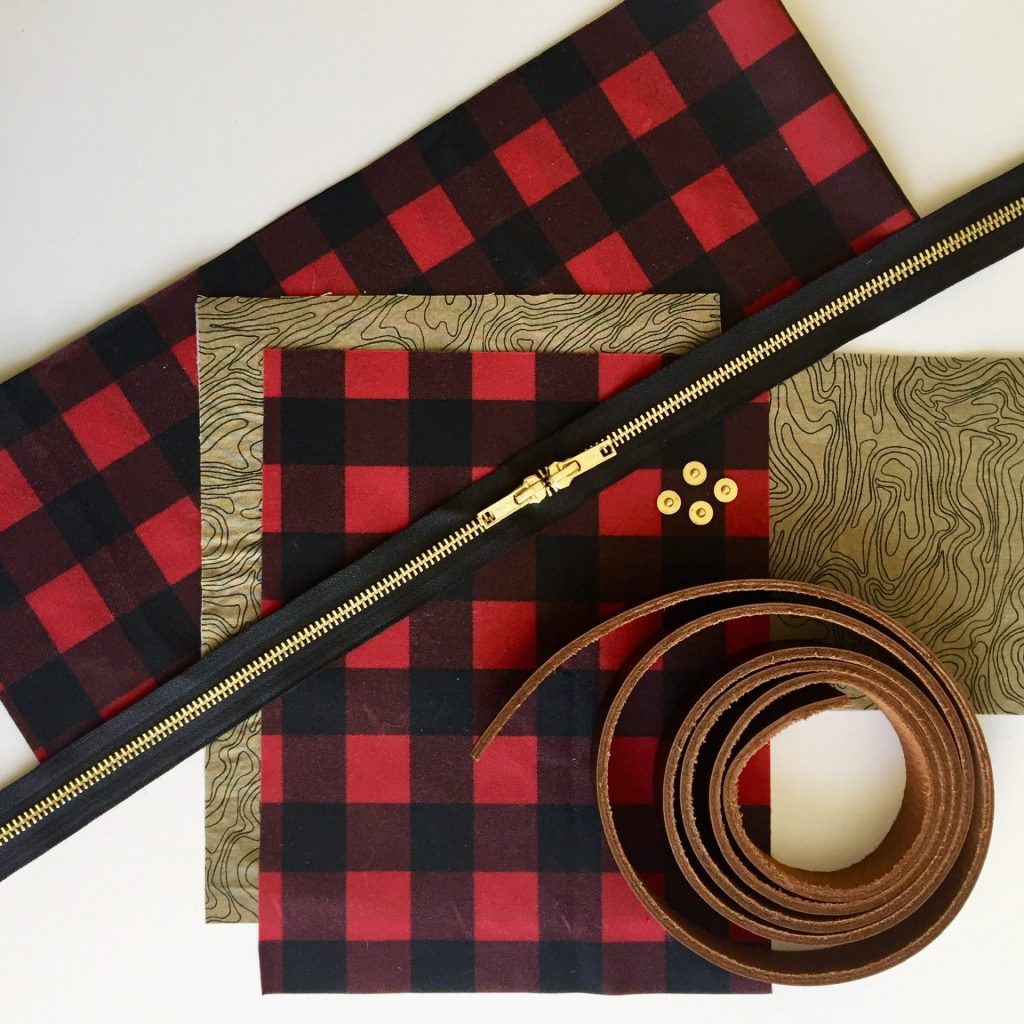
- Outer fabric is buffalo check waxed canvas from Fancy Tiger in Denver, Colorado
- Lining is Robert Kaufman quilting cotton also from Fancy Tiger (remnant bin)
- Construction modified for a clean, fully enclosed zipper and no bias binding on the inside.
- Swapped out the suggested cotton webbing straps for leather and gold rivets.
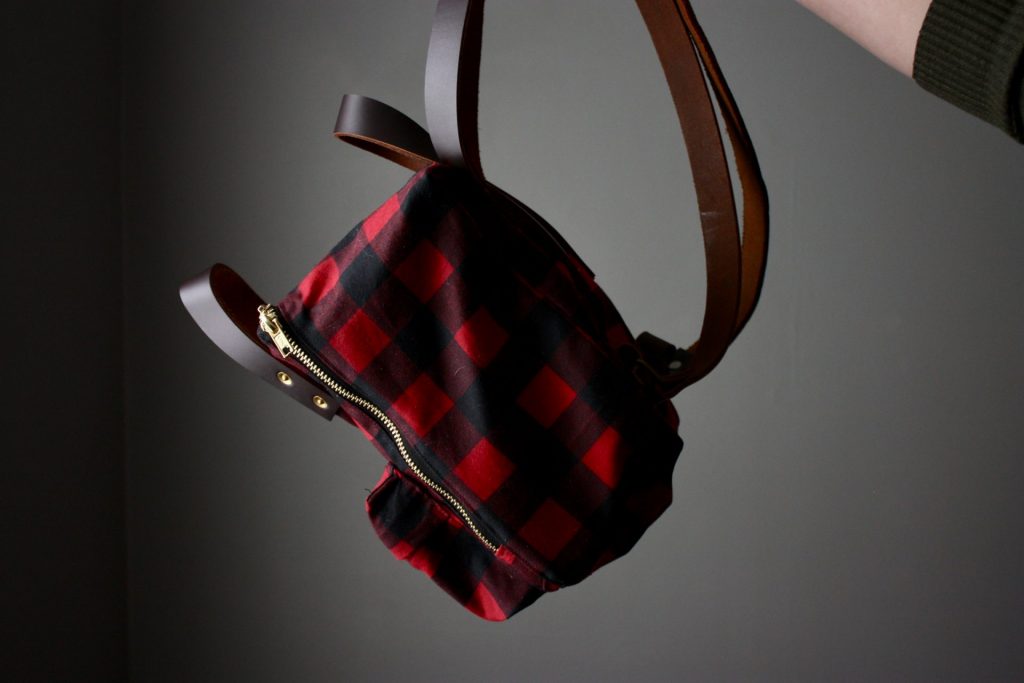
- Flipped a Coats Coverall zipper to allow zipper ends to face each other (metal double bag zippers are difficult to source in this length). Here’s a similar brass option that you can flip into a bag zipper.
- This bulk batch of metal adjustable sliders also double as rectangle rings by removing the center bar with pliers (Money-saver! 10-pack for under $10)
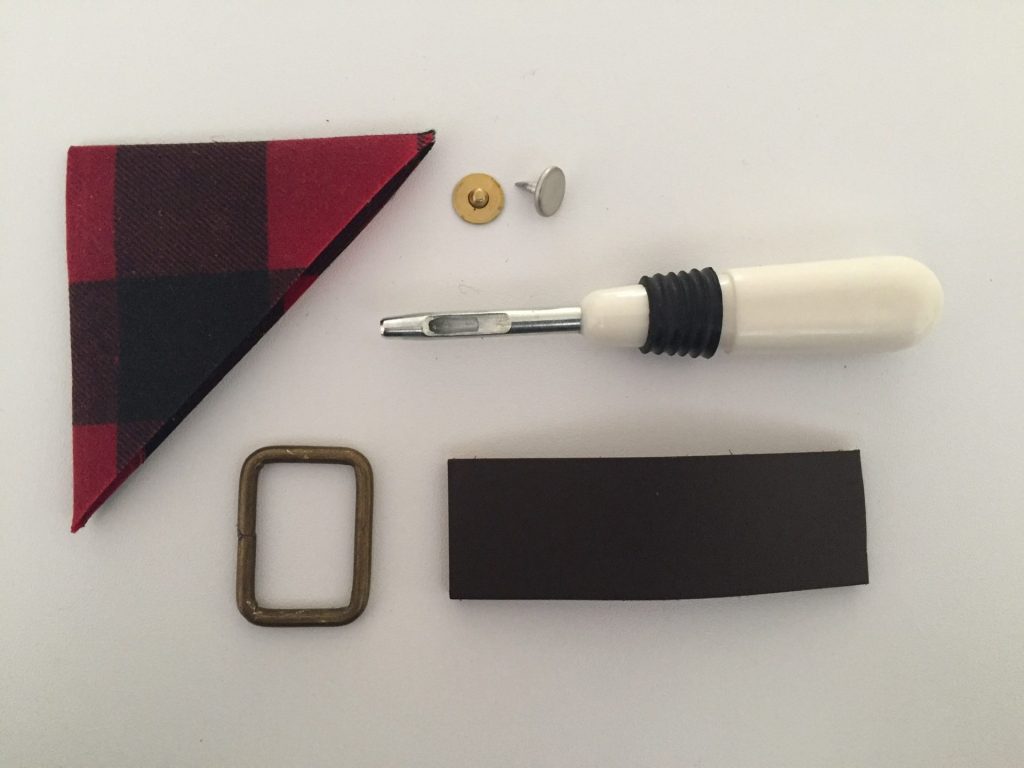
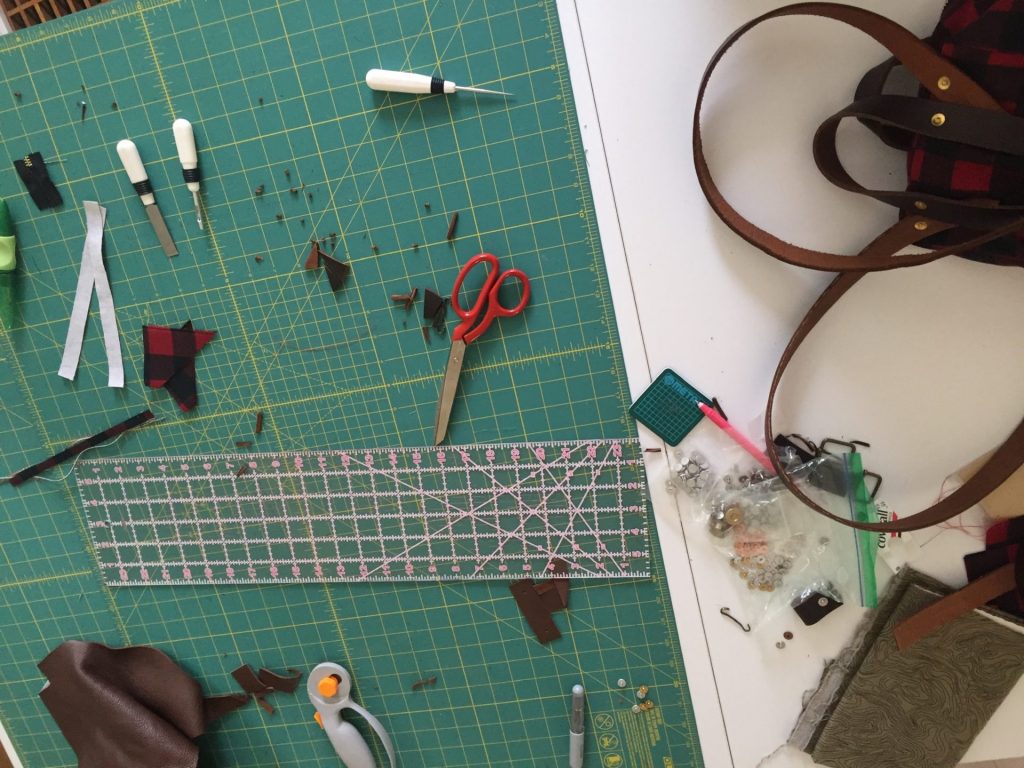
Prepare Supplies
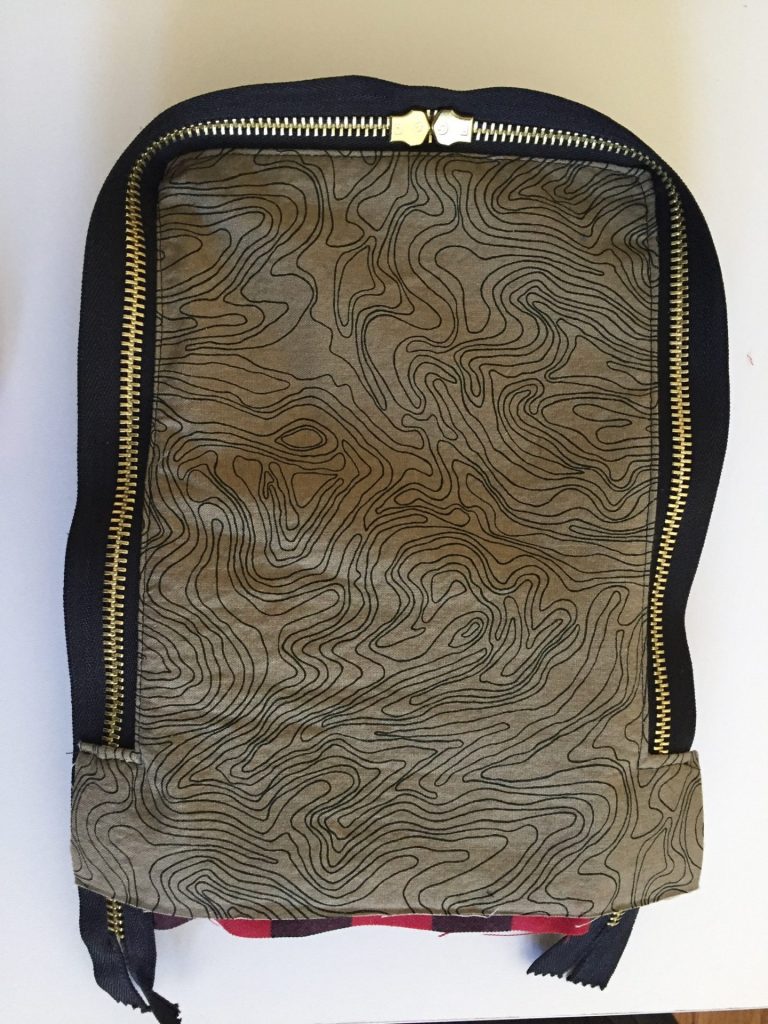
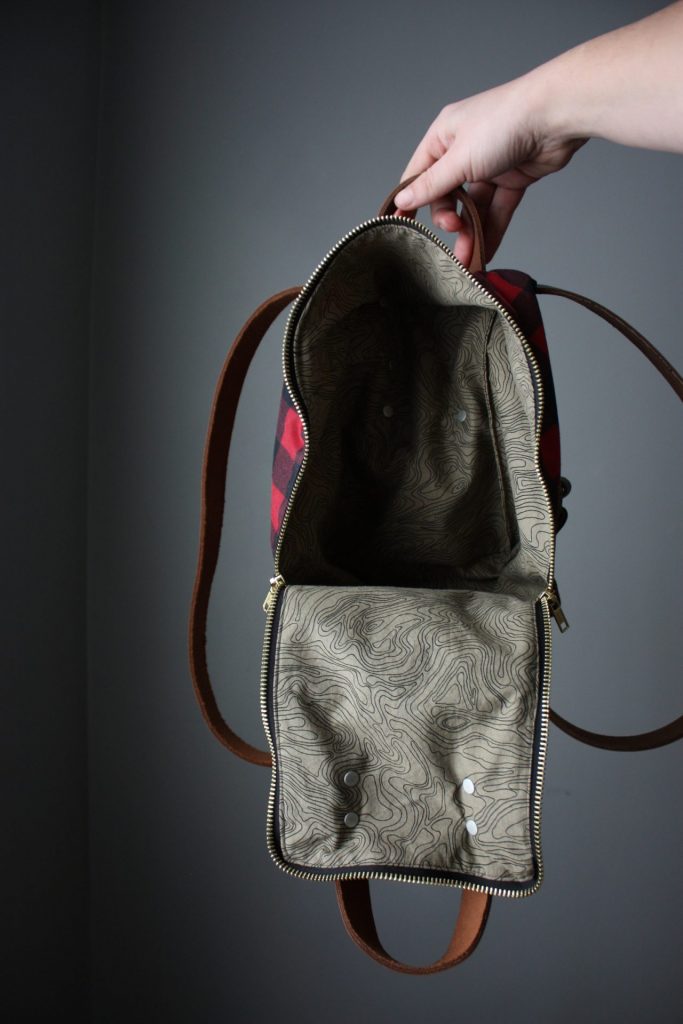
Upon finding this cool waxed canvas at Fancy Tiger, I was really looking forward to sewing with this type of fabric again. The only other waxed canvas sewing I’ve done so far was my Oberlin Tote, which for the record, is aging very nicely. I found the lining fabric in the remnant bin also at Fancy Tiger, and I love the thought of a lumberjack style outer with a wood grain look on the inside. My sister sees topography maps (she’s a GIS queen) – however you look at it, I think it’s a winning combo.
For structure, I interfaced all the large lining pieces, since you can’t interface waxed canvas with fusible interfacing.
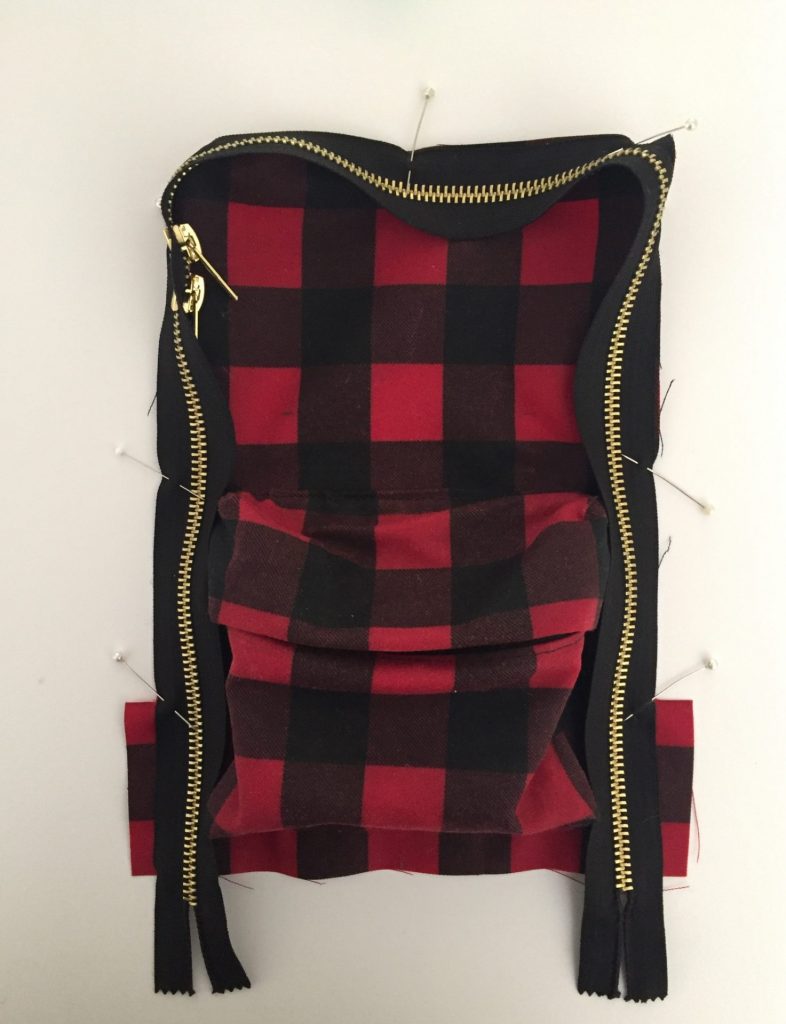
Zippers
I picked up a 22″ Coats Coverall zipper, which had the zipper ends facing in the same direction. I simply used my wire cutter tool to remove the zipper stops at one end and slid a zipper end off the end of the tape, flipped it, and carefully threaded it back on facing the other zipper end. Worked like a charm! I had a matching gold/black 7″ zipper for the small pouch on hand.
Strapping
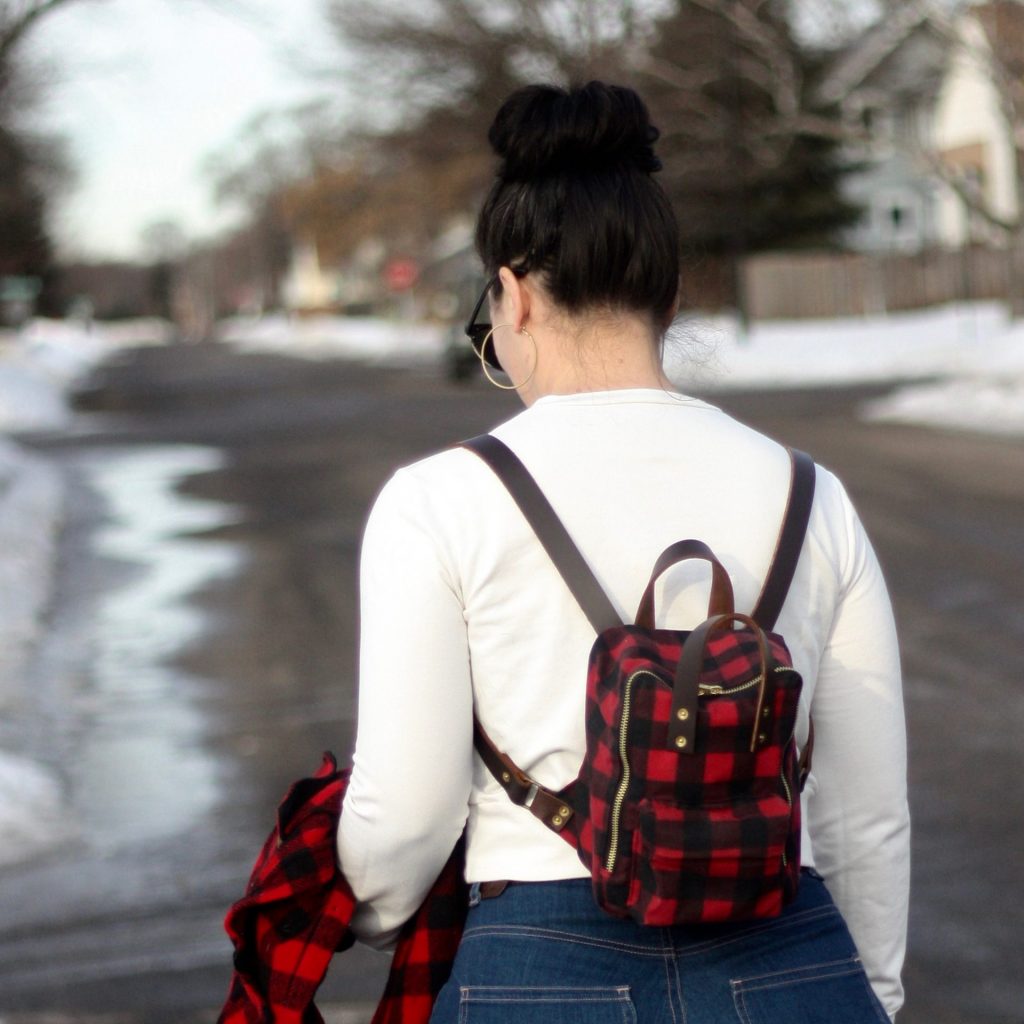
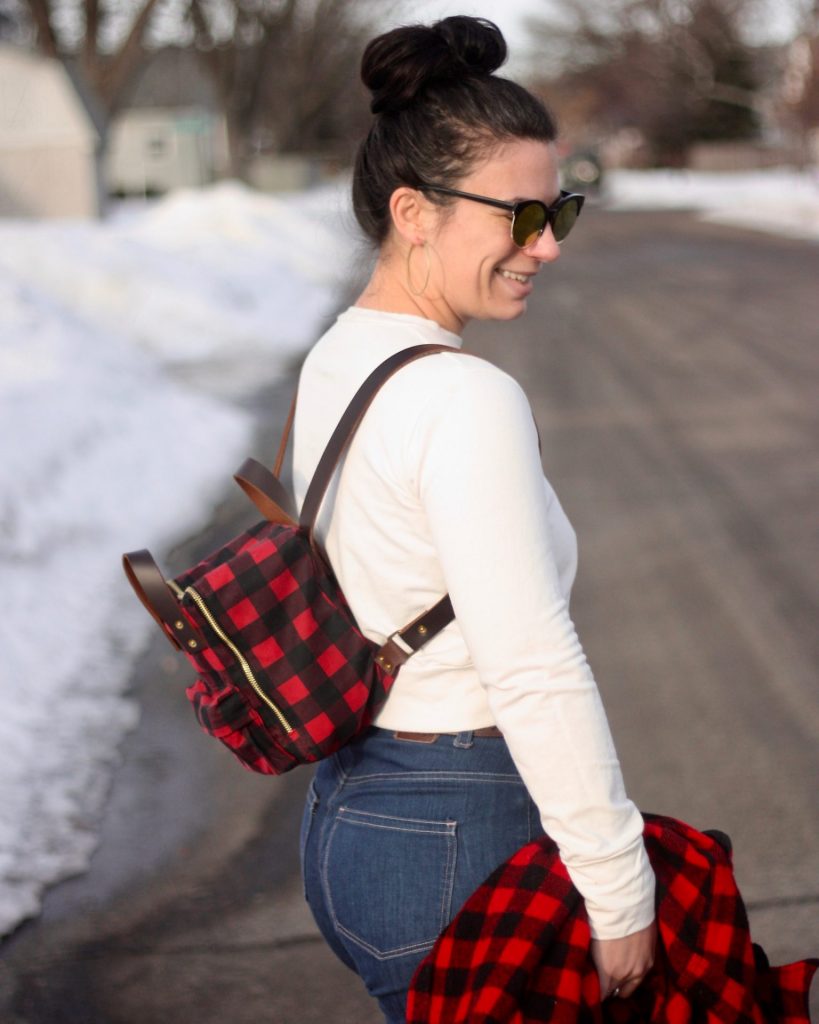
I found some 1″ leather strapping, but I’m not going to link the source here since I don’t love the quality of it. It’s fine, but the main problem is that it’s simply too thick to make little loops near the strap stabilizers and way too thick to thread through adjustable sliders. The adjustability of the shoulder straps is definitely one feature I am missing from my rucksack, but I found a nice length that works with both regular shirts and outerwear.
Hardware
I use rivets from Citron (Etsy shop) and they are still my all-time favorite. I have an industrial rivet/button die press from Micron America – love that thing too.
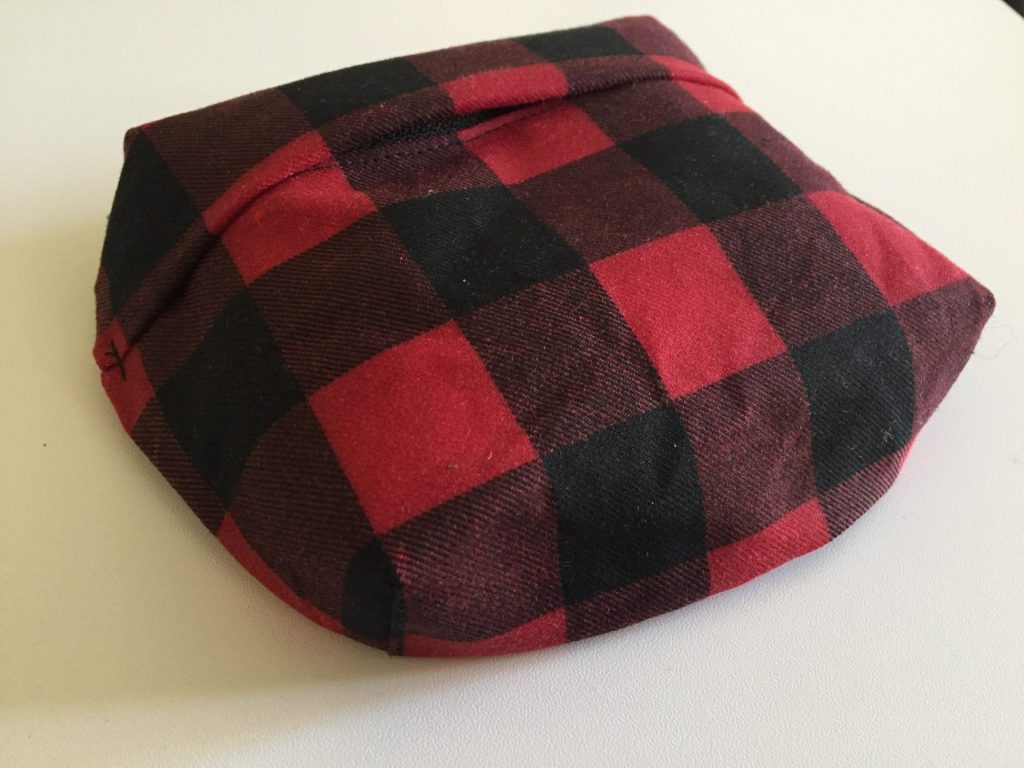
Pop Up Pocket
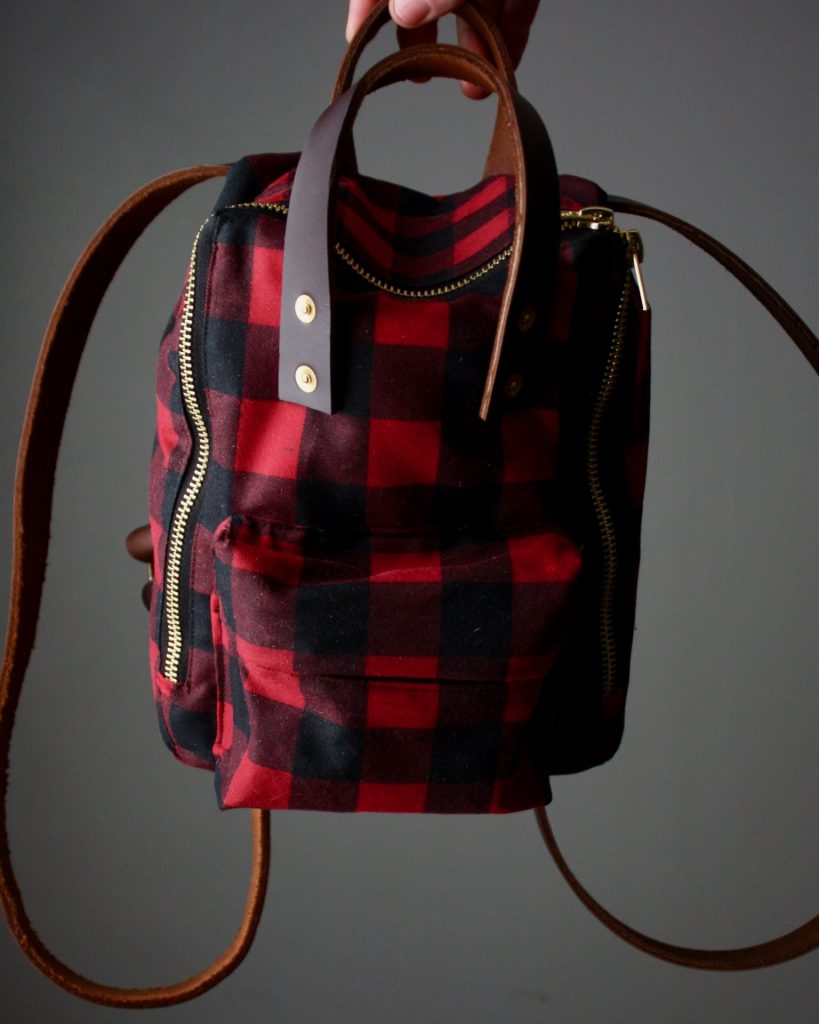
Ok! Getting started on the construction of the rucksack…the following pictures follow along some of the steps in getting started. Before I cut my waxed canvas, I was meticulous about hoping to stripe match the checks of the popup pocket with the main bag. I just made sure there was a stripe with red checks exactly in the center of each panel piece I cut. It worked out beautifully in the end!
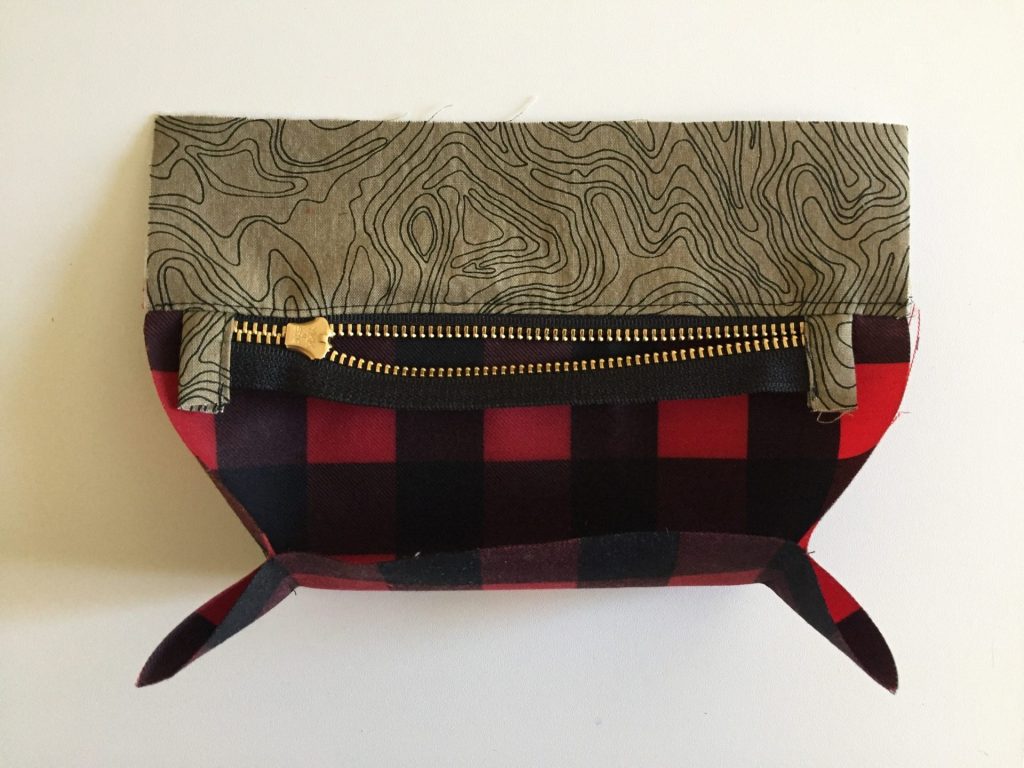
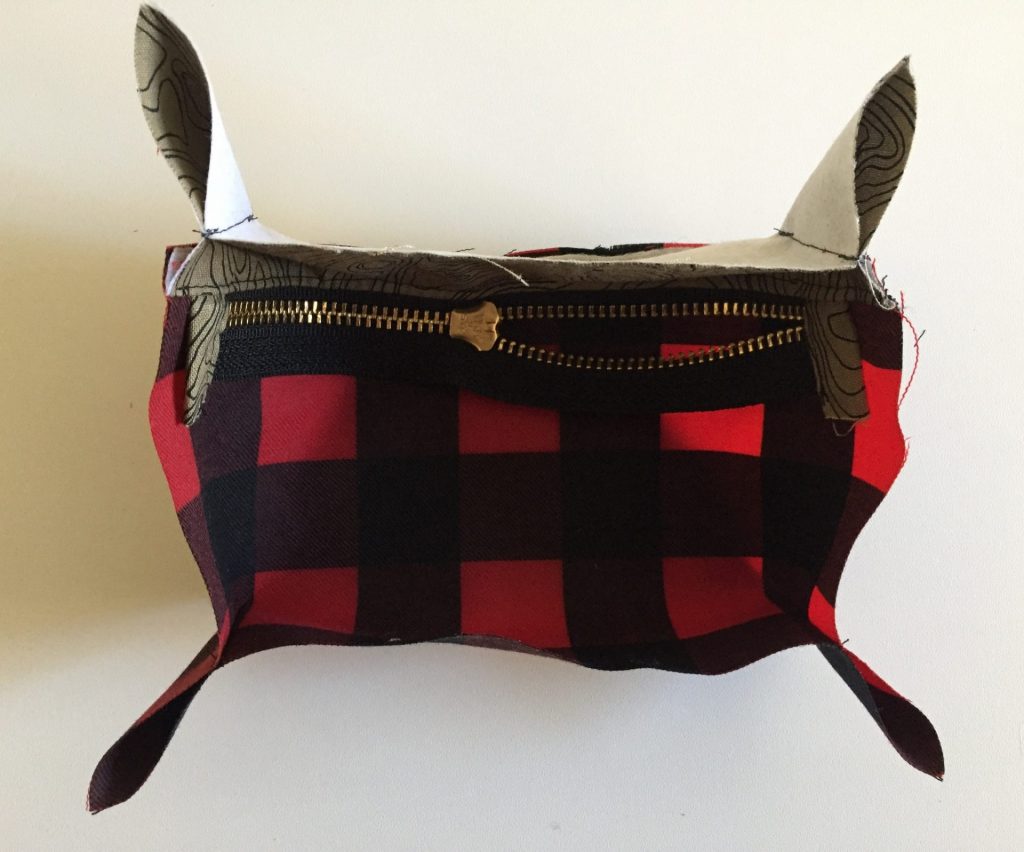
Fully Enclose Your Zipper within the Front Panel
This is the juice of this blog post! I loved figuring out how to get a nice clean zipper. It takes a little bit of mental gymnastics and fabric flipping, but it’s worth it. I hope the following steps help you out to achieve the same clean finish!
In Step 27 of the Raspberry Rucksack, you sew the Front Panel and Front Panel Lining together. Instead of following these steps as written, I’ll show you how to sandwich your zipper between these layers, so you don’t see any edges of zipper tape when you’re finished.
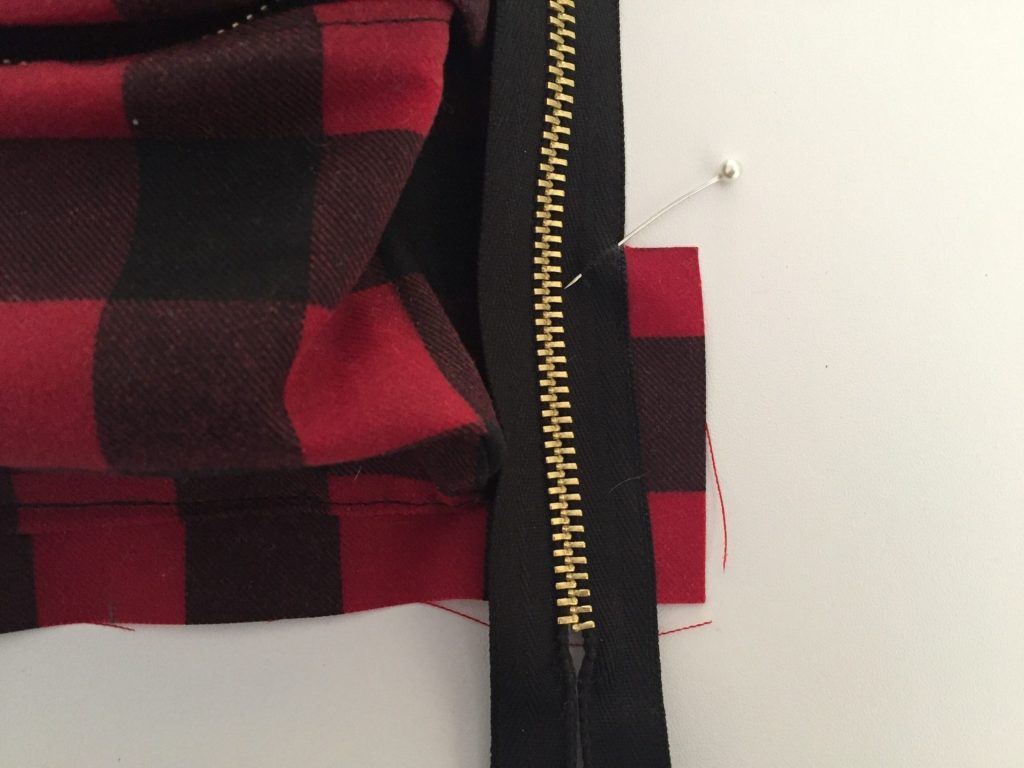

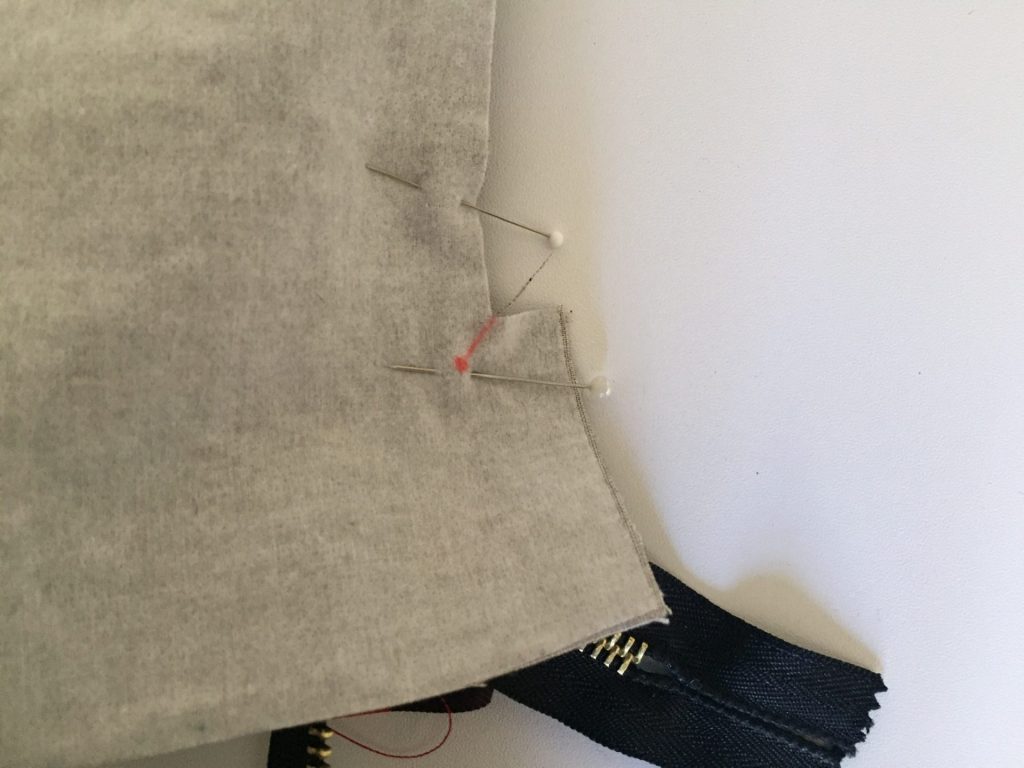

Fold raw edge near L-corner under. 
Pin lining to zipper 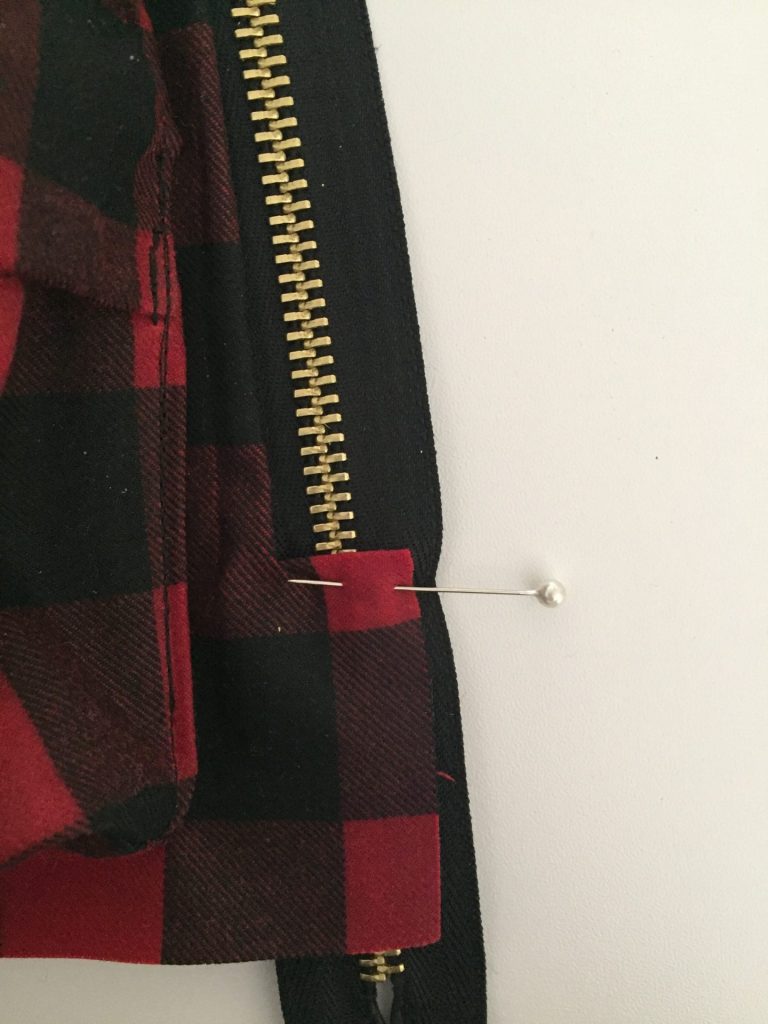
Repeat on outer side
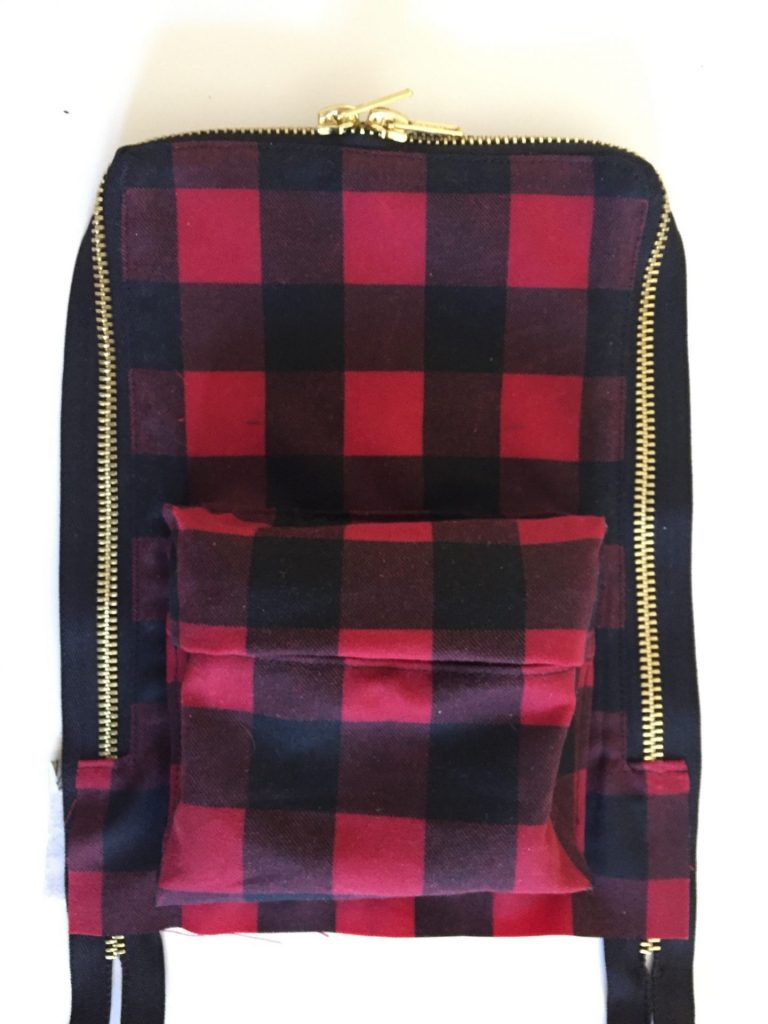
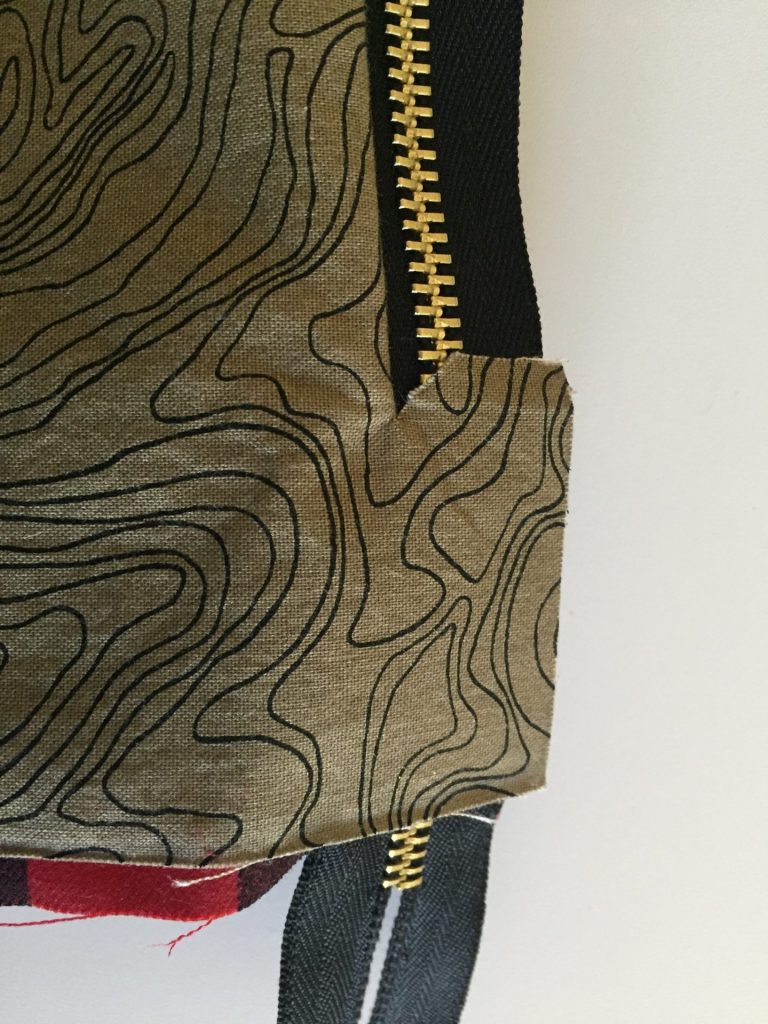
Front Panel is done! Now you’ve got your zipper edge nicely enclosed between your front and lining pieces. Let’s do the same with the other edge of the zipper tape next. Please note that my rucksack does not have the zipper flap because I wanted my pretty gold zipper exposed. If you are including your zipper flap, you will complete steps 33-35 here.
Enclose your Zipper within the the Center Panel
The next few steps are similar to the original Raspberry Rucksack instructions, and we’ll do a little flipping and turning of the fabric later to avoid the bias bound seams, but it will work in the end, I promise!
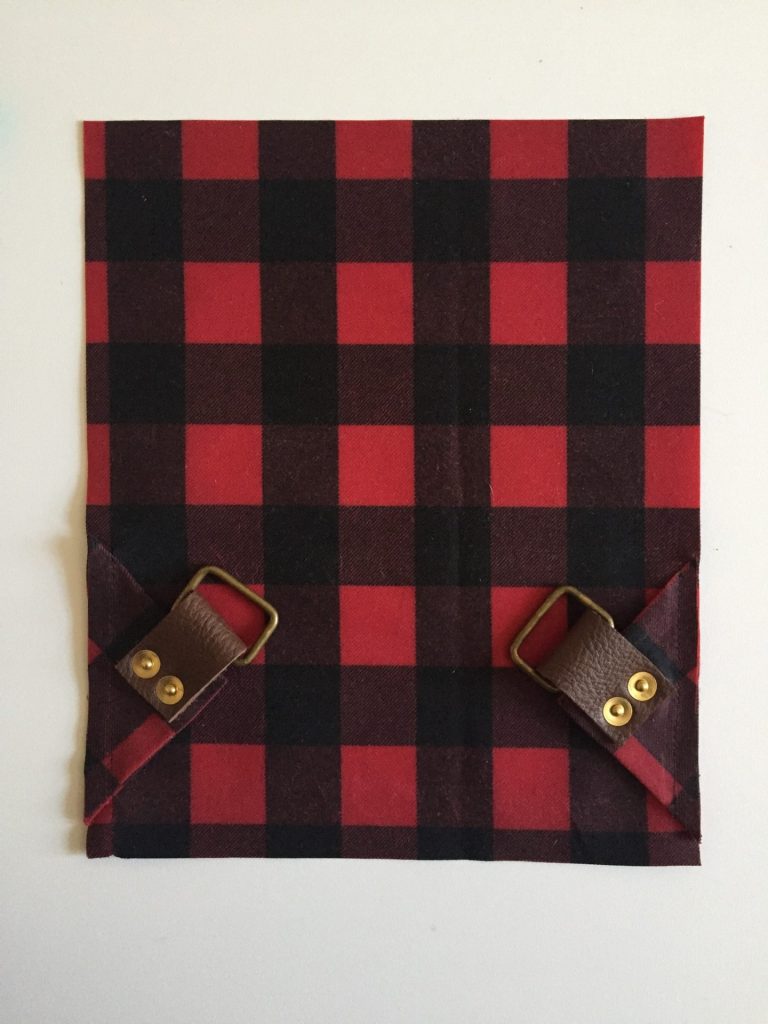
Elevate the Raspberry Rucksack with Straps and Hardware
As we prepare the Back Panel, we need to start some of the hardware. I had brass rectangle loops from Amazon on hand (would have bought a pack of the gold if I really wanted to be picky, but I prefer to use up what I have). These were originally adjustable slider loops, but I easily removed the center piece with pliers. I also had gold rivets and posts handy, along with my rivet press, and hole punch, like this one that comes with a button hole chisel.
I quickly learned that my 1″ leather strapping was too thick to fold in half over the waxed canvas, so I used some brown leather scraps I had in my stash, leftover from the leather patches I cut out for the back of my jeans.
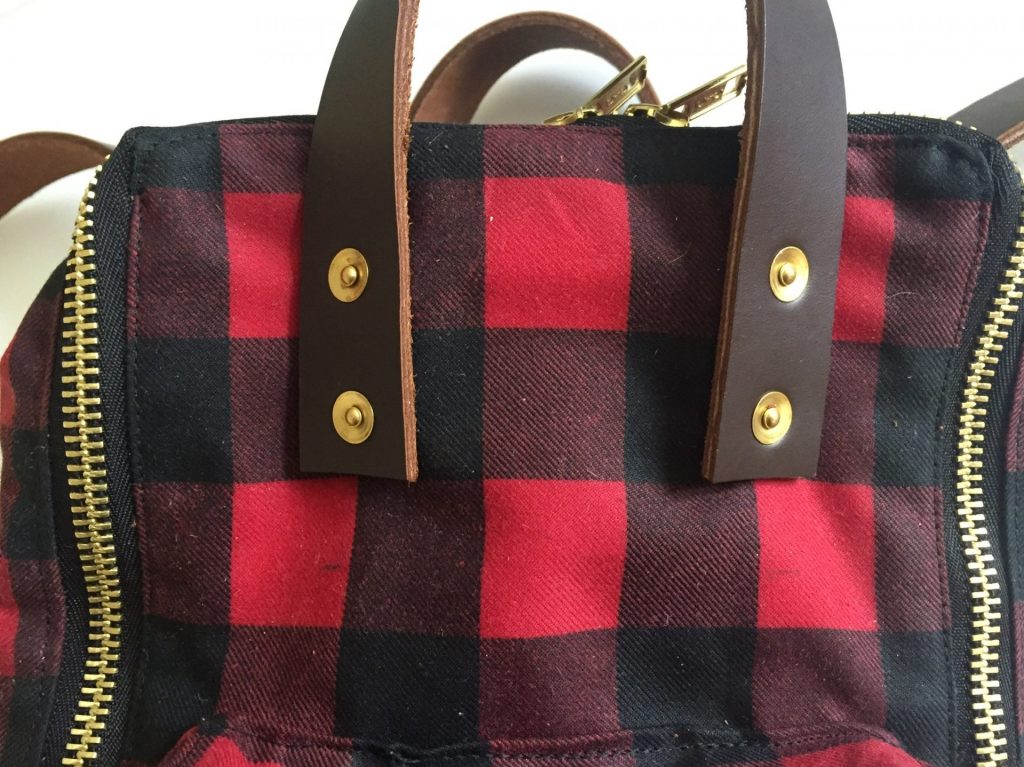
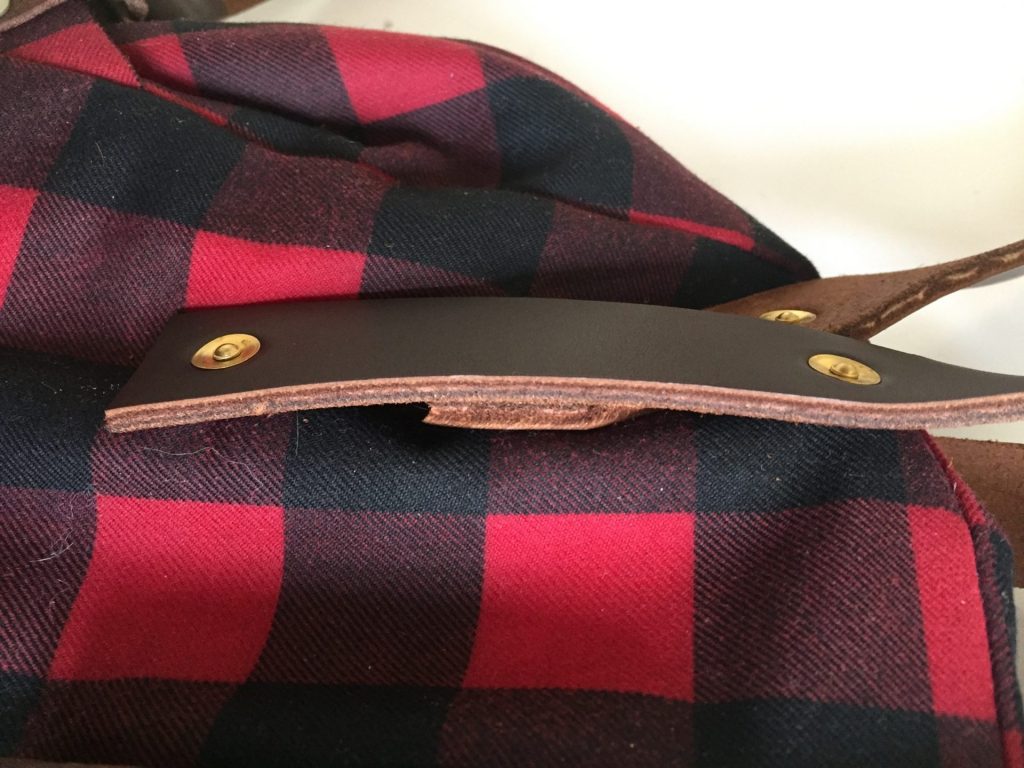
Instead of following Steps 49-54 to prepare the Strap Stabilizers, I simply prepared the fabric portion of the Strap Stabilizer in waxed canvas, and then wrapped the leather piece over the top and punched two rivets to secure (see photo below).
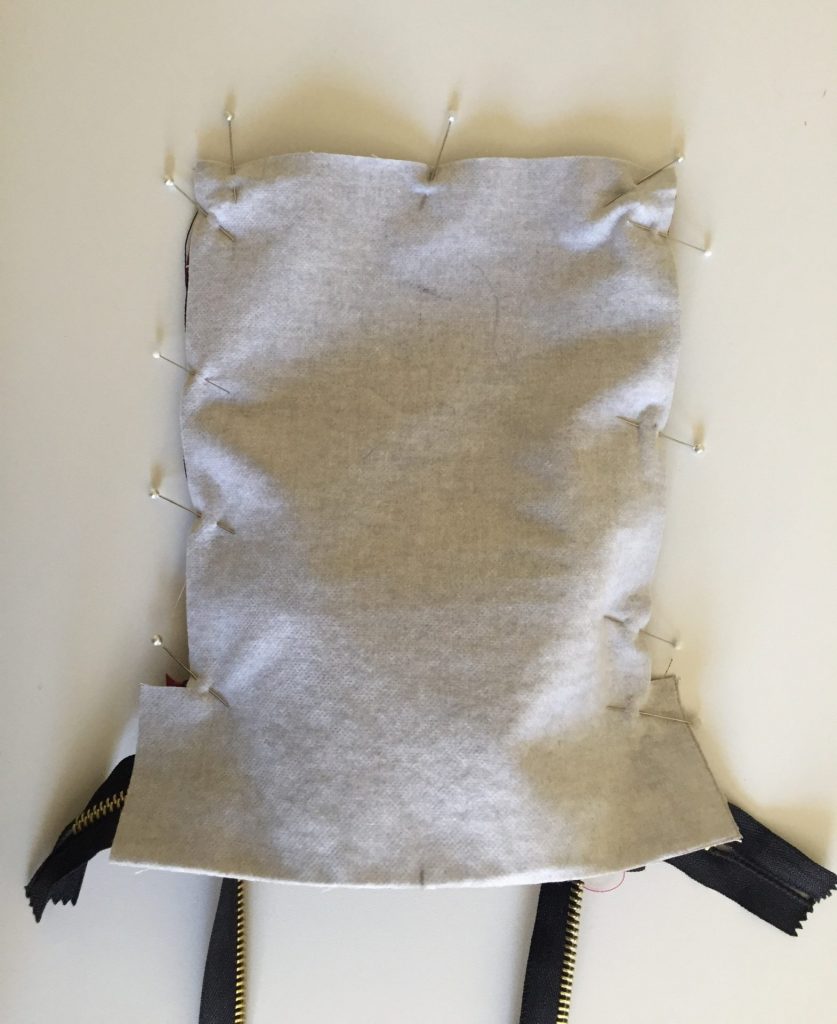
How to Skip the Bias Bound Lining and Get a Clean Finish
If you want to forego the bias bound lining seams and go for a more minimalist finish, here’s where we get to flip and fold the fabric around a little bit. At this point, you should have completed through Step 55. Since I am doing thick leather straps with rivets, I am waiting to attach the shoulder straps at the very end. This is to not only to save space in the next few steps, but also allow for a stronger stress-point by attaching the rivet to both outer and lining layers at once. If you are doing cotton webbing straps, I do recommend completing those steps before continuing so you don’t see your stitching from the lining side.
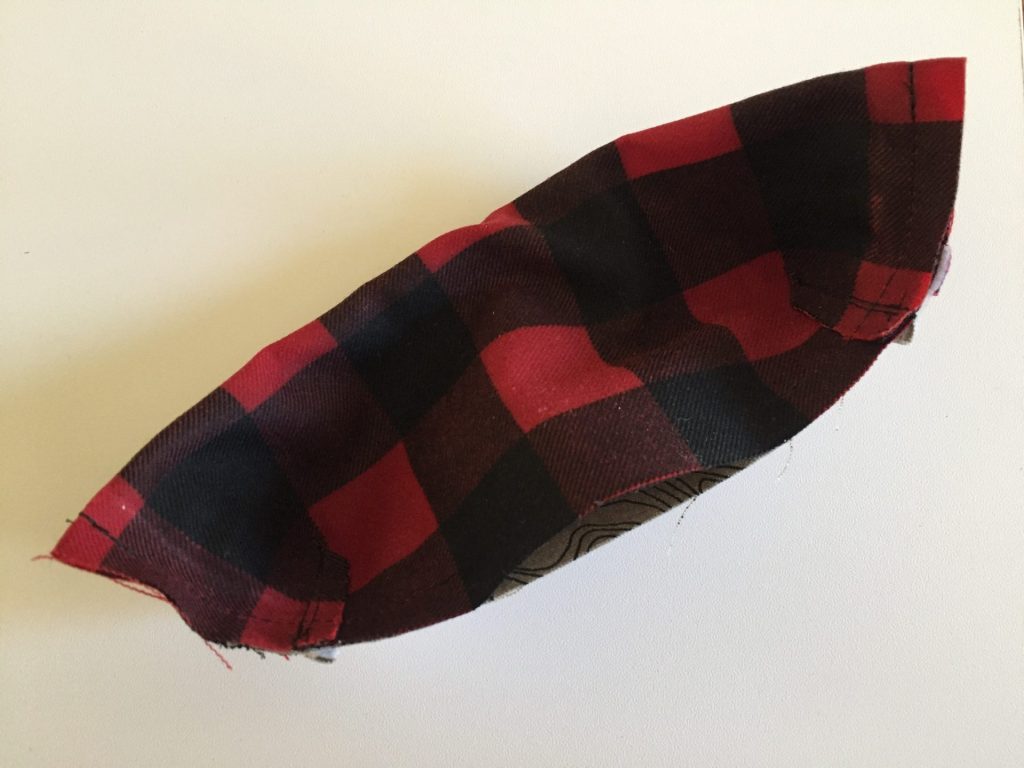
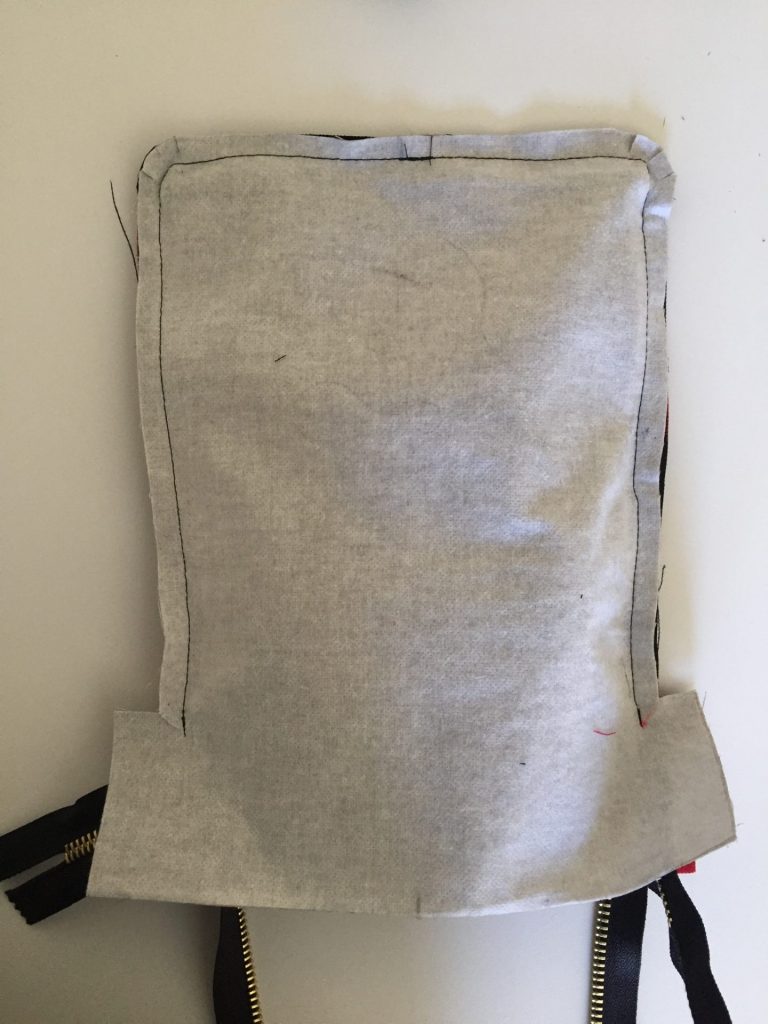
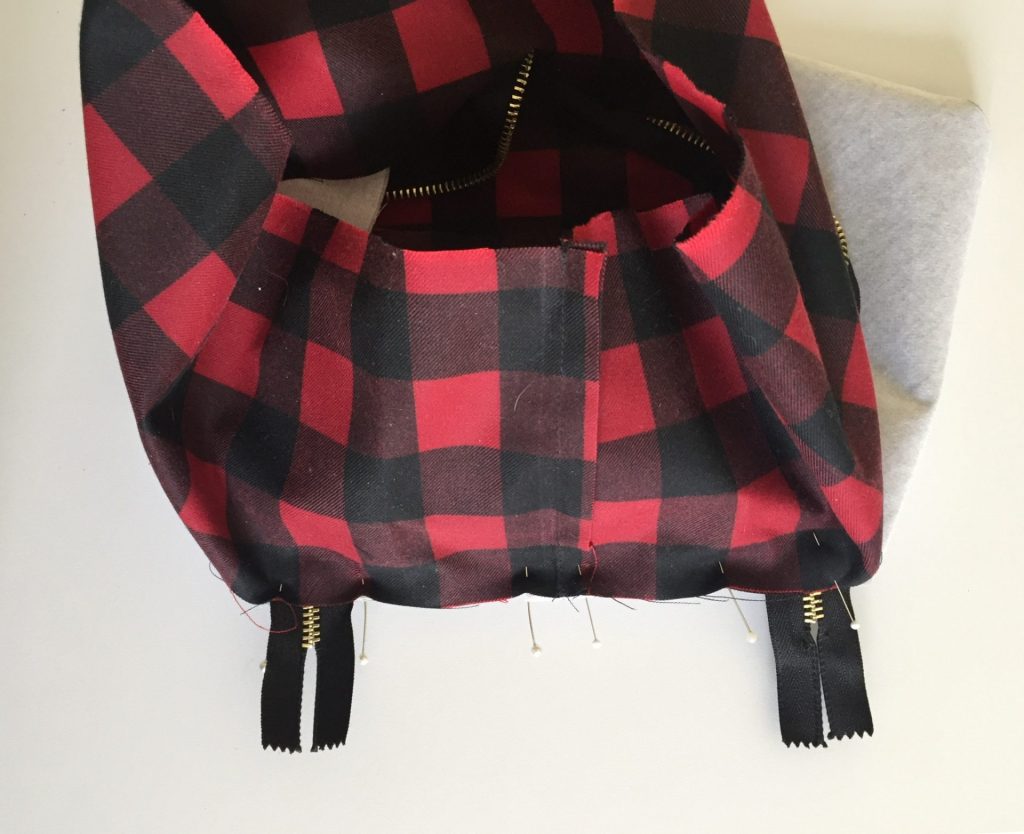
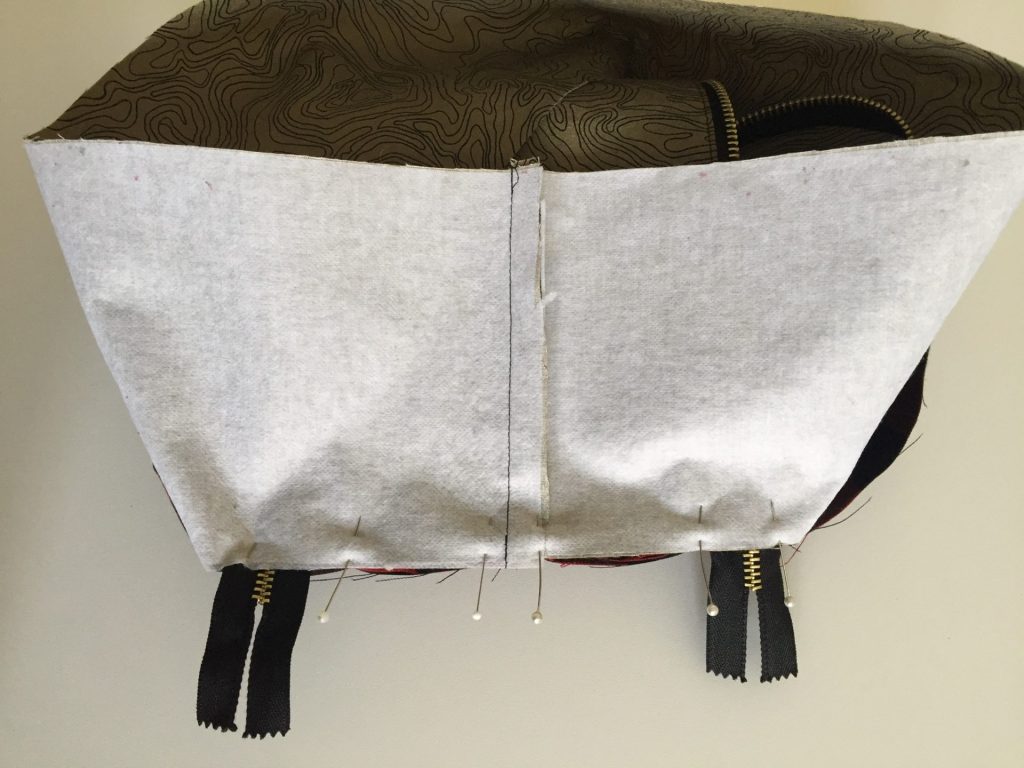
Instead of basting the outer and lining back panels together in Step 56, I opened up the Outer Center Panel and the Lining Center Panel away from each other. I sewed the Outer Back Panel to the Outer Center Panel only. I sewed all the way around this piece.
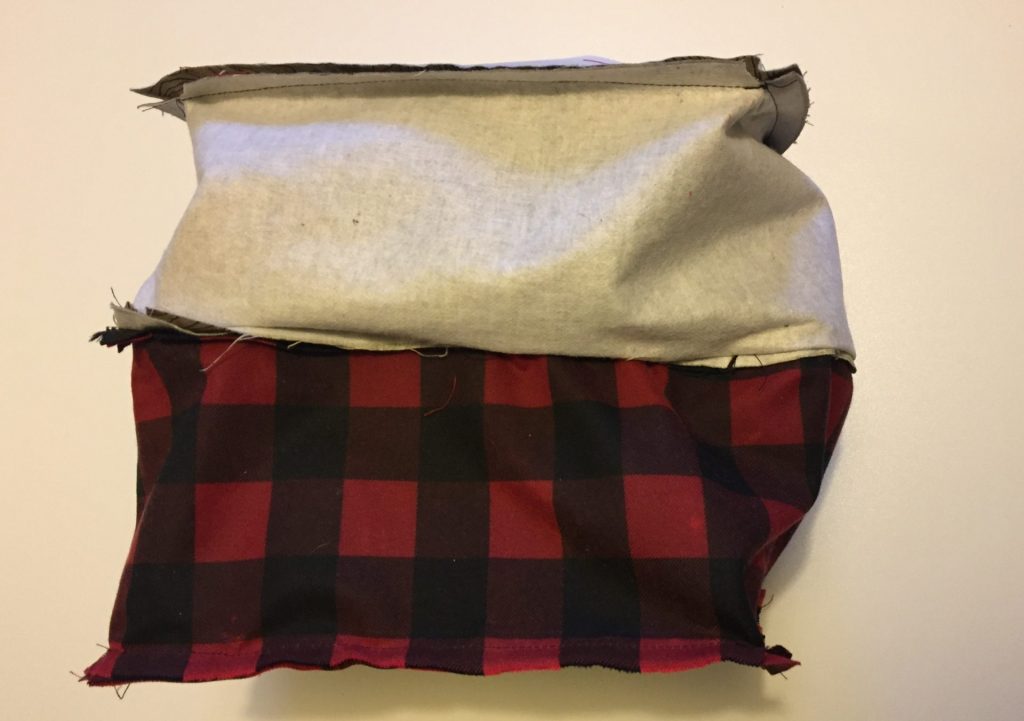
Peel away the Outer Center Panel and the Lining Center Panel from each other, wrong sides out. 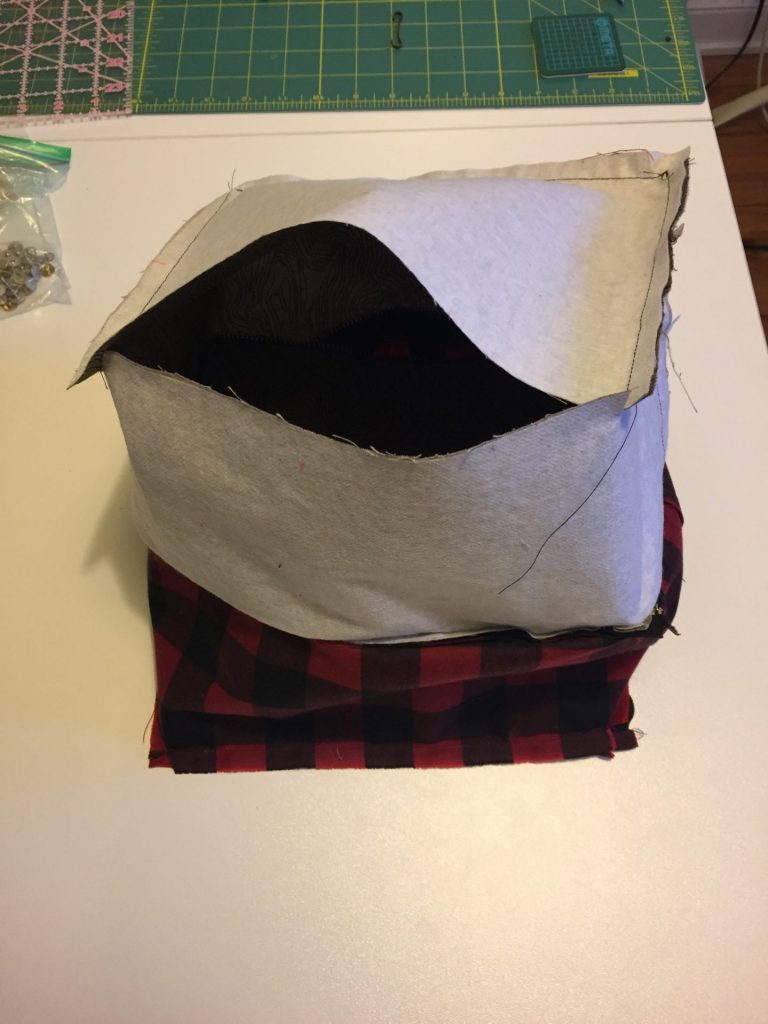
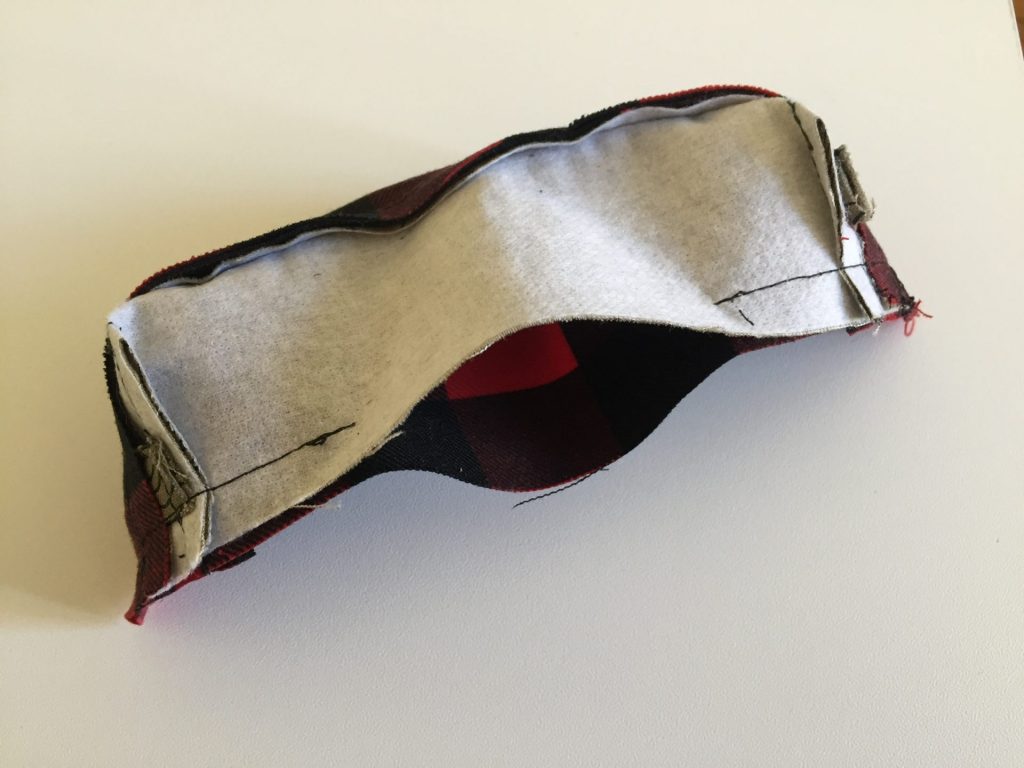
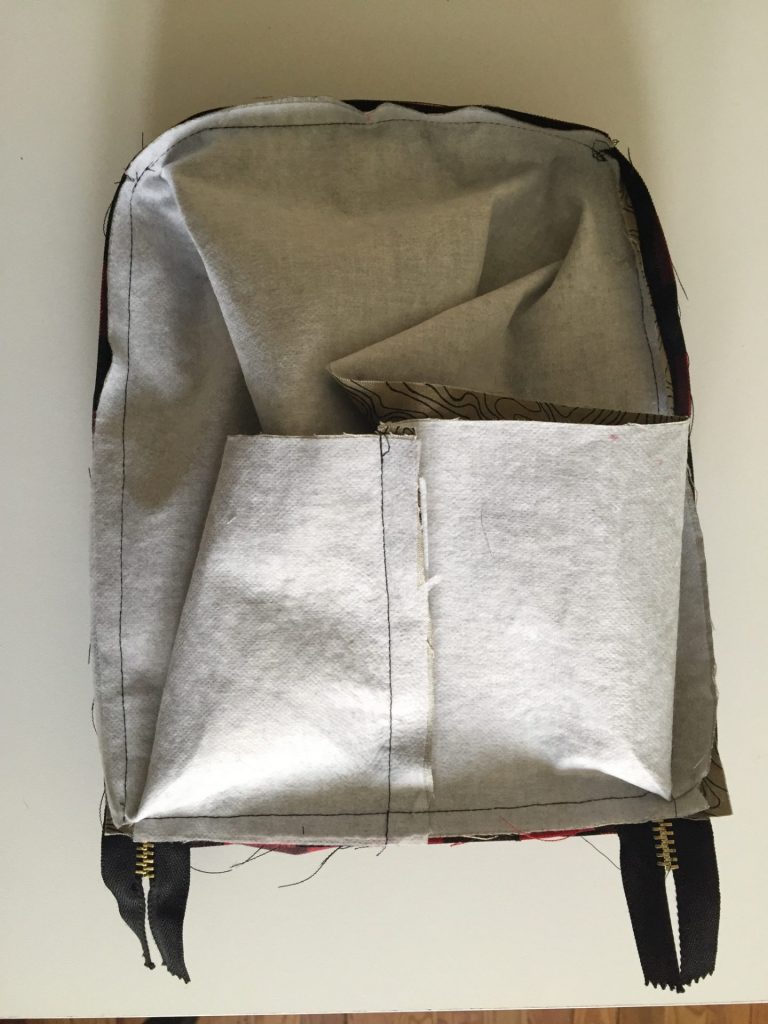
Sew the Back Lining Panel to the Center Lining Panel only, right sides together. Only sew 3 of the 4 sides to leave a space to flip right side out. 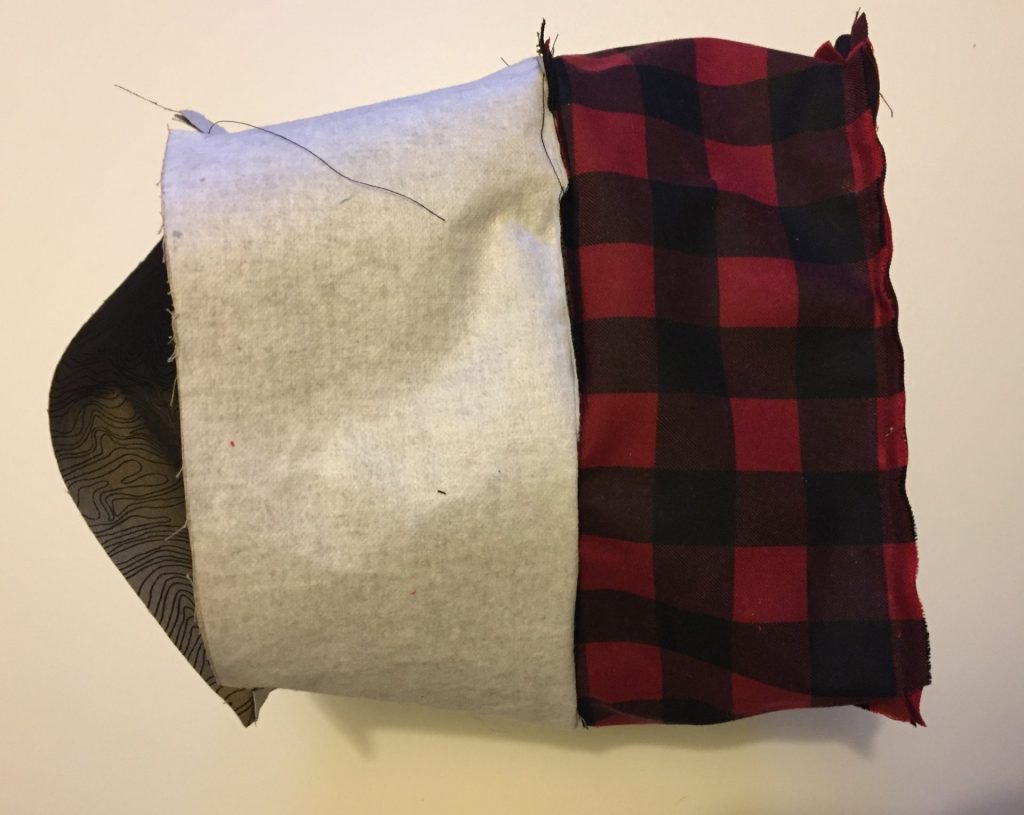
Another view of Outer Back Panel fully sewn, and Lining Back Panel sewn 3/4 of the way. 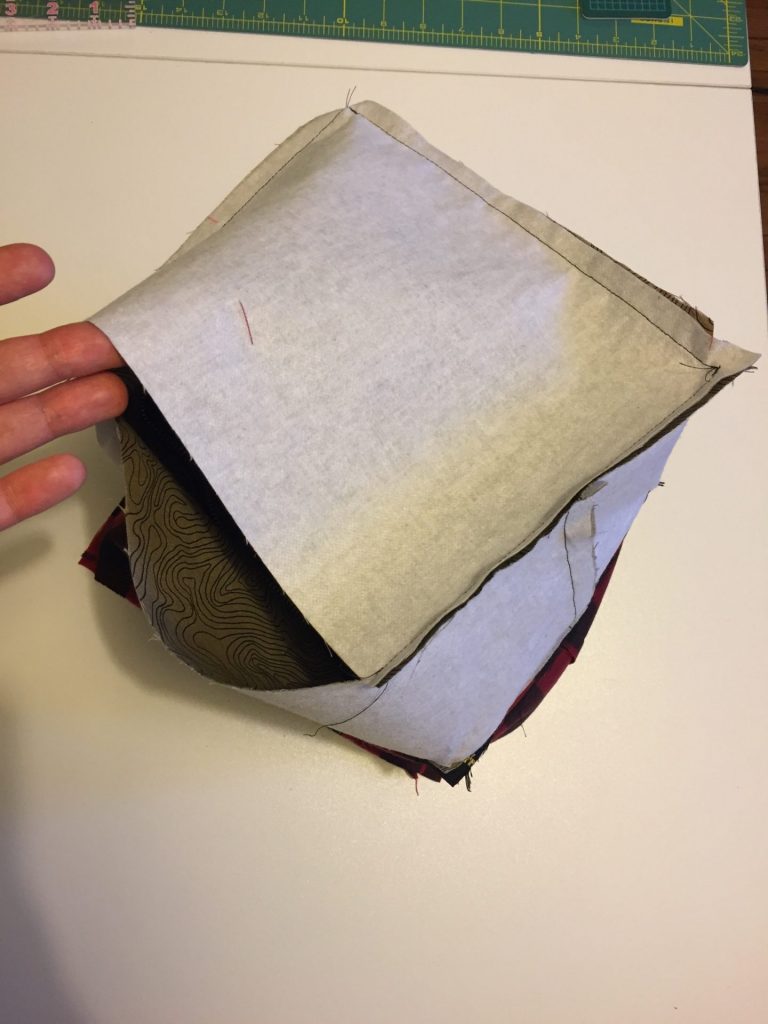
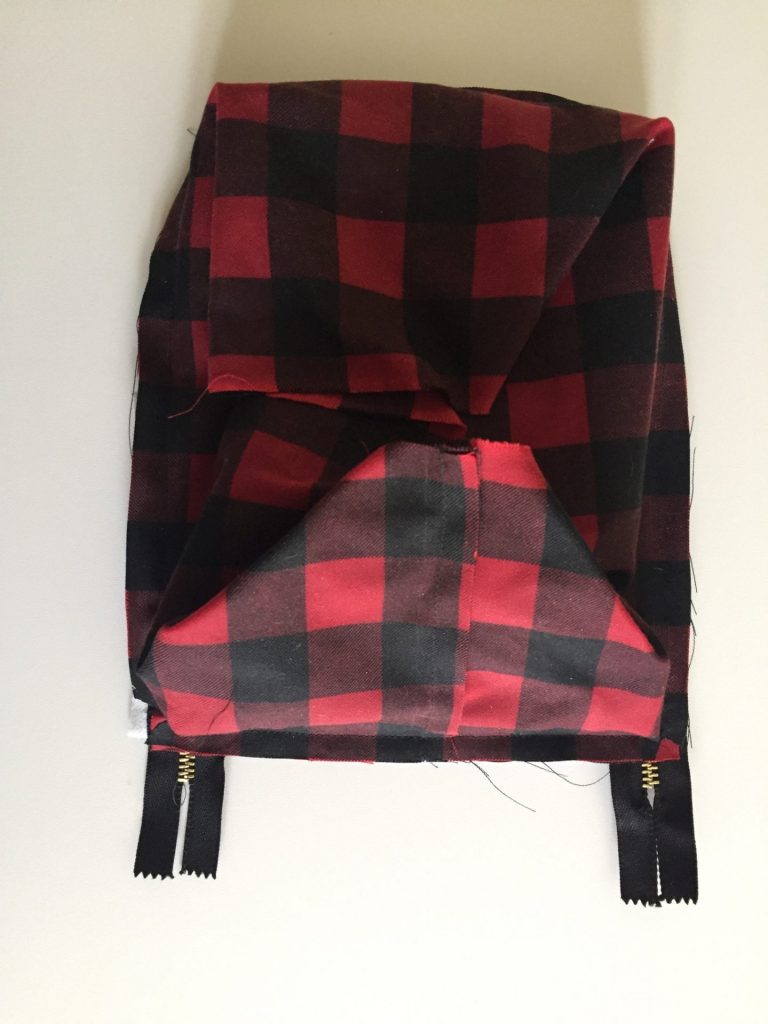
Lifting the Back Lining Panel to show the hole I am about to flip the bag through.
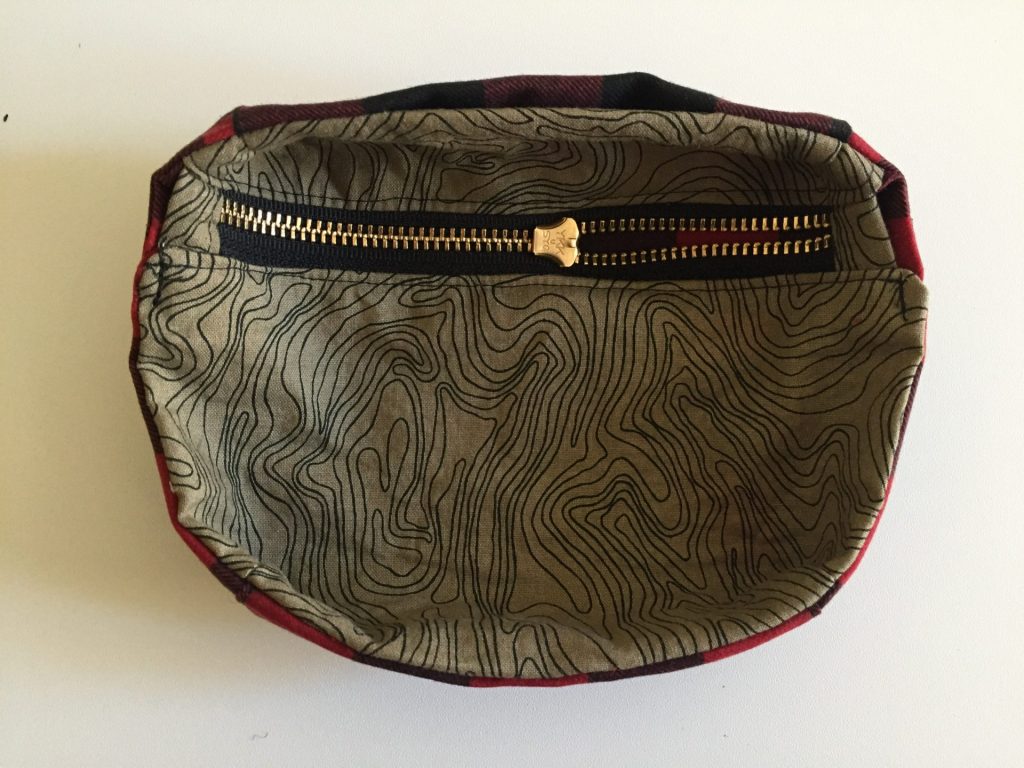
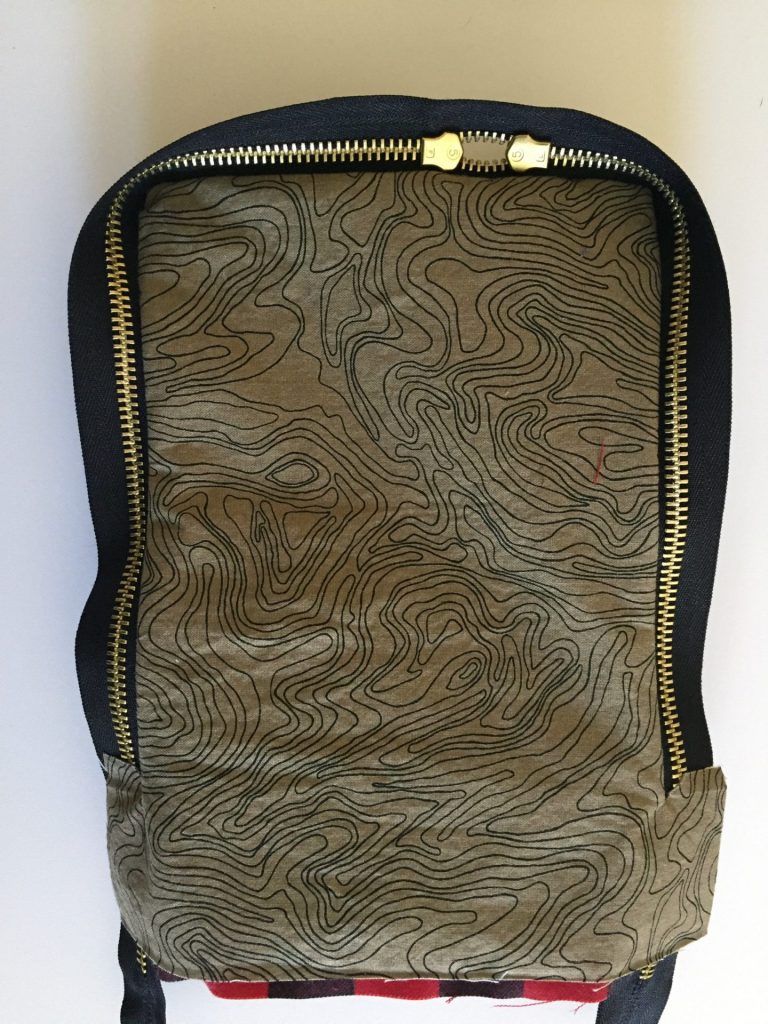
Open the zipper and flip your entire rucksack inside out. As for the hole in the lining, turn in the raw edges toward the wrong side and give it a good press.
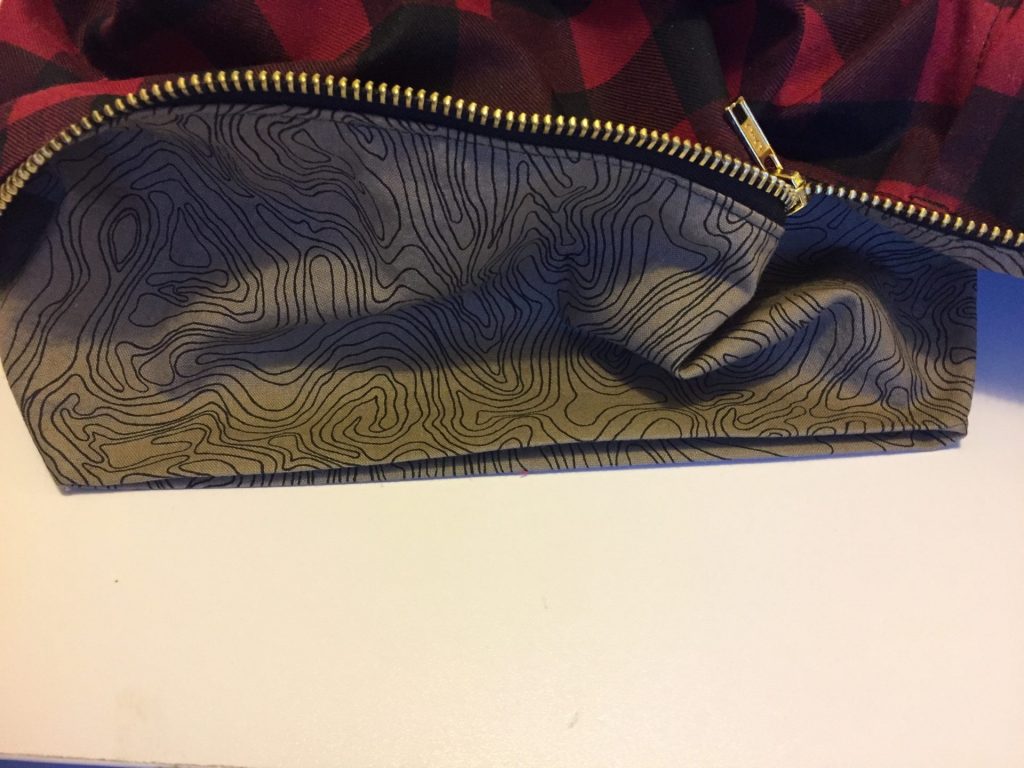
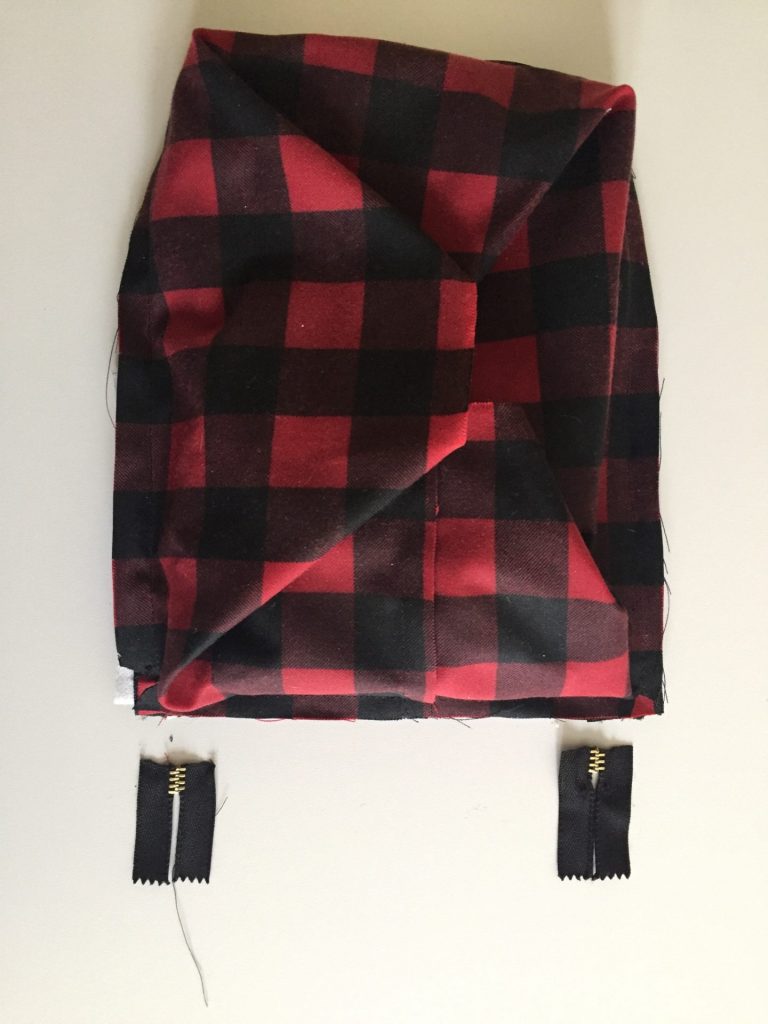
This could be a good opportunity for some neat hand sewing to close up the lining, but I decided to use the machine along the entire edge. So the result is a tiny seam that you can see below.

At this point, you should be able to open and close your rucksack with the edge of the zipper tape hidden within the guts of the rucksack. Your lining is clean and sealed shut, and if you’ve already completed the cotton webbing shoulder straps earlier, you are all set! Since my straps are heavy duty leather, I am showing that process in the next section below.
Finish Straps and Hardware
Dealing with thick leather straps instead of cotton webbing means a little bit of adjusting and wrangling. Most importantly, a lot of checking and double checking before stamping in those permanent rivets in place. I used my industrial rivet press from Micron America. The leather strapping is not something I will use again nor recommend, so I am not linking to it here.
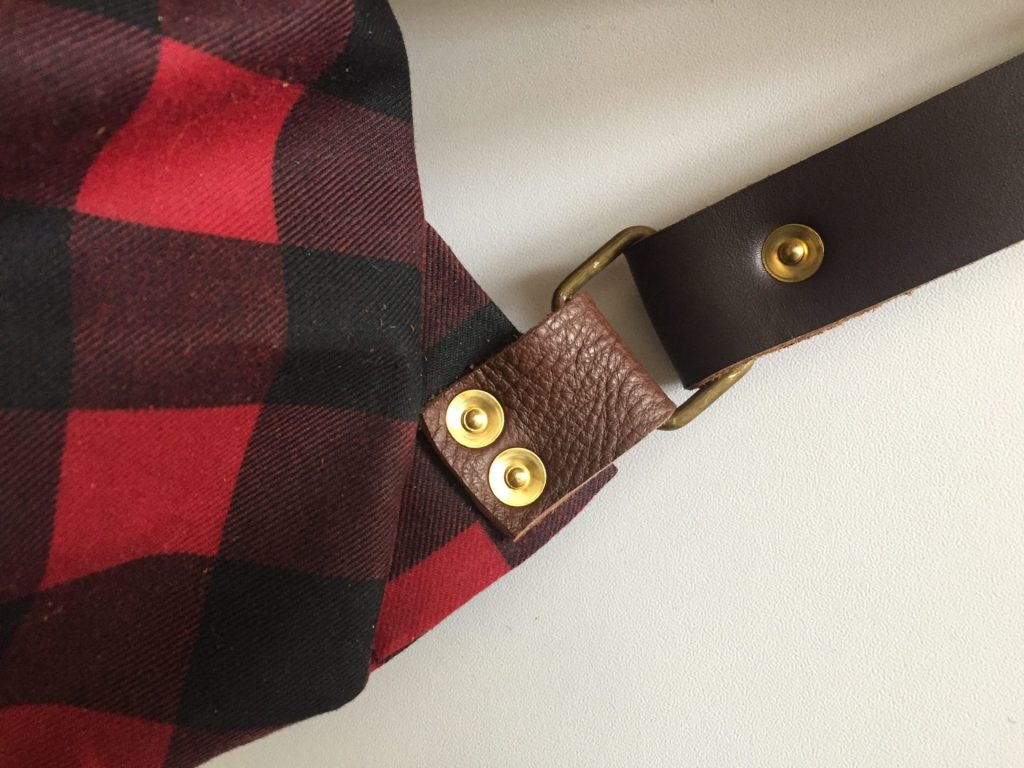
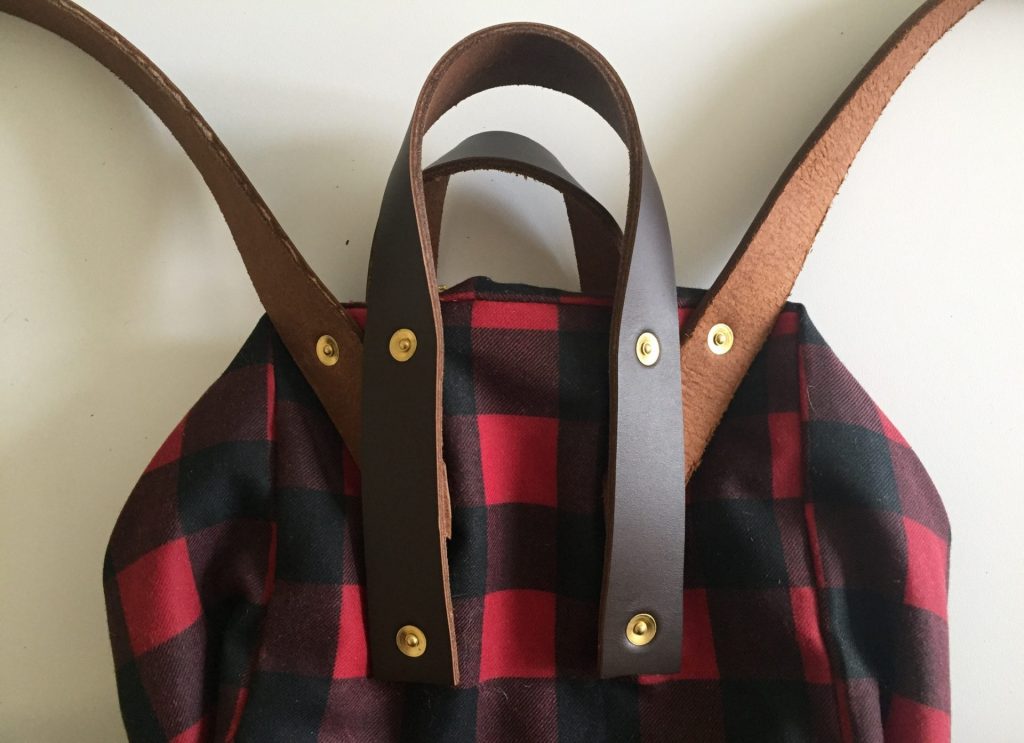
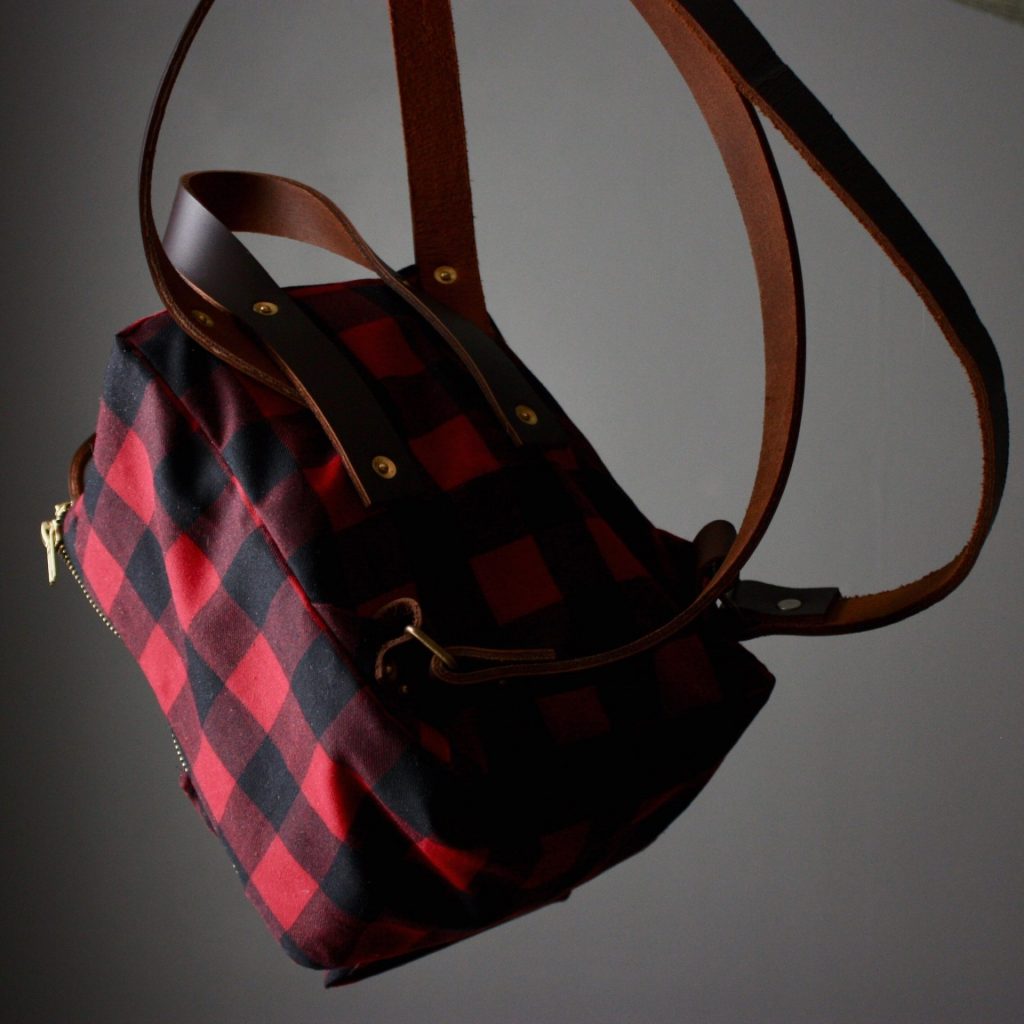
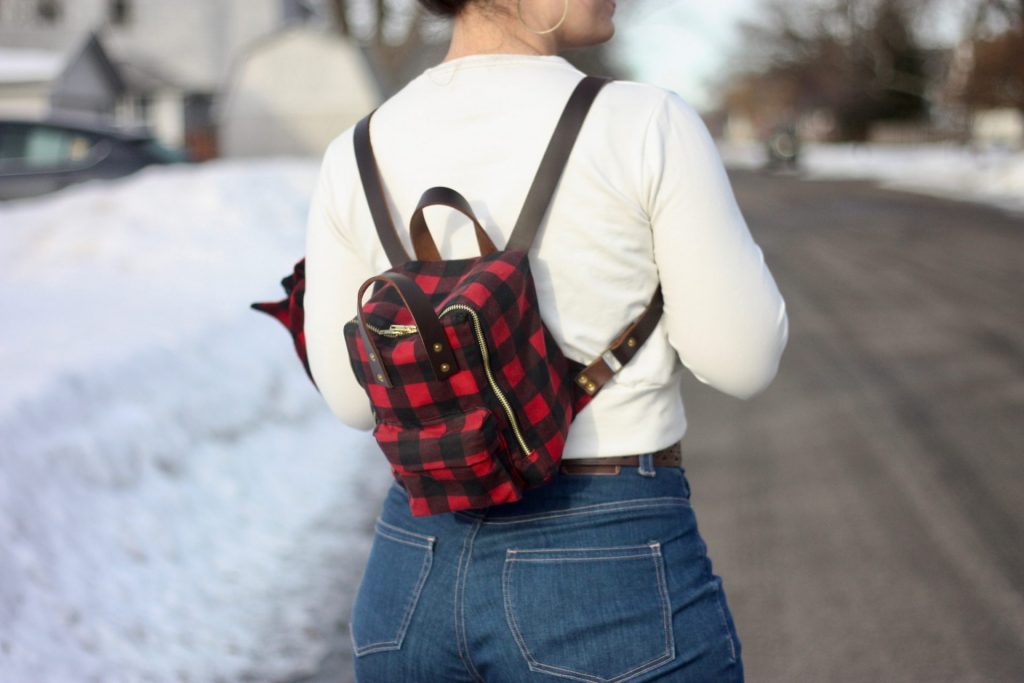
I want to say a quick word about the strap placement at the back of the Rucksack. The original strap placement makes a cute criss-cross, but this thick leather definitely didn’t allow for that design. I tested the angle of the shoulder straps and cut the ends of the shoulder straps to cleanly match the edge of the back handle. There is a hidden rivet behind the handle, between the two handle rivets. I thought this was the strongest and cleanest arrangement. I like it!
In the end, all the work was worth it! I think this pack will have a good long life.
I Love This Little Baby!
Finally, I hope you found this photo tour of my beloved Raspberry Rucksack useful. Please do reach out if you have questions! Let me know if you end up using any of these techniques on your next Raspberry Rucksack.
OMG this is PERFECT. I love everything about this bag. This size is what I’ve been searching for & to think I CAN make this.
You’re an 😇 in disguise with this timely post. Is it ok to contact you if I get sticking this make. I’ve never made a bag before. Thank you
Baa
I’m so glad to hear it! Definitely reach out if you get stuck. Sarah Kirsten (the designer of the bag) has some great resources and sewalongs on her blog too! x
Pingback: Raspberry Rucksack – Pound Cake