Sewist steals husband’s shirt- you won’t believe what she did with it!
Click-bait titles are so cringey, but I’m glad you’re here / fell for it? Also for the record, I got explicit permission from my husband that I could have his shirt for a selfish refashion. I actually gave him this shirt in the first place! He didn’t love it, obviously.
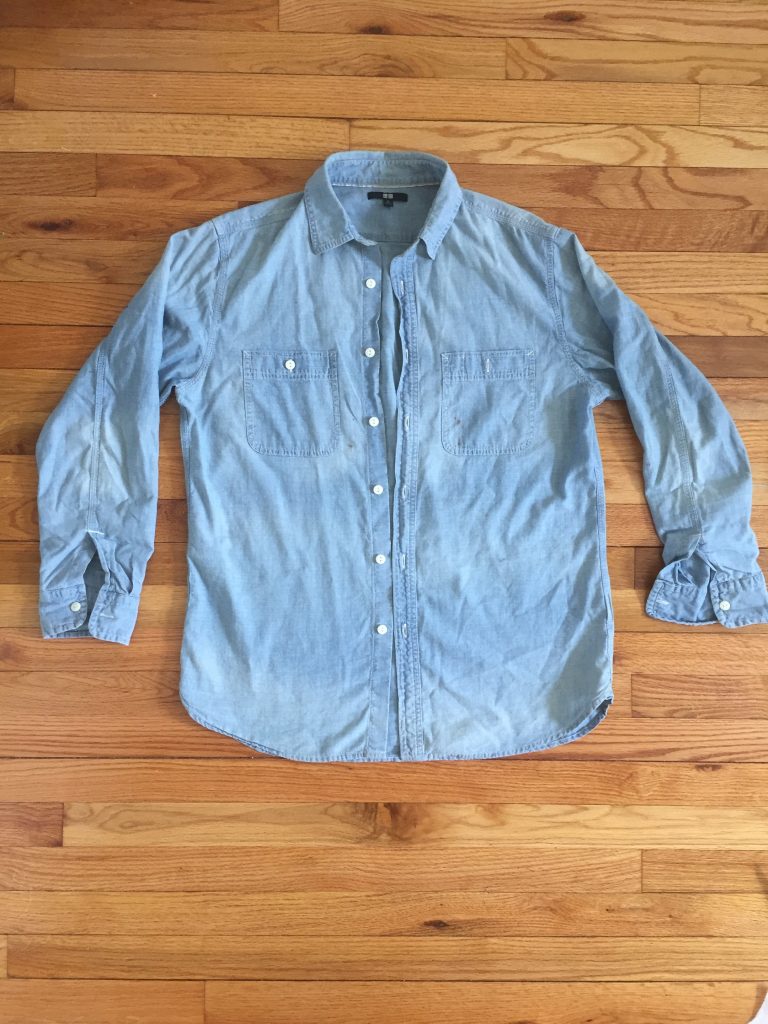
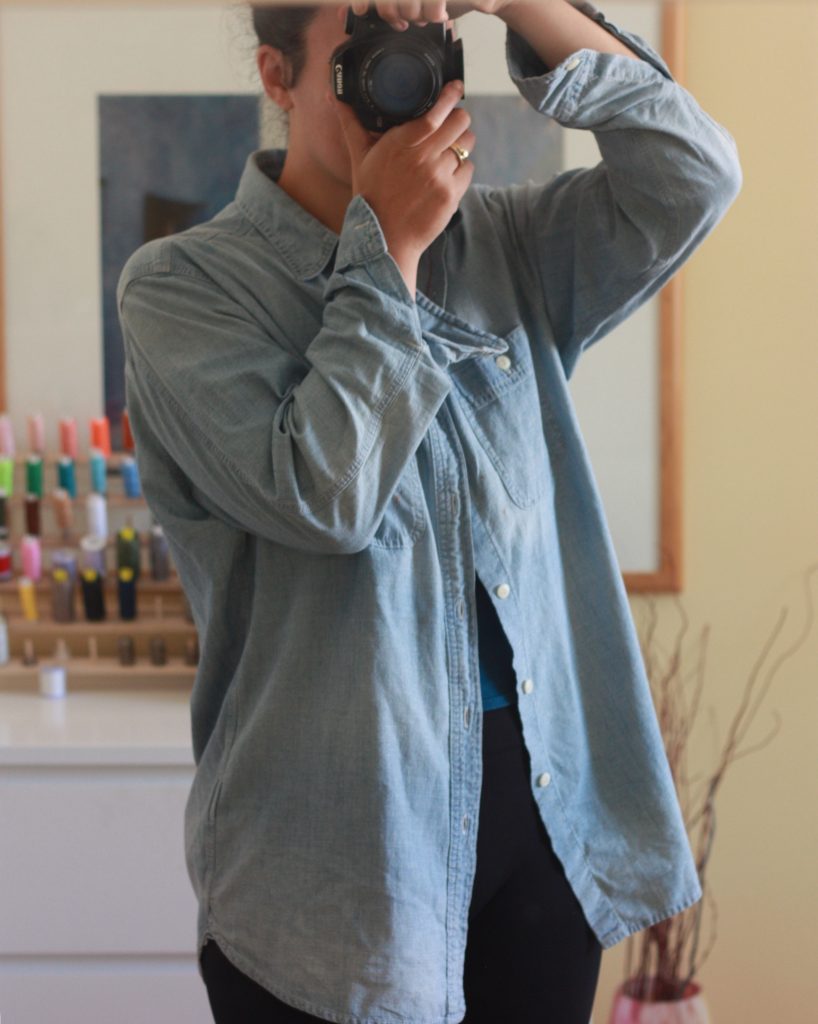
This Shirt’s Previous Life
This was a ready-to-wear men’s lightweight denim shirt from Uniqlo from the days we lived in Thailand. I’ve worn it in its original state more than he has. I like oversized shirts, but I felt I could keep the same vibe with this refashion. My goal is make it look a bit more stylish and less like a shirt I’d wear while throwing clay.
Working With the Kalle Shirt Pattern
First step was to buy Closet Case Pattern’s Kalle shirt pattern- I knew I would make it again (it’s true.) I wasn’t sure if I was going to have to deconstruct the shirt and recut all the pieces according to the pattern. As soon as I laid the pattern pieces on top of the flat shirt on the floor, I saw that they fit nicely. I decided to make this a really easy hack. No reinventing the wheel! I kept the original collar, pocket, and button placket. This is what gives this hack a crazy ROI. Evil laughing all the way to the bank, baby.
View A has a beautifully thick back hem facing pattern piece and I cut it out of the very bottom of the back of the shirt. I did have to cut into the top inner edge of the pattern piece a tiny bit to make this fit. I took the front hem facing out of the very bottom of the front of the shirt too.
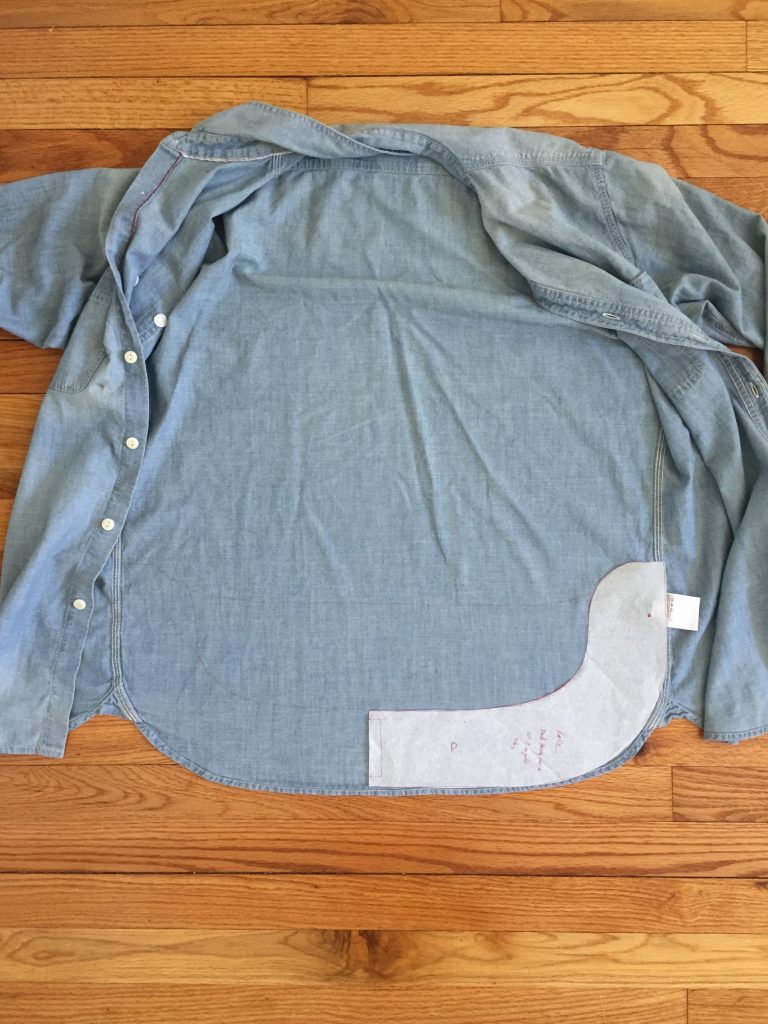
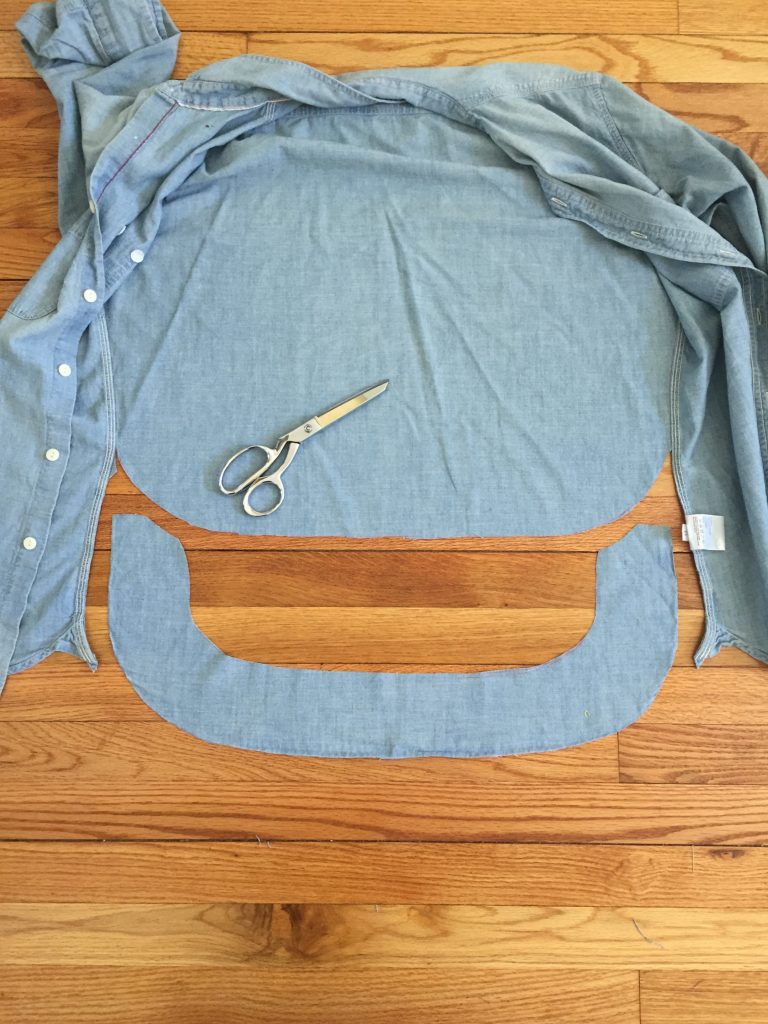
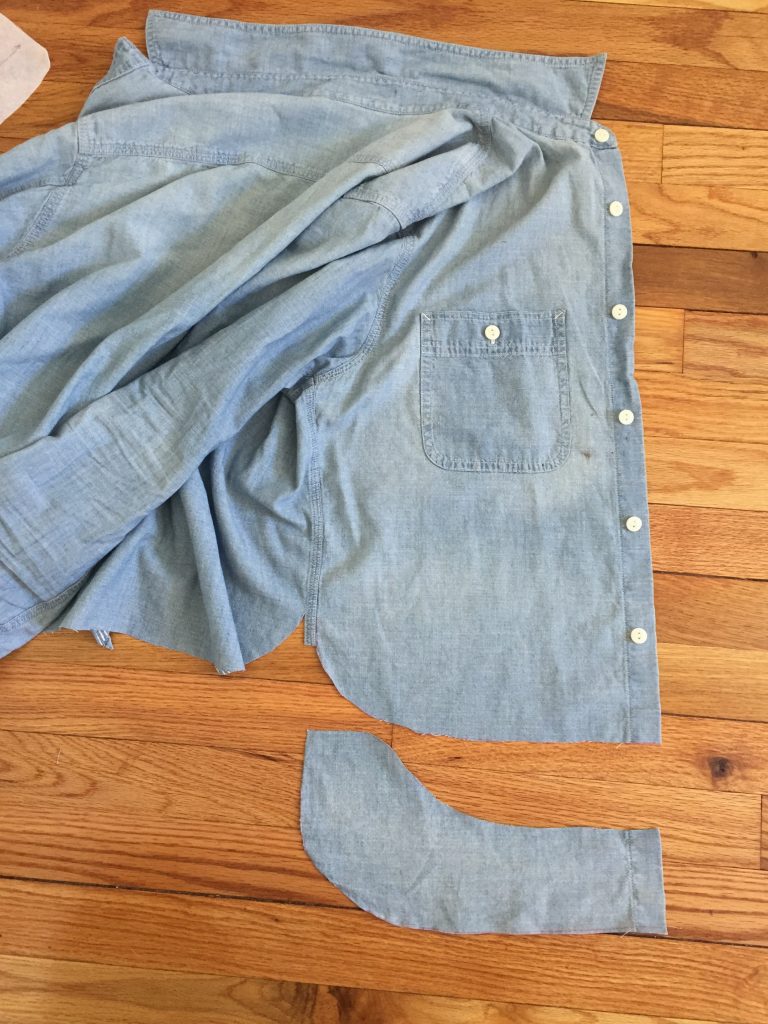
As you can see, I didn’t take apart the side seams at all. This shirt already had beautiful finishing (triple top stitch flat felled seams, props to you Uniqlo; we just hope you are paying your sewers fairly for all the extra time that takes.)
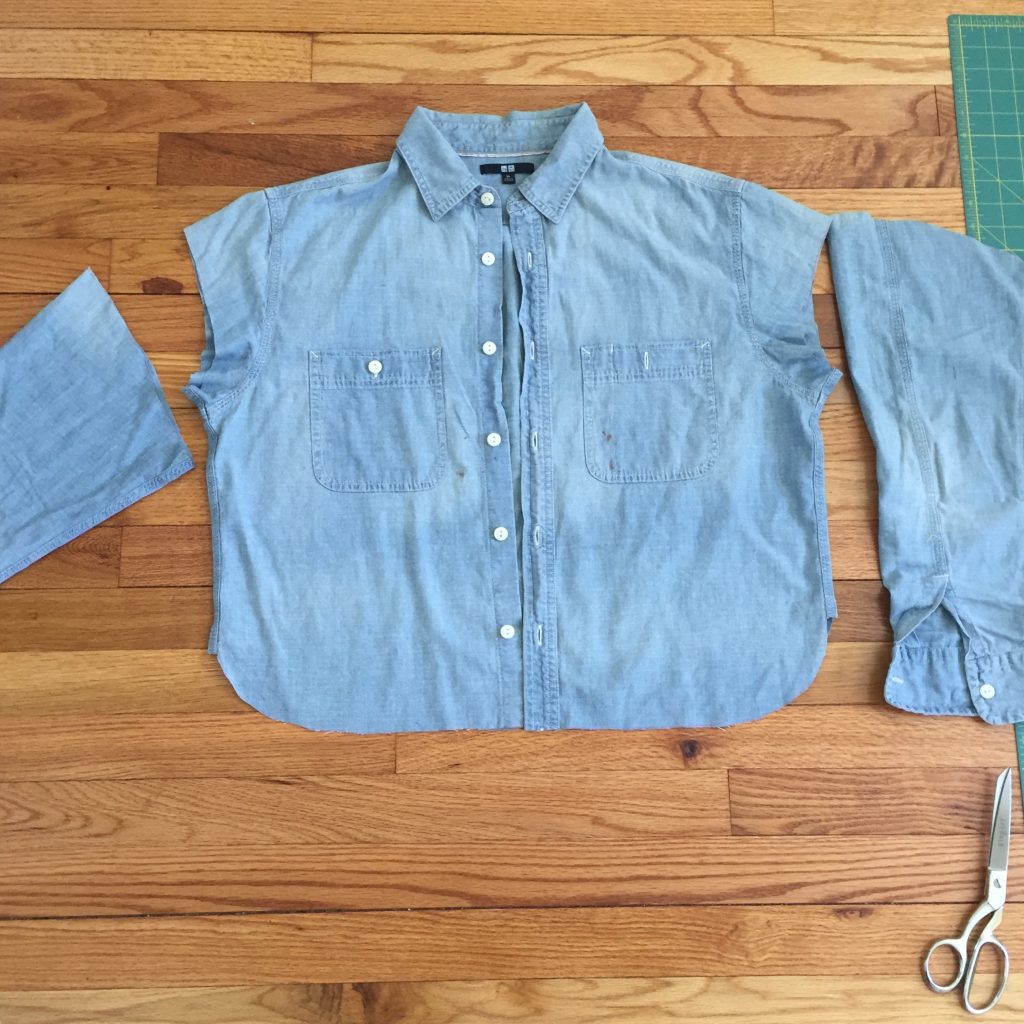
Chop the Sleeves
Next, I cut off the long sleeves just past the shoulder seam. I used the sleeve fabric to cut the cuffs. I was careful to adjust the length of the cuff to match the opening of the sleeve. The original Kalle sleeves are a bit narrower than this men’s shirt, so if I used the original pattern pieces, they would be too small.
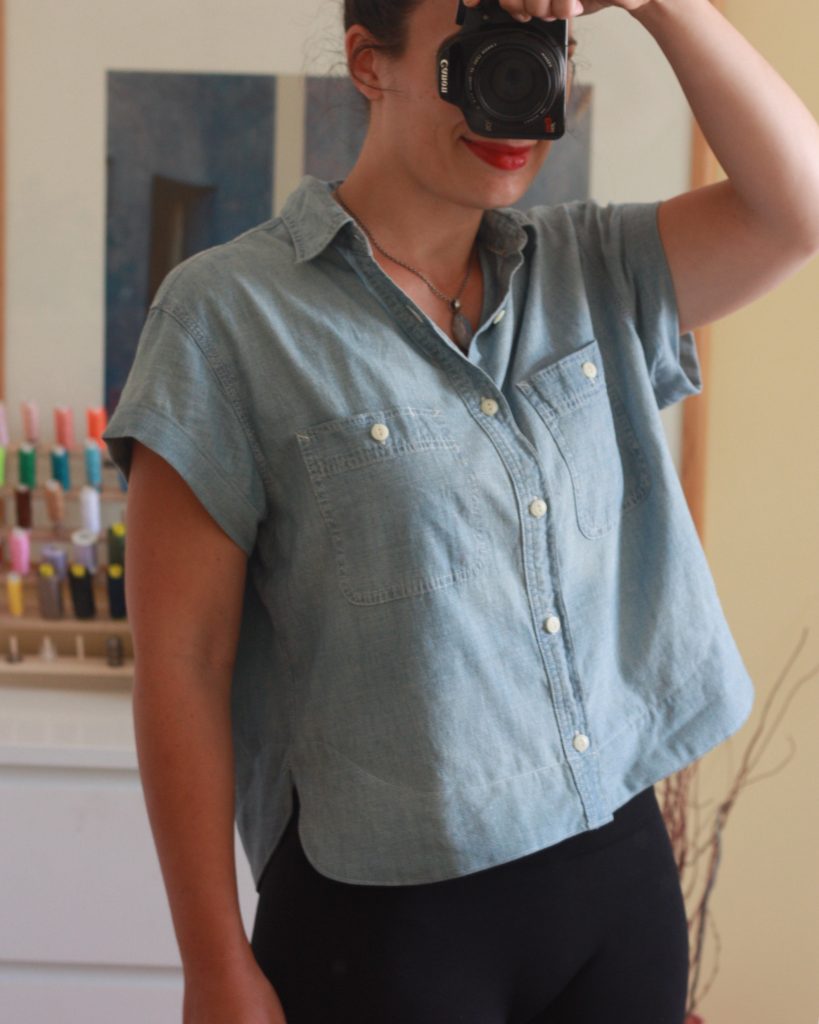
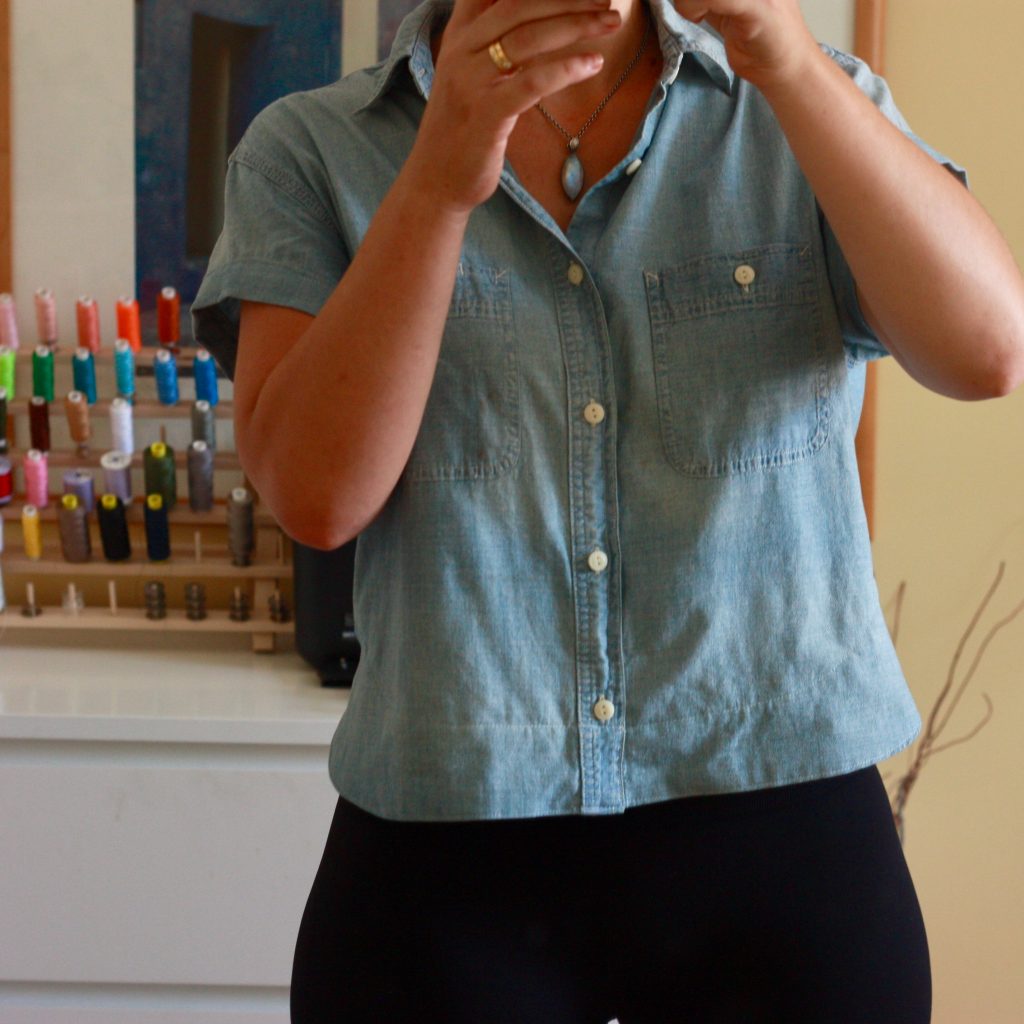
Then, I followed the pattern’s instructions on how to construct the hem facing. It was a little tricky at the side seams. However, with a little easing and clipping, I was able to make this work pretty well. Finally, I followed the instructions for the cuffs as well and this was a fast and easy transformation!

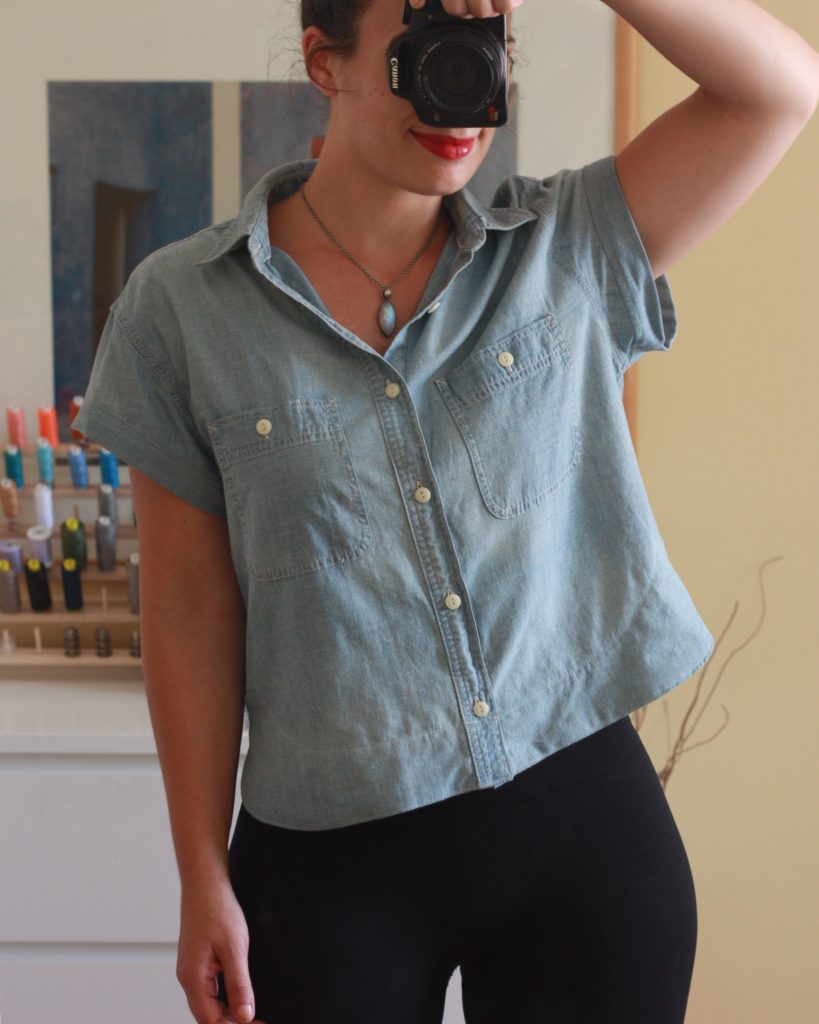
That turned out great! I know you will enjoy wearing this version a lot.
Thanks, Patti! I wear this one all the time! Probably one of the items I wear most often because it goes with just about everything!
Very nicely done! I intend to try this as my next project. Thank you for the inspiration and instructions.
Excellent! You’re very welcome – let me know how it turns out, please!
This is brilliant! Such a smart idea, I love it, gorgeous looking final garment, and it looks really great on you. 😊
Thank you Emma! I love it too and I wear it all the time!
Looks fabulous. Can’t wait to give this a try too 🙂
Excellent! Let me know how it goes!
*rushes to raid Hubby’s closet*
Thanks for sharing!
Yay! You’re welcome!
That’s a super brilliant idea! I’m so going to copy that!
Awesome!!
My boyfriend just lost 40 pounds and none of his dress shirts fit him. I was going to try to tailor some of them down for him but now I might steal some of them for myself! What a great idea.