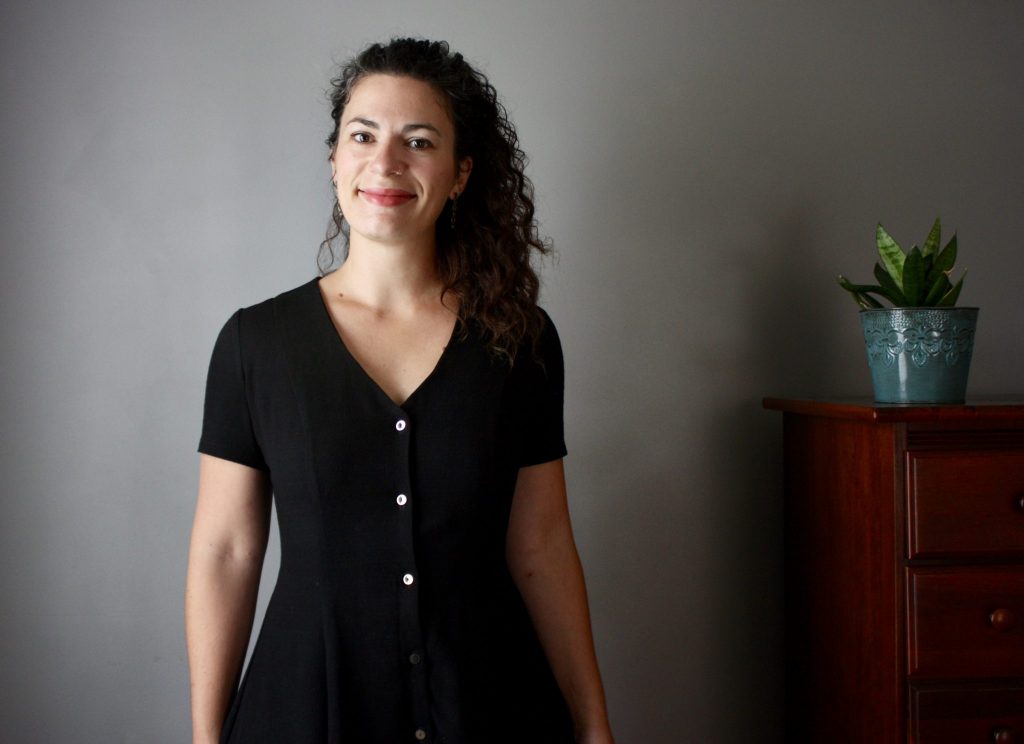
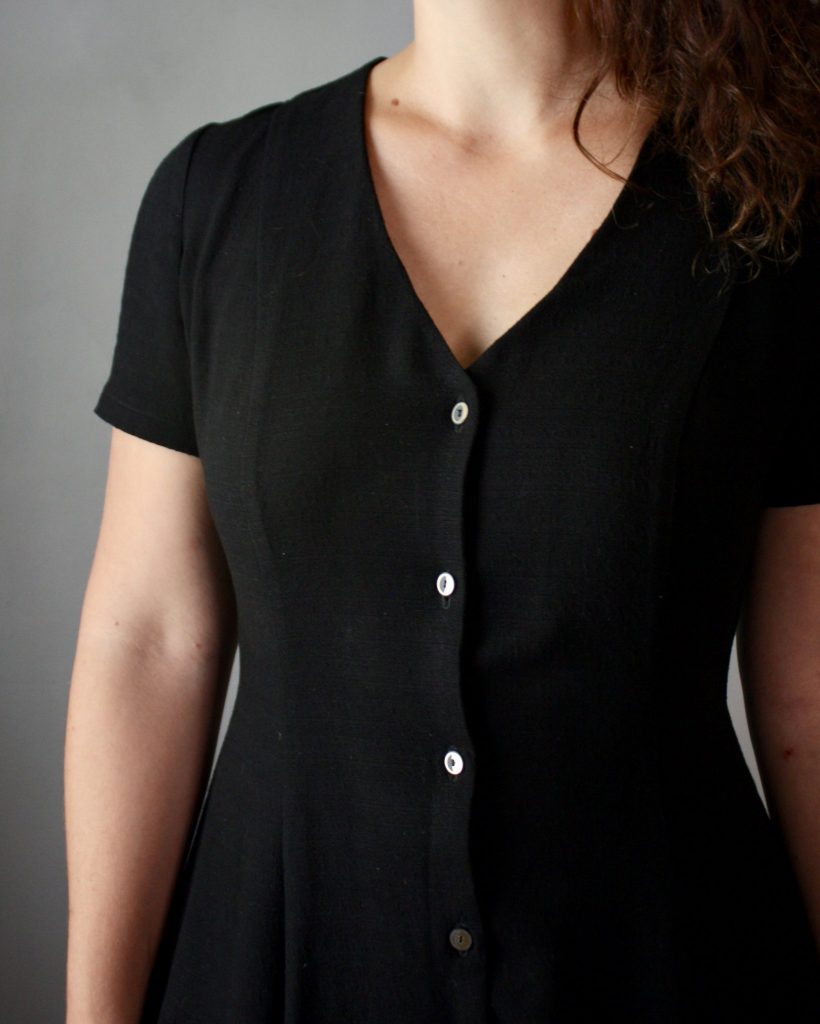
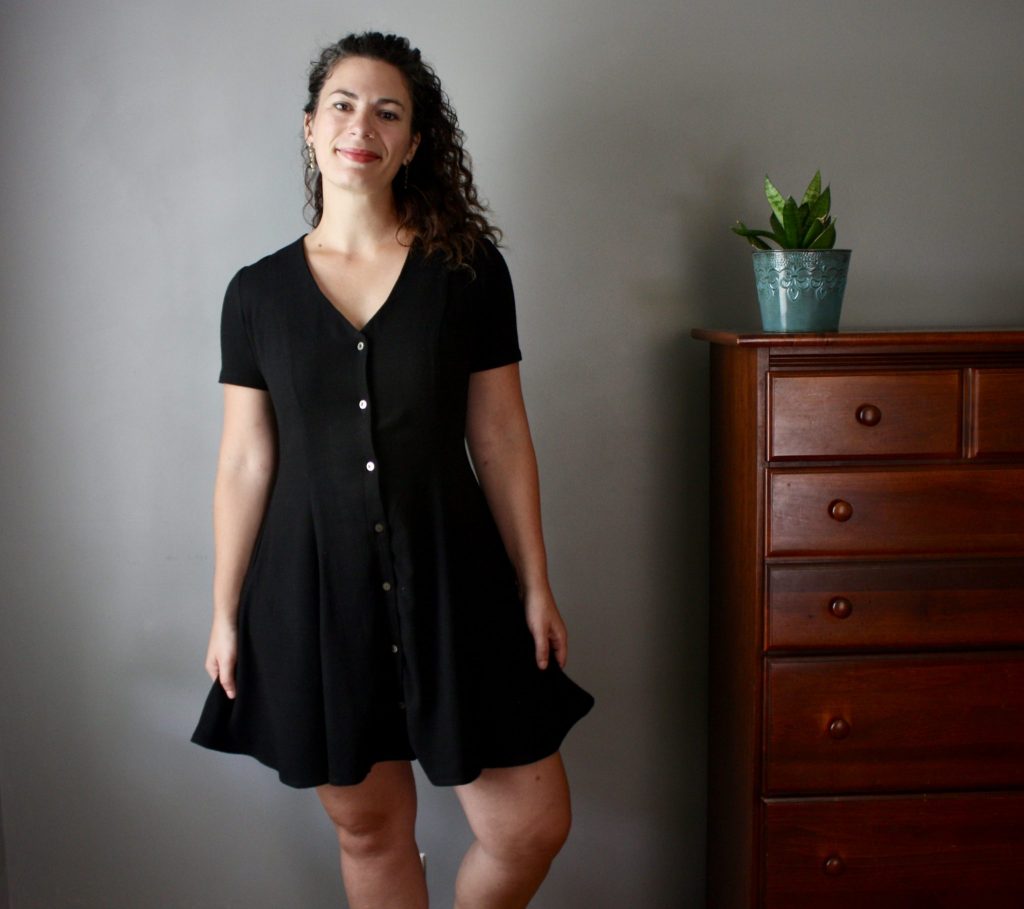
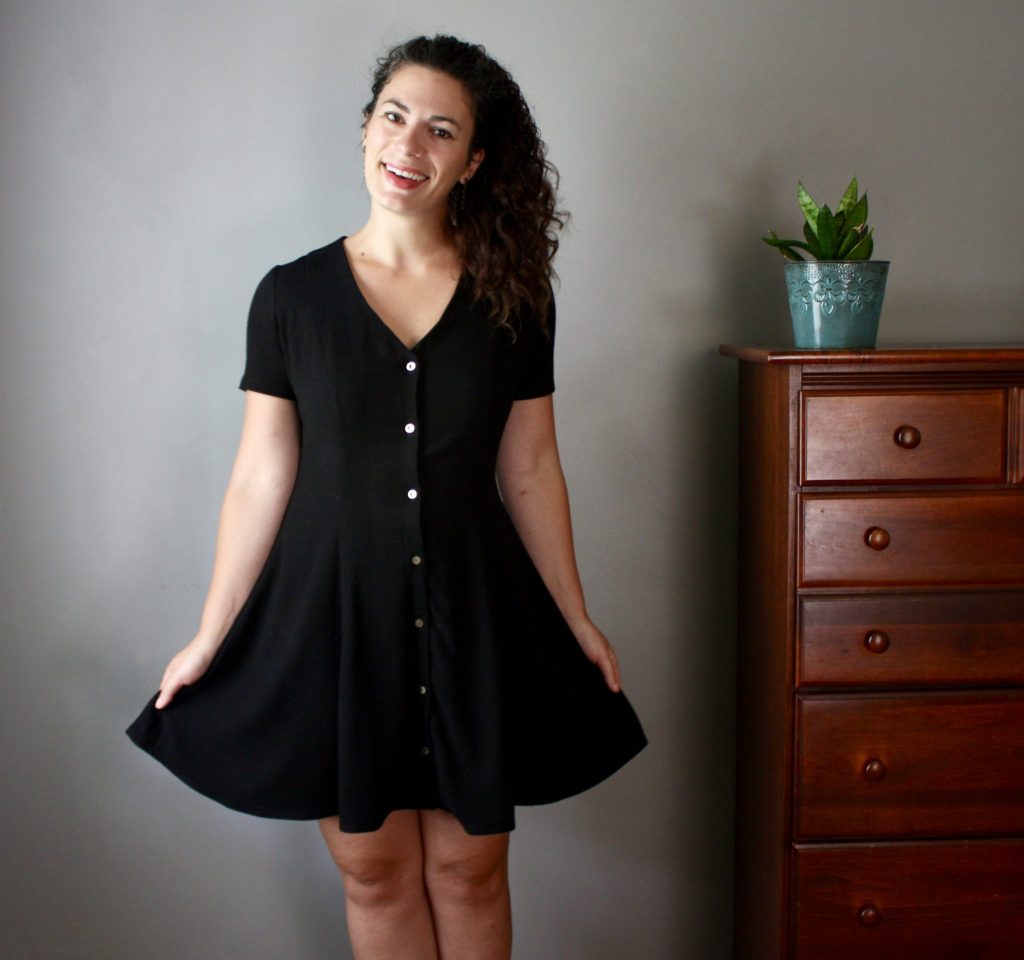
Are we all starting to lean back into some of these 90’s nostalgia styles? I never really imagined that I would, but here we are. The Shelby Dress is a fun princess seamed button down dress which also has the option to be made as a romper. It’s reminiscent of easy, twirly, 90’s call-me on-party-line vibes. True Bias, the designer of this pattern, has done it again with yet another solid and clear making experience, along with a beautiful fit. Read on for my full review of the pattern, and the details of my moody black Shelby.
The Details
- Pattern is the Shelby Dress by True Bias
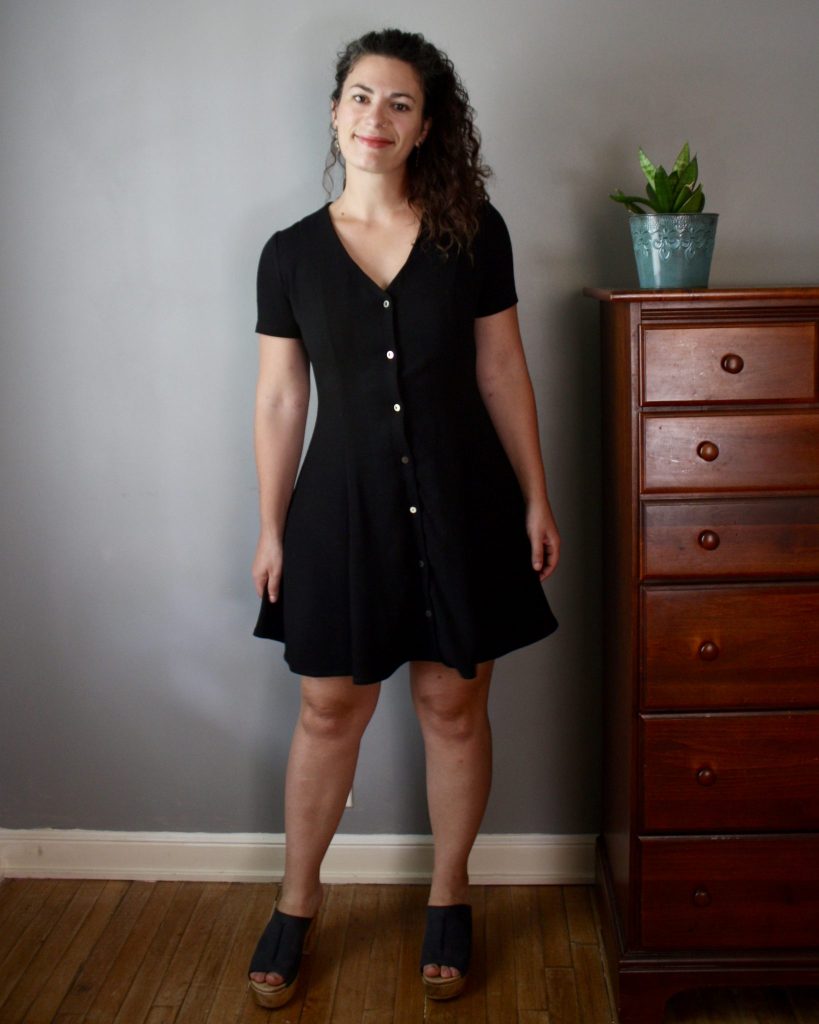
- I made a size 8 in view A: short dress with traditional sleeves (my measurements are 36, 29, 45″ bust/waist/hip”), no modifications
- Fabric is textured Rayon Tencel from Sewing Studio (purchased a year ago)
- Moon Phase Buttons from Arrow Mountain
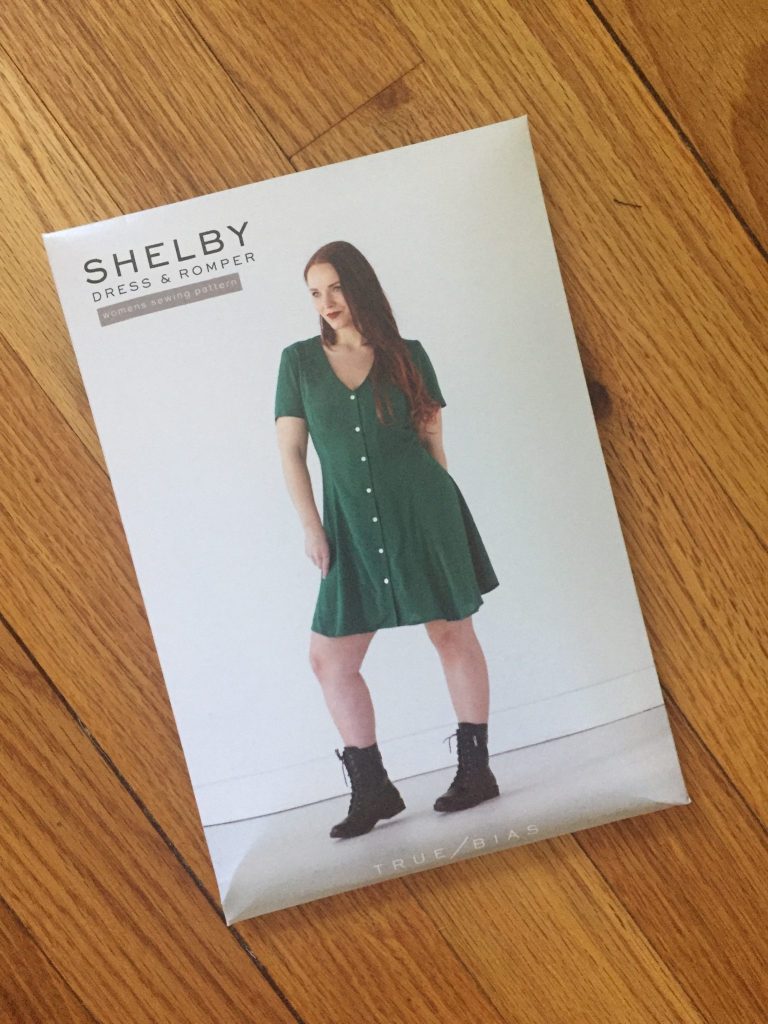
Shelby Dress Paper Pattern 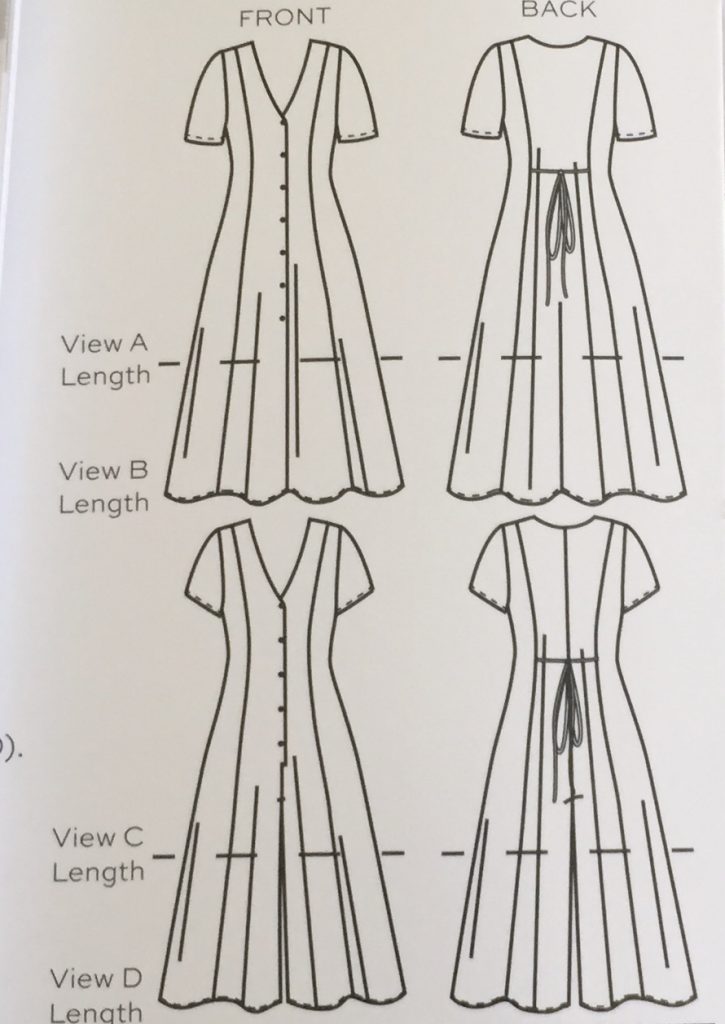
Shelby Dress Views
Sizing and Pattern Layout
It’s pretty rare for me to be able to make a pattern with no adjustments or modifications. This was a treat to make a straight size since there is plenty of ease in the skirt, where I’d normally fall into a size much bigger at the hip. This made for a quick tracing and cutting experience, which always makes me happy to get to the sewing part faster than usual.
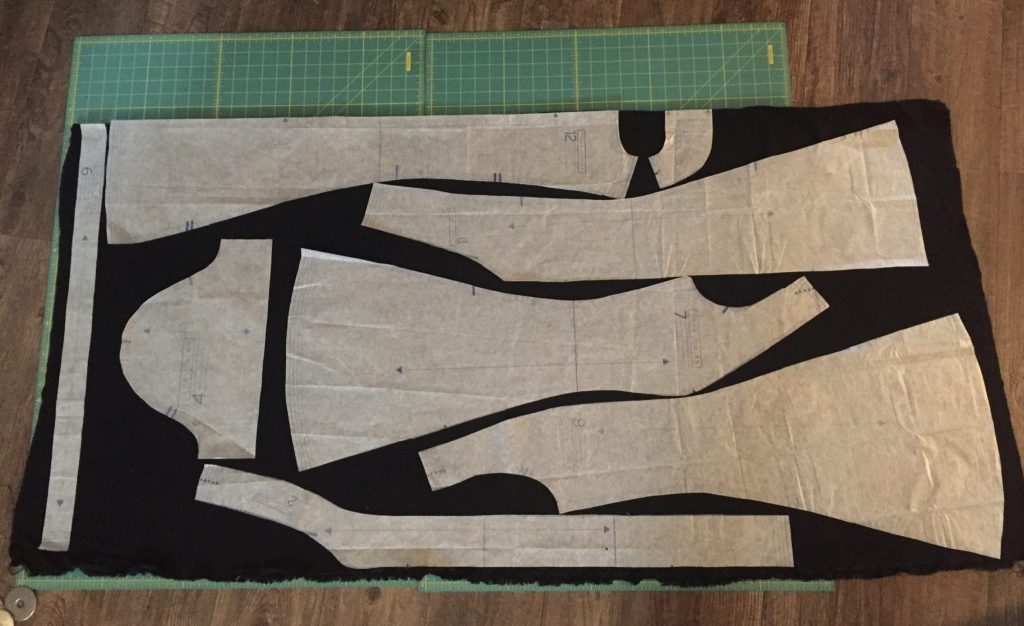
I was able to fit View A size 8 into 1 3/4 yards of fabric on the fold. A couple of pieces were off grain by no more than a few degrees. I also cut the ties on the cross grain instead of on grain. No problem making those sacrifices in the name of saving fabric. This Tencel/rayon blend has been in my stash for over a year, and it’s always so nice to finally make a match with the right pattern.
Sewing process
True Bias patterns always give me a satisfaction that I just can’t describe. There’s something so logical, angular, and clear to them. Angular isn’t the right word here since this dress has pretty flowing princess seams, but I guess what I mean is that everything just makes sense. Like you’re consistently grabbing the right puzzle piece on the first try. I also love that her patterns have a 1/2″ seam allowance. I now associate that with her brand, and it somehow adds to the whole making experience.
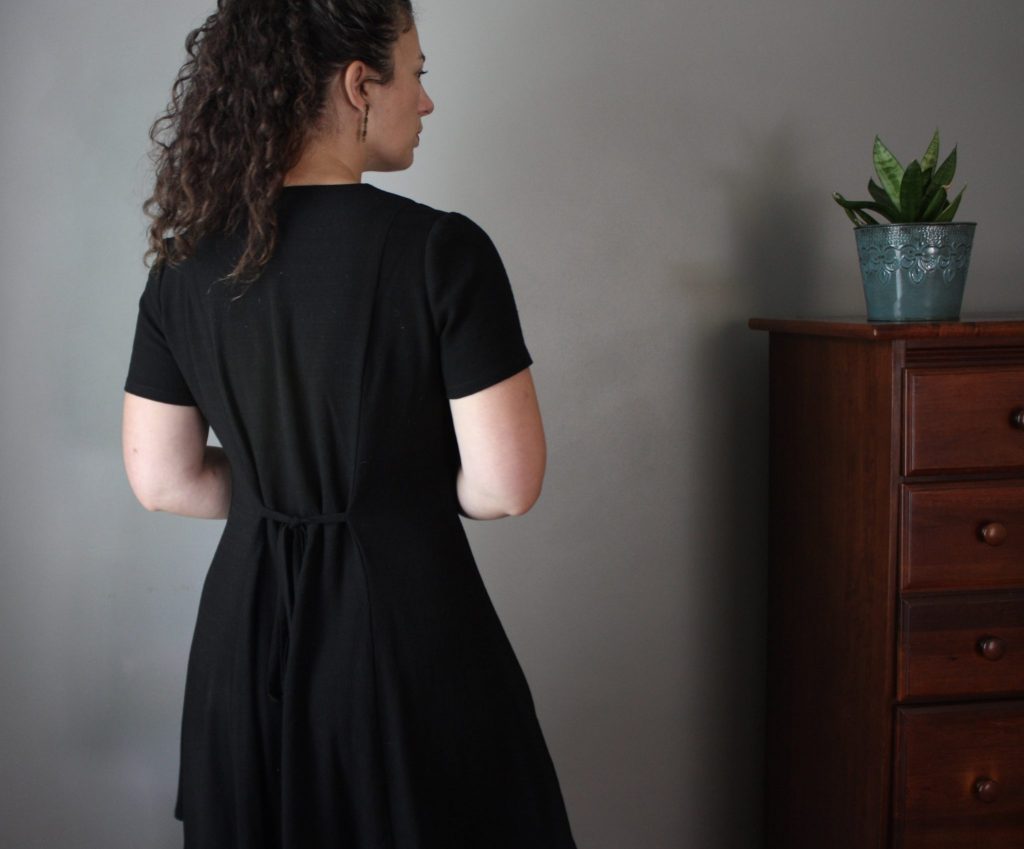
The only moment I started to doubt the process (mainly due to my fabric choice) was the first try-on before the button holes and buttons were in. My fabric has a bit of stretch and a significant amount of weight given the great drape. I started to worry a bit about the front center seams gaping away from the rigid interfaced facing pieces. I even tried to use wonder tape to keep them stuck together. That was fruitless because the adhesive wouldn’t stick under my iron unless I was willing to get so hot that it would affect the fabric. I nixed the wonder tape and just went ahead with the button holes and buttons and sure enough the problem fixed itself. Don’t doubt your dress in those moments before you add the button holes and buttons!
The Buttons
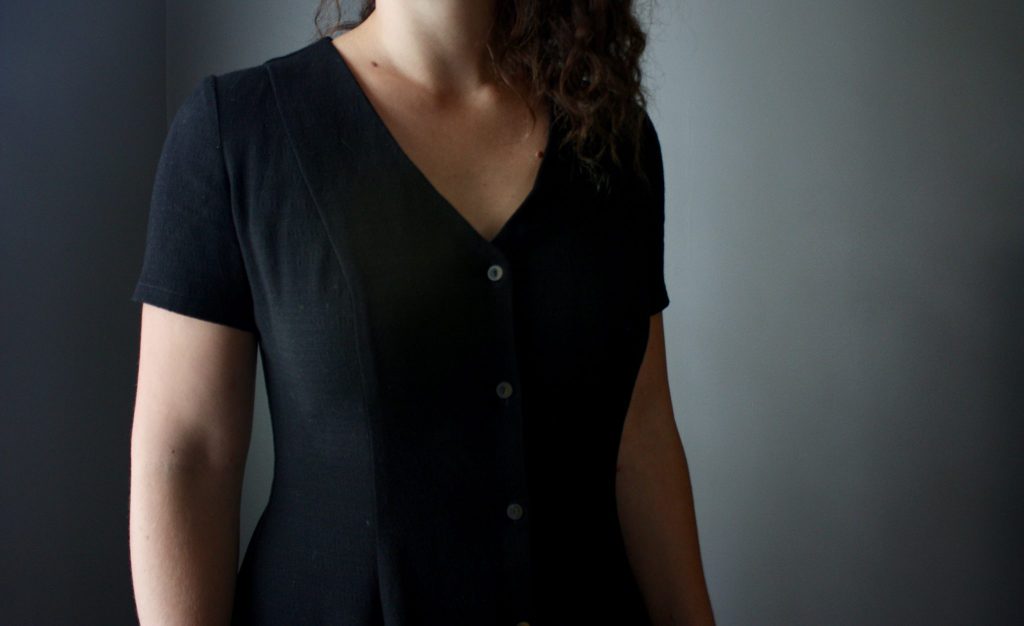
These buttons are some of my favorites. Arrow Mountain has a wonderful and unique collection of buttons and they arrive in beautiful origami packaging. I bought two sets of these Moon Phase buttons over a year ago. I used most of one set on a shirt for my husband. Although, I might swap those out for plain black ones someday because maybe they are a bit flashy for him. They are black with a shiny gold. Plus I’d love to use them for another garment for myself someday.
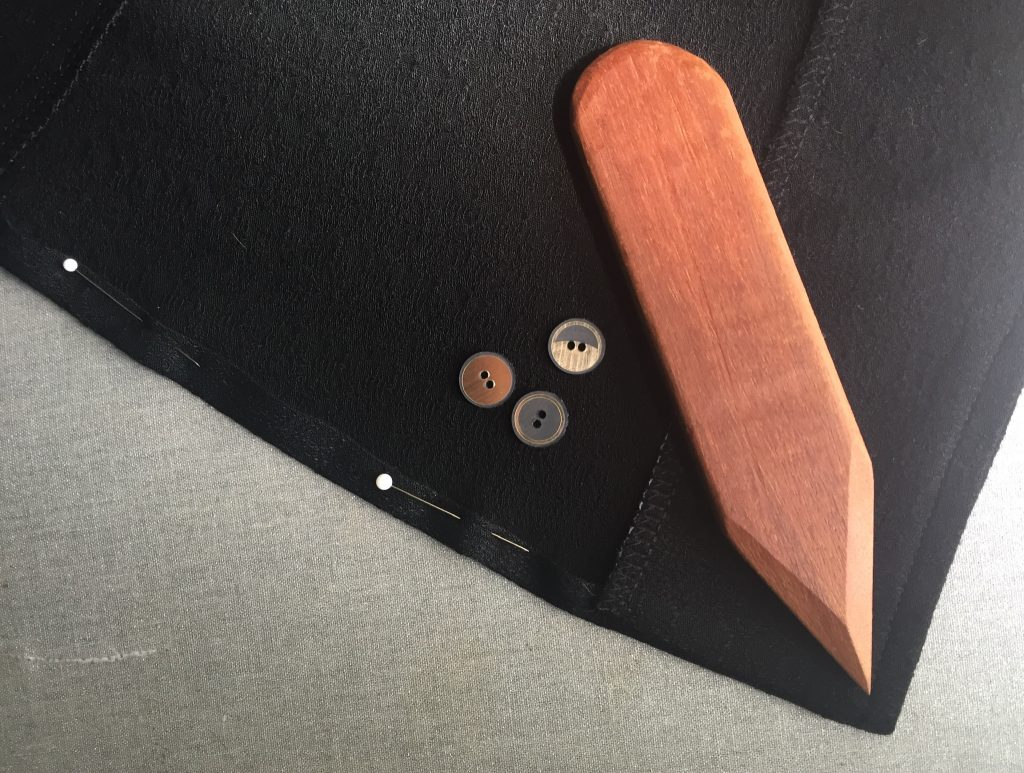
I of course wanted the moon phases to be accurate so I paid attention to the direction and order of the buttons pretty carefully. I started with a quarter moon at the top because that was the moon phase on the day I was born.
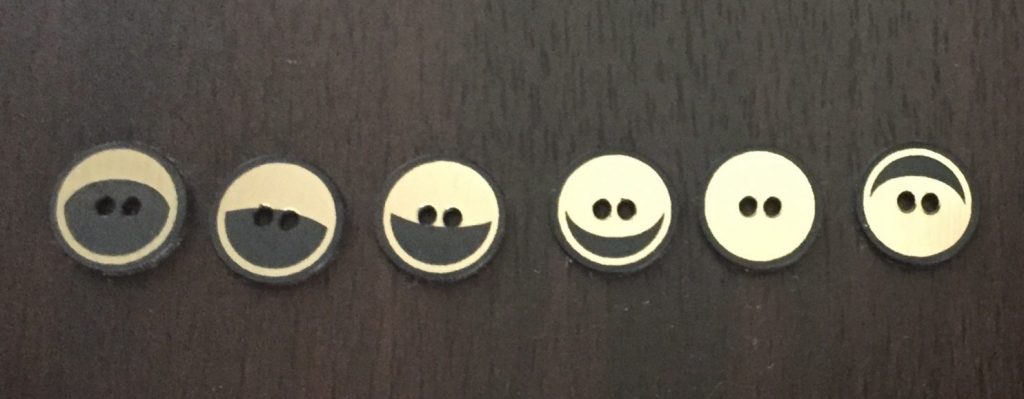
The buttons are what really made the dress for me. When I tried it on beforehand, I was a little skeptical that it would be too formal, plain, or outside of my casual comfort zone. These quirky little gold flecks add a point of interest and a conversation starter. I will take any opportunity to talk with friends and strangers and people who were not even looking in my direction to talk about the clothes I’ve made.
Final Thoughts
Again, I just loved the fact that I could make a straight size in this one. If I made this view again, I might add an inch or two of extra length. I wanted to do that in the first place, but my limited yardage kept me from it this time. I may wear little black bike shorts under this if it’s a breezy day or if I’m going to be more active. This pattern also comes in a longer length and a romper option with cap sleeves. I’ve got my eye on a long romper, so I’ll be keeping my feelers out for the perfect fabric for that. Bottom line- this is a wonderful pattern with lovely seam lines and a really satisfying making experience! If you’re interested in some of my other projects using True Bias’ patterns, check out my Ogden Cami bias finish scrap buster, or my carpenter pants hack using the Lander Pants.
Finally, thanks to Lakes Makerie in Minneapolis for hosting a Twin Cities Sewists Meetup recently. I won this pattern as a door prize during one of the games we played. Lovely new friends, gorgeous shop, and thanks for a generous prize! I obviously let this pattern jump the queue!

That dress looks absolutely stunning on you my dear. Well done and congrats. Enjoy wearing it and how you feel when you wear it! Thanks for sharing.
Thank you so much, Deb! You are so sweet – thank you for reading!
I love this on you, and the buttons !! They make it all as you said 🙂
Thank you Mathide! Yes, the buttons are everything!
I ll leave you with a quick note on sizing. I sewed up a size 4 with the only alte,ration being 1 added to the sleeve length and blouse length. I ve sewn several True Bias patterns over the last year ( Lodo Dress, Hudson Pants, and Lander Pants ) and have found the sizing on each pattern to be accurate according the measurements included. I ve only made minimal length alterations to each and would highly recommend Kelly s patterns.