Bag making! I can’t believe I waited this long to make a proper bag. I’m not counting the simple grocery totes either. One of the first things I ever sewed was a self-drafted tote that has awkwardly long straps and an even longer bag. It’s so bad that it actually makes me look short, yet holds a week’s worth of groceries. The Oberlin puts all my sad awkward totes to shame. I don’t even want to call this a tote, because it is much more elevated than that. It’s an accessory, and something I will build entire fall outfits around. I flew first class with this one and sewed up the full Oberlin maker kit from Klum House. I have all the details on the bag making process, waxed canvas, beautiful materials and hardware, and the bonus lining and zipper expansion options too!
The Details
- Pattern is the Oberlin Tote from Klum House, with optional lining and top zipper
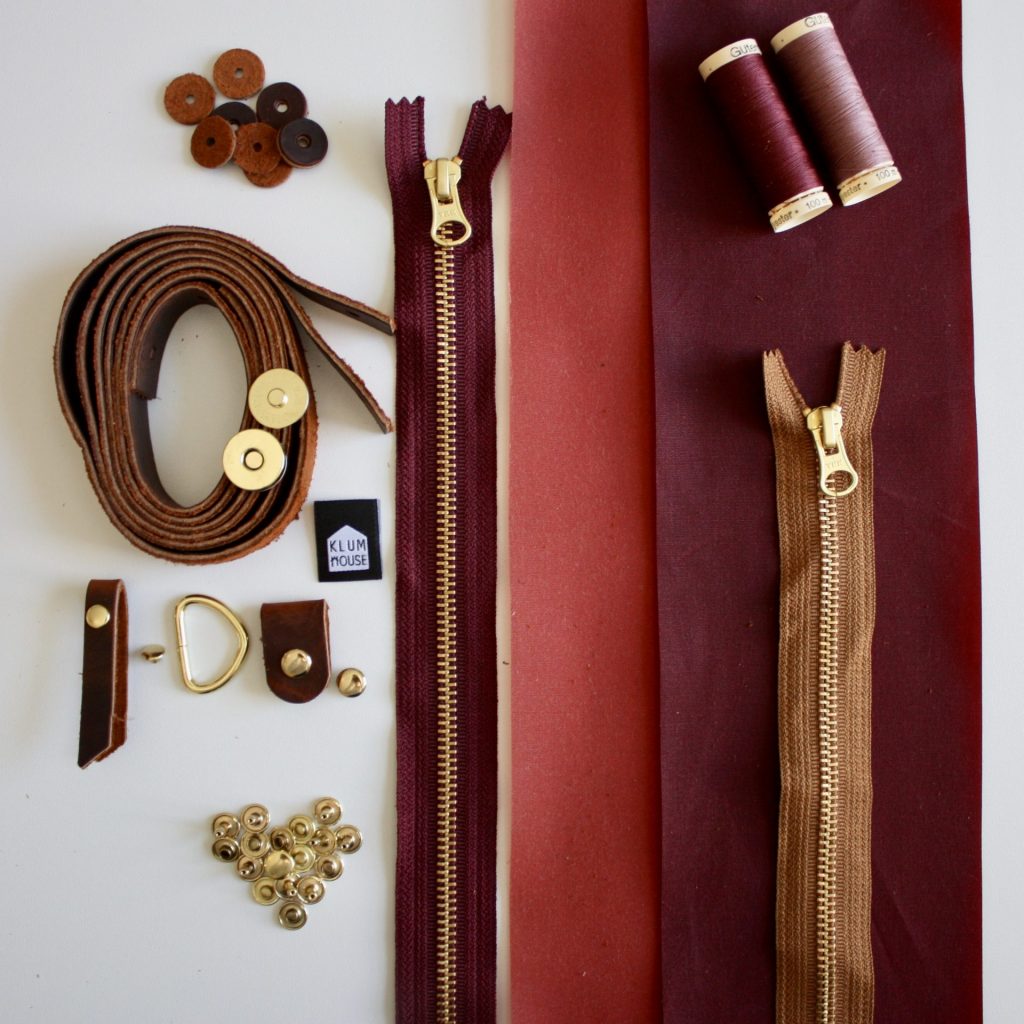
- Oberlin maker kit includes pre-cut (and notched!) wax canvas main and contrast pocket pieces, matching thread, zippers, hardware, pre-cut and punched leather straps, and pattern.
- The full maker kit was generously gifted to me from Klum House in exchange for sharing my experience and photos of my process.
- The kit offers some popular color combinations, or you can choose custom colors at checkout (this was the hardest decision!)
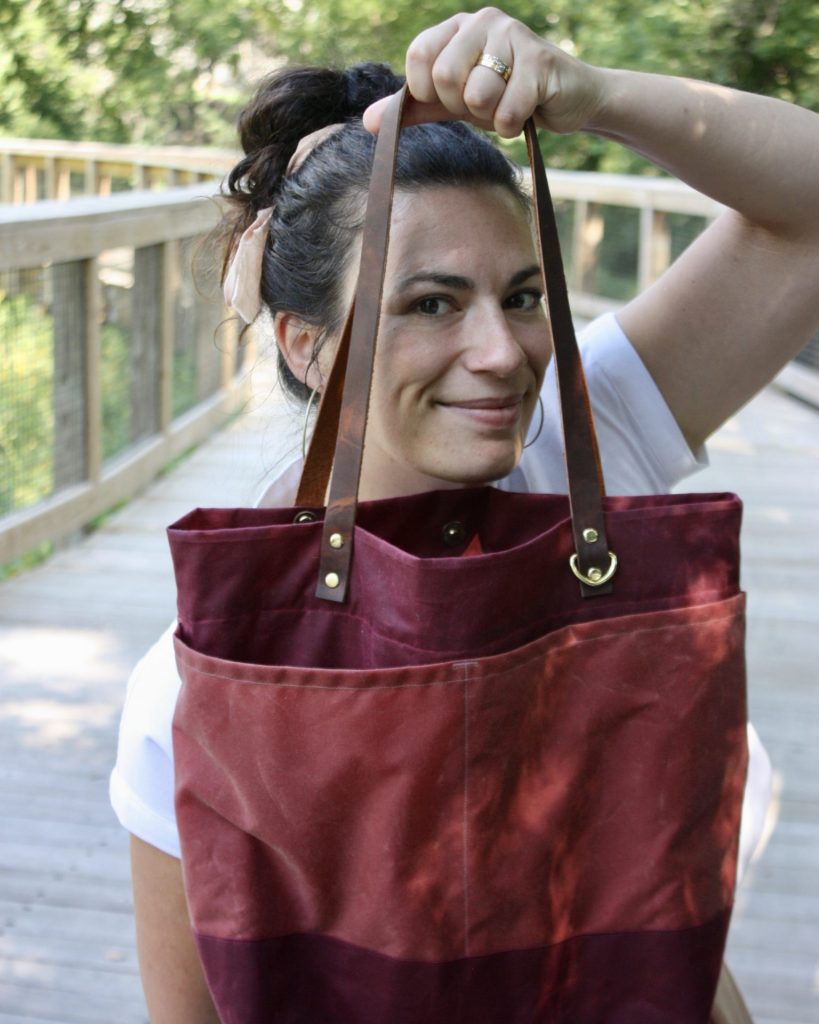
- I chose Burgundy main fabric, Berry pockets, brown straps, and gold rivets
- I used my own lining fabric from my stash
- All Oberlin products (pattern, kits, expansions) are on sale through September 11, 2019 for 15% off (no code necessary) Shop here
Oberlin Full Maker Kit
As you can see in the photo above, the Klum House Oberlin maker kit includes high-quality pieces which are otherwise difficult to source without buying a ridiculous quantity. Plus all the cutting and notching is done for you! I’ve never had that VIP experience before, but let me say I could get used to that!
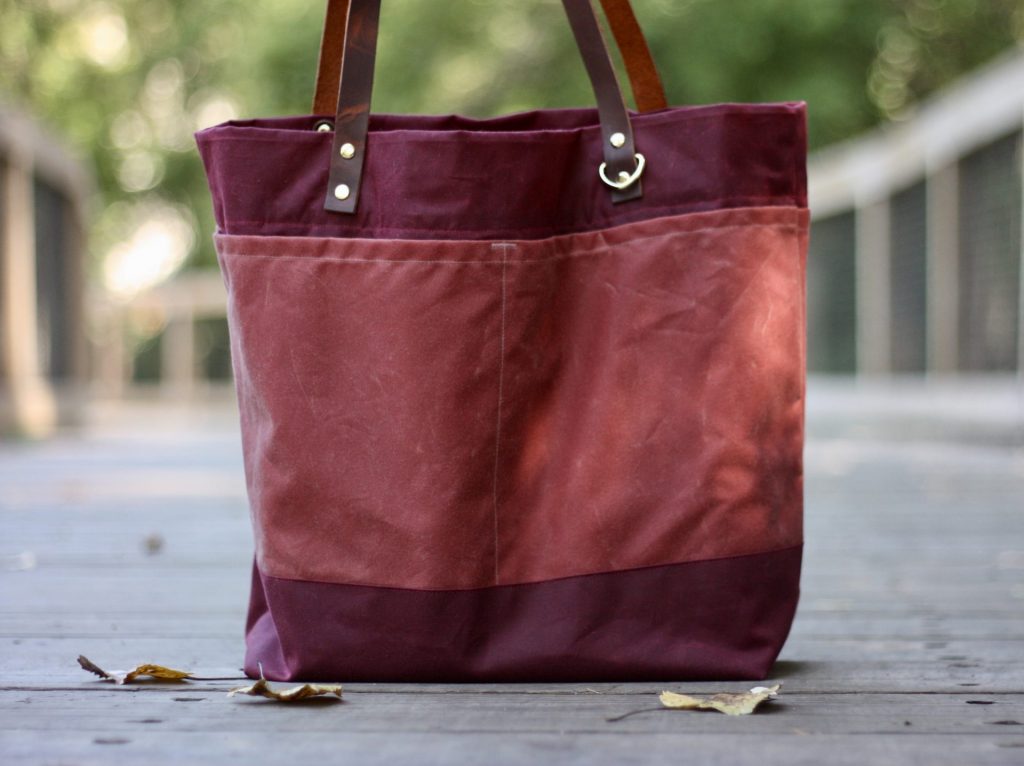
The fabric is waxed canvas and I’ve never worked with it before, but it’s a new favorite. It’s a bit tacky at first, and it looks really crisp in the beginning. Then as you start to work with it, you can see the creases, marbling, and color changes. This will continue with regular bag use and I’m really looking forward to how it will break in.
Assembling the Oberlin Bag
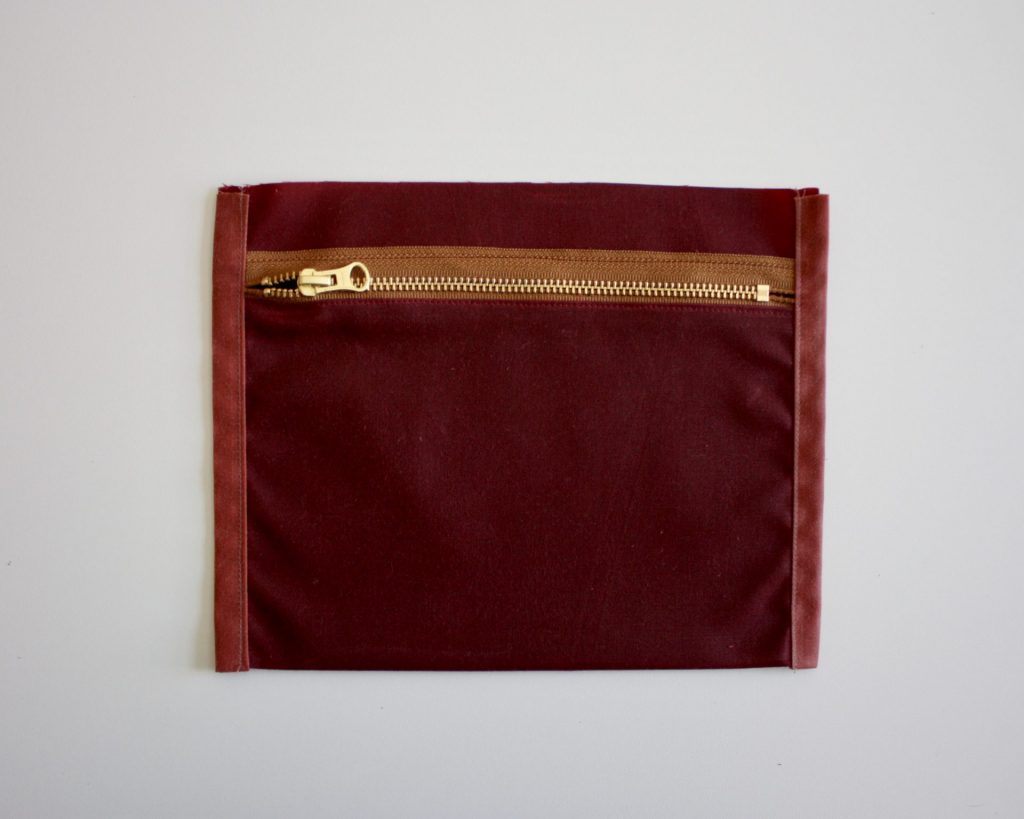
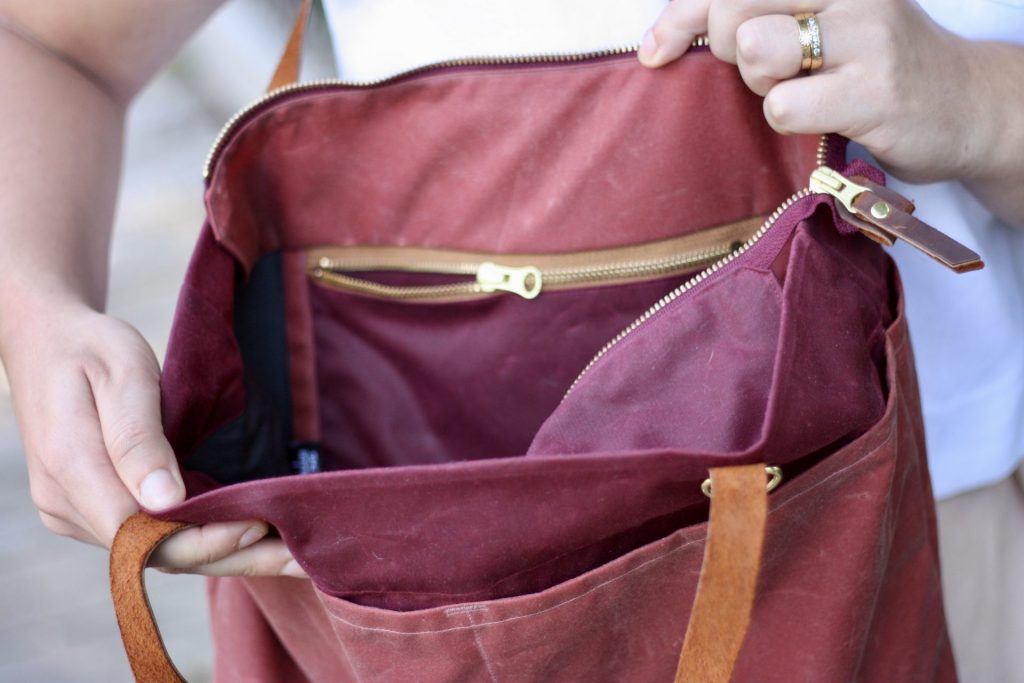
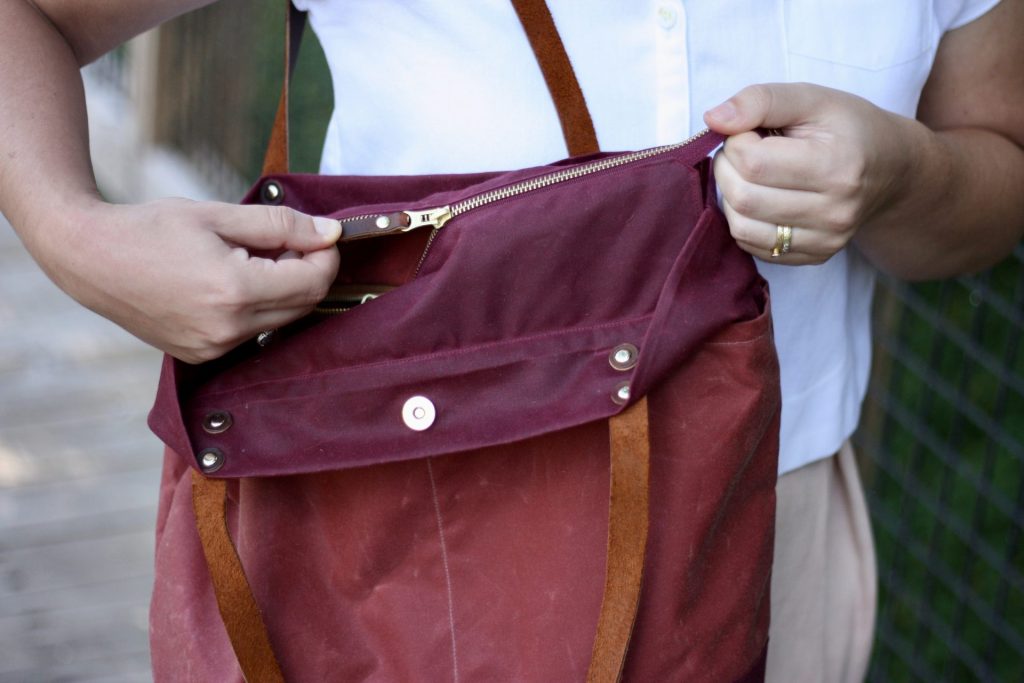
The Oberlin features an internal zipper pocket, shown above. I love how the seams are bound in the same color as the contrast pockets. The instructions give tips on how you can work around the zipper with a regular presser foot as long as you can adjust the needle to the right/left of center. I hadn’t done that before, and I love learning new tricks. The internal bag is great for keeping small bits safe and handy.
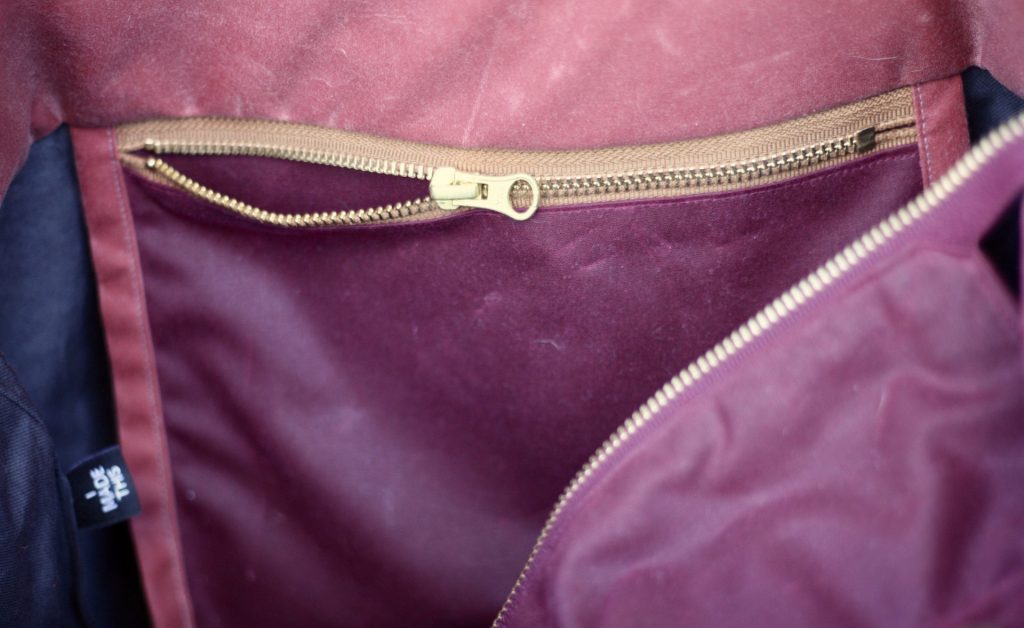
I also made the top zipper closure option, which is an expansion pack that can be added on to both the pdf pattern and the full Oberlin maker kit. You can also buy the top zipper and hardware kit for this expansion if you don’t want to go the full maker kit route. This was fun and satisfying! The pattern stresses the importance of lining up these four flaps (top and bottom on each side) and I feel quite proud of how clean this looked on my first try, thanks to the clear instructions. I love how the underside is lined in the contrast fabric as well. The leather zipper pull and tab are a really nice touch!
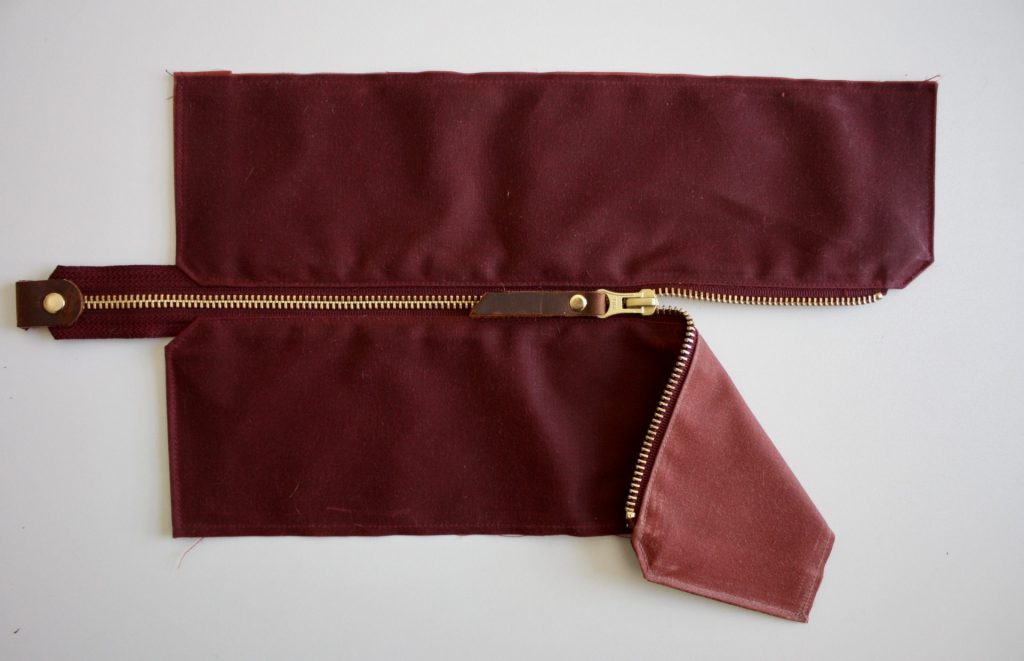
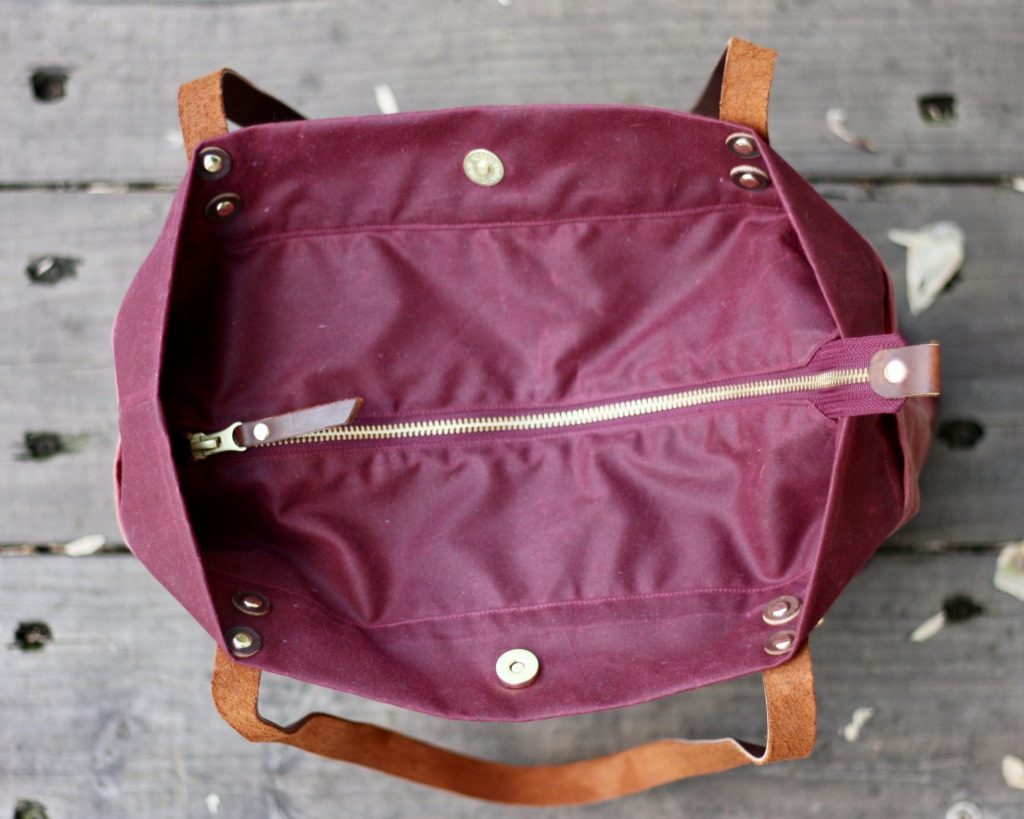
Here’s a look at the Oberlin top zipper expansion open to show the internal zipper pocket:
Installing Hardware
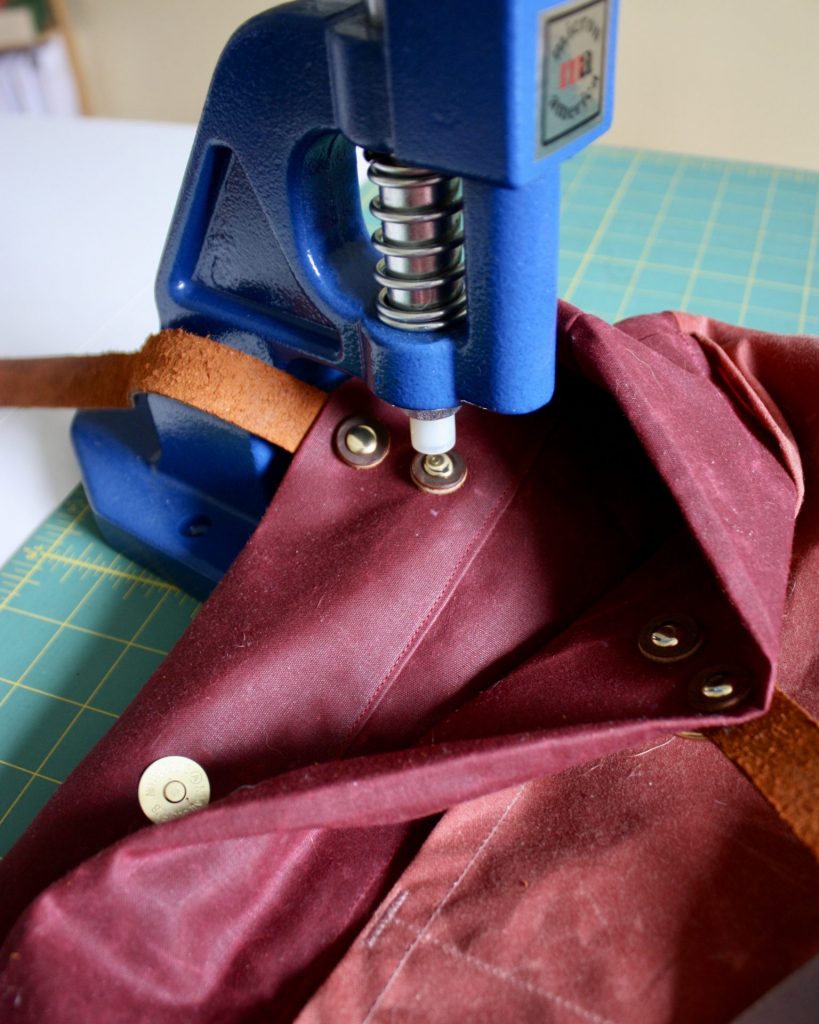
You know I love a good hardware install! The Oberlin instructions explain how to use a hammer and a hard surface to install the rivets, but I went with my industrial hand press. I didn’t have the exact rivet die, but it did the trick! In the photo below, the rivet under the press looks wonky or dent, but it’s actually just the reflection of the press in the shiny surface of the rivet. By the way, the rivet press is from Micron America, an anniversary gift from my husband, believe it or not! He bought it online directly from the company’s website. Highly recommended!
The magnetic snap doesn’t need any special tools to install, and it adds such an upscaled touch. I also love the leather washers included with the full kit. Those are used between the rivets and the inside of the bag for reinforcement.
I especially love the little D-ring included – perfect for keeping keys handy or maybe a fun tassel ornament. Omg remember when putting a rabbit’s foot on a key chain was a thing? How gross was that?! I really hope that’s still not a thing….
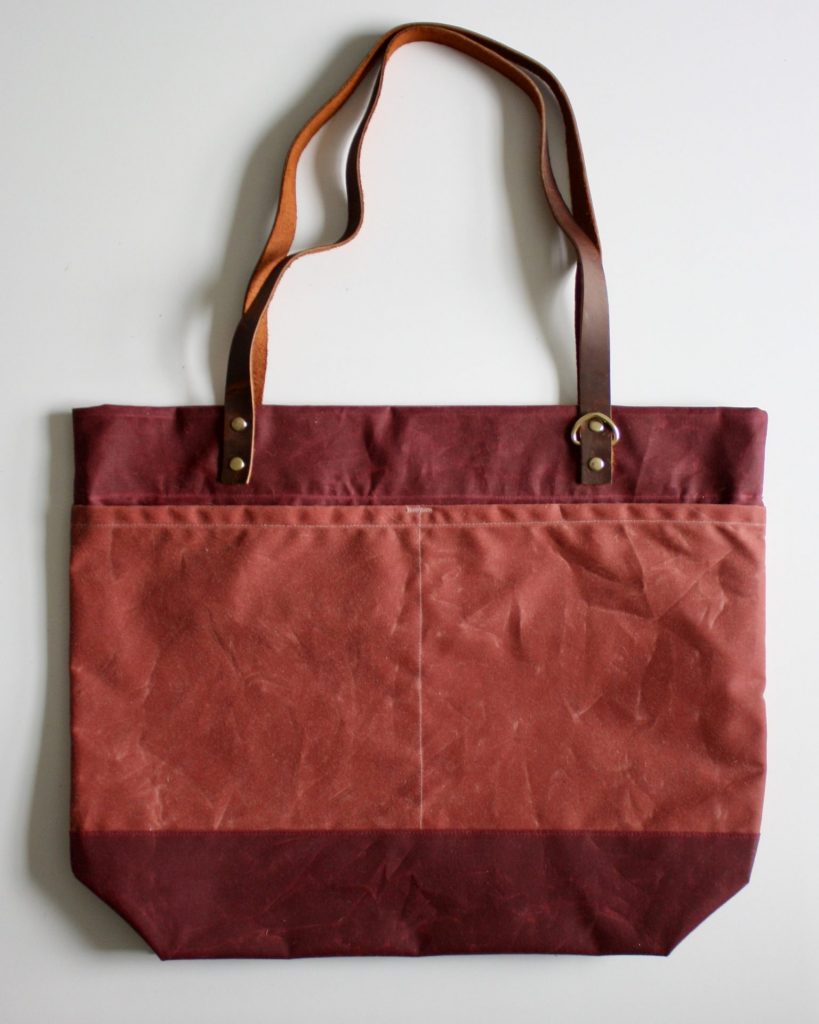
Since my bag is fully lined, (lining expansion add-on) I had to turn it right side out through the lining. With the top zipper expansion, I should have left a larger opening to make the flip, but I really loved how the marbling started to really show after scrunching it up for a minute or two.
Kickstarting Fall Styles
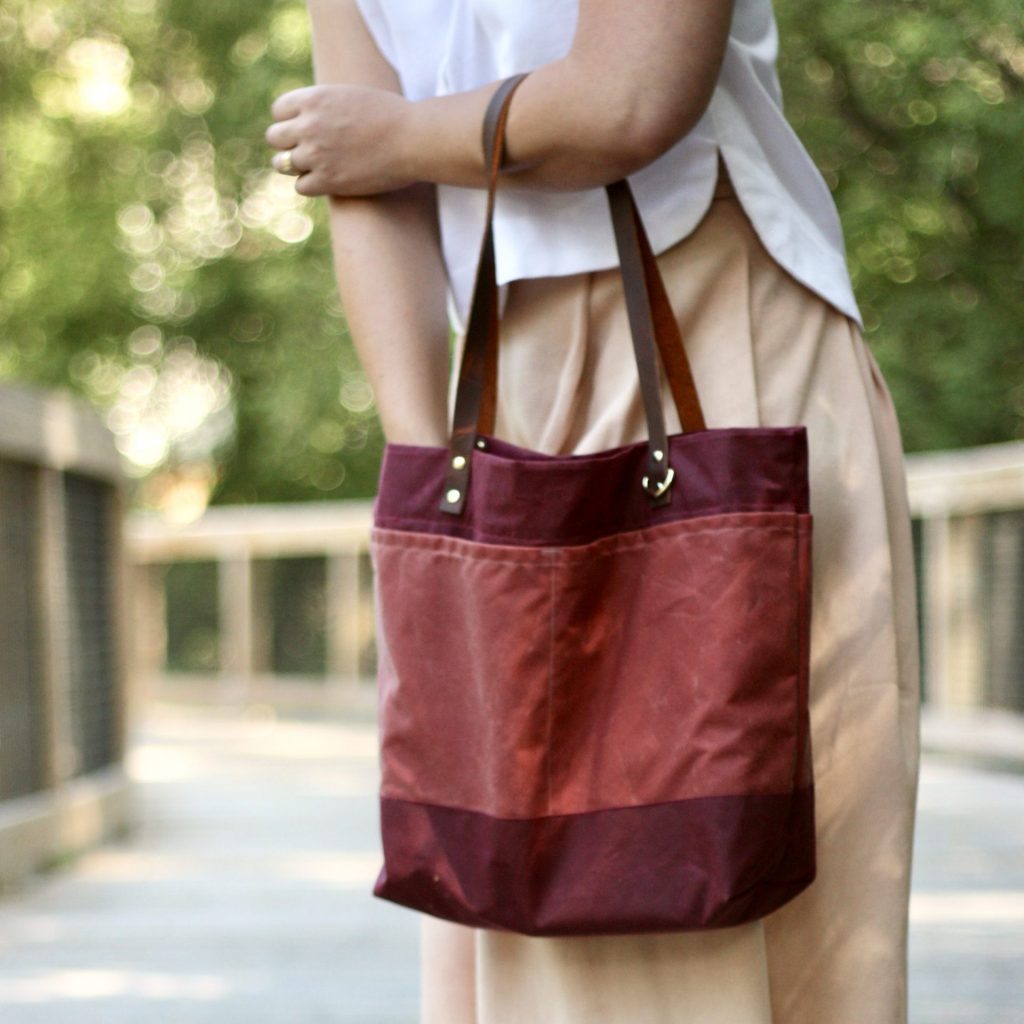
I chose these colors mid-summer without really thinking much about fall wardrobe/sewing plans. I’m so happy with this color combo and I’m already enjoying pairing this Oberlin with some of the clothes I’ll be wearing this fall.
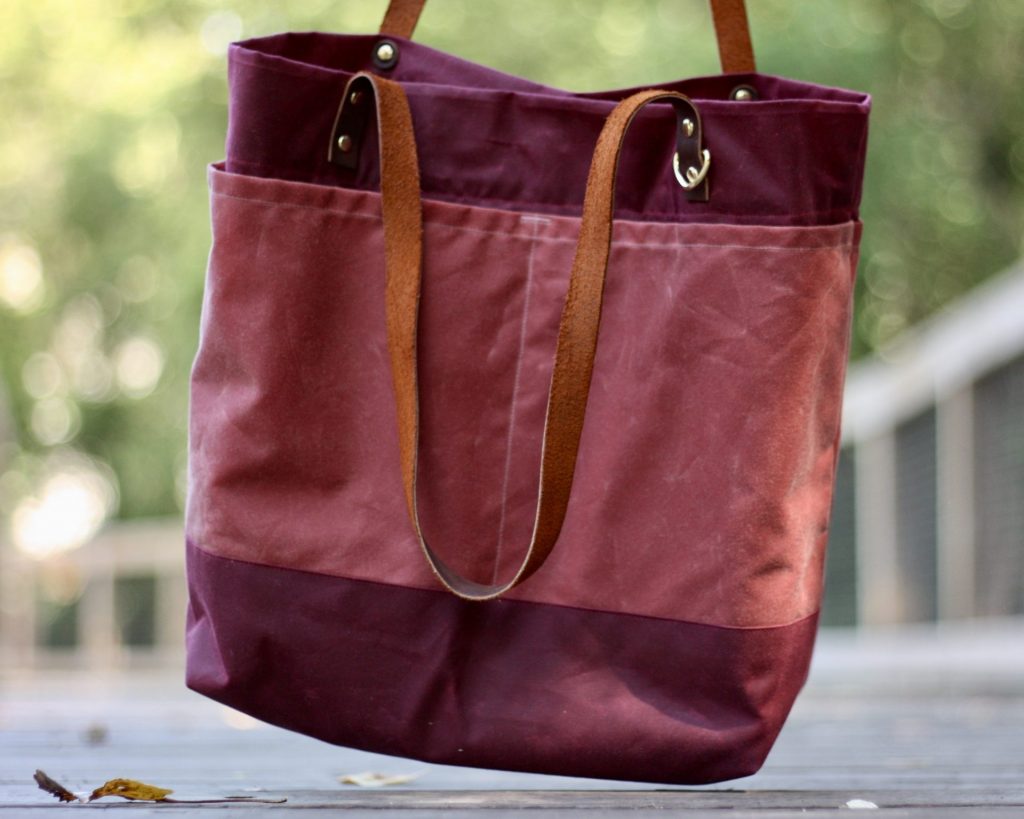
It goes wonderfully with my avocado dyed Winslow culottes. These colors together make me feel put together and feminine.
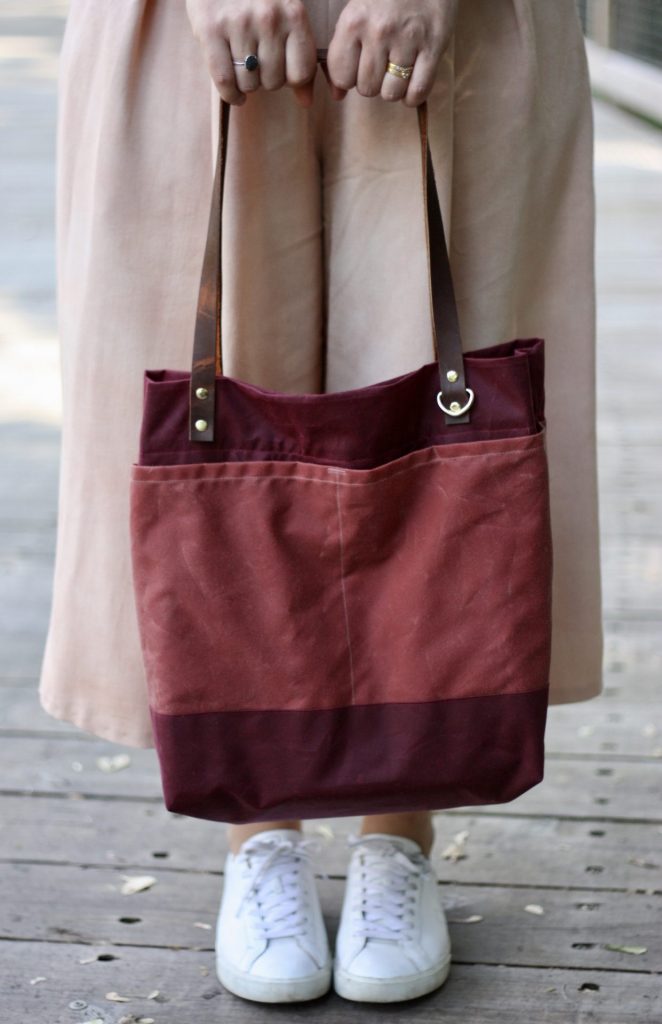
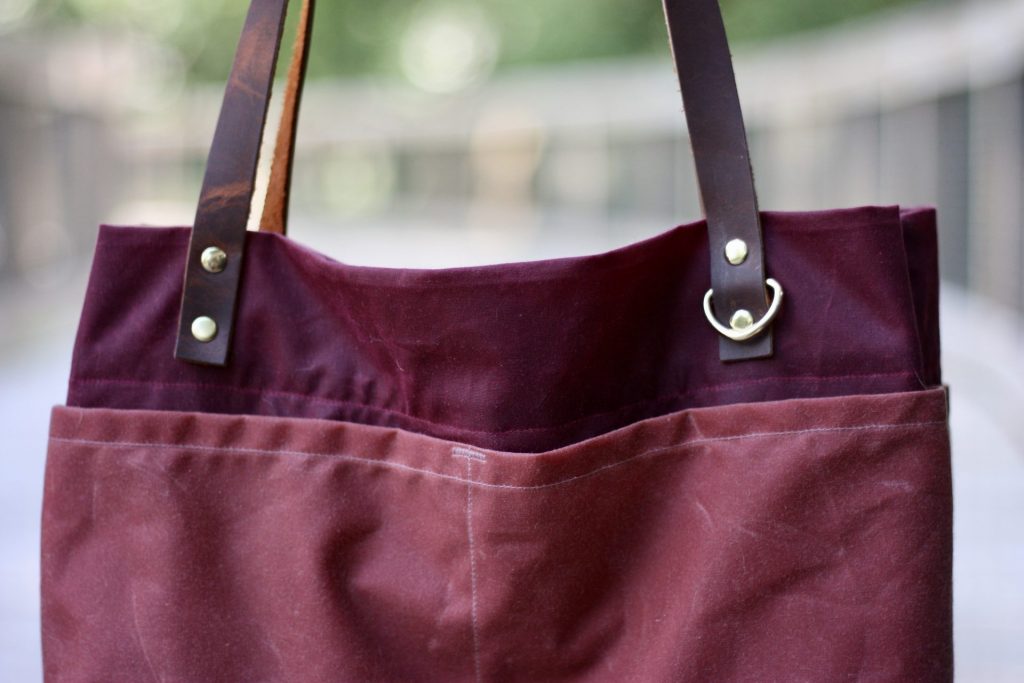
I’ve also been making a lot of white and light neutral tops lately, which of course go with everything, but I love how wearing white really shows this bag off.
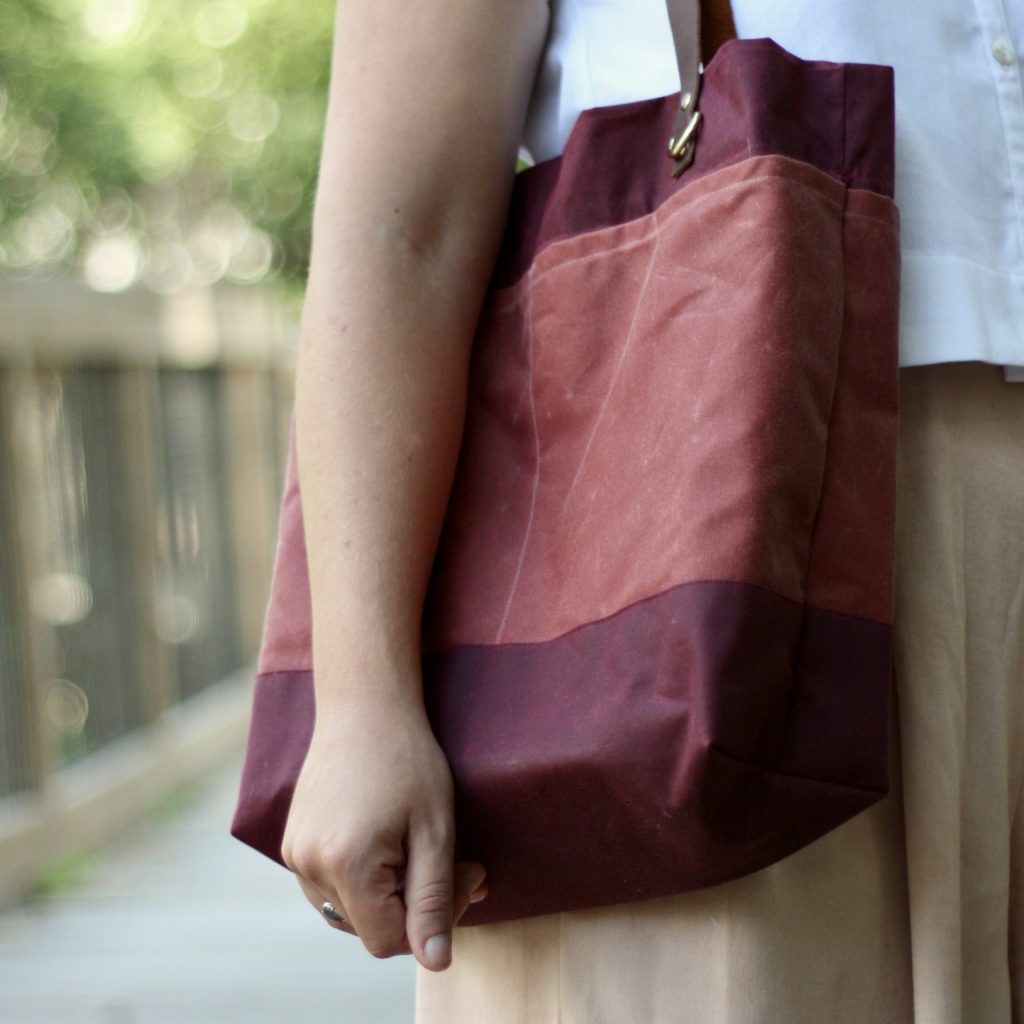
Fall is indeed coming, but this bag is making me ok with it. Winter can back off though, nobody wants you yet.
Full outfit: Cropped Kalle shirt (pattern by Closet Case) in white shirting with textured yoke and facings, and my avocado dyed (pattern by Helen’s Closet). Wearing all handmade (except for my shoes, but shoe-making will happen someday…)
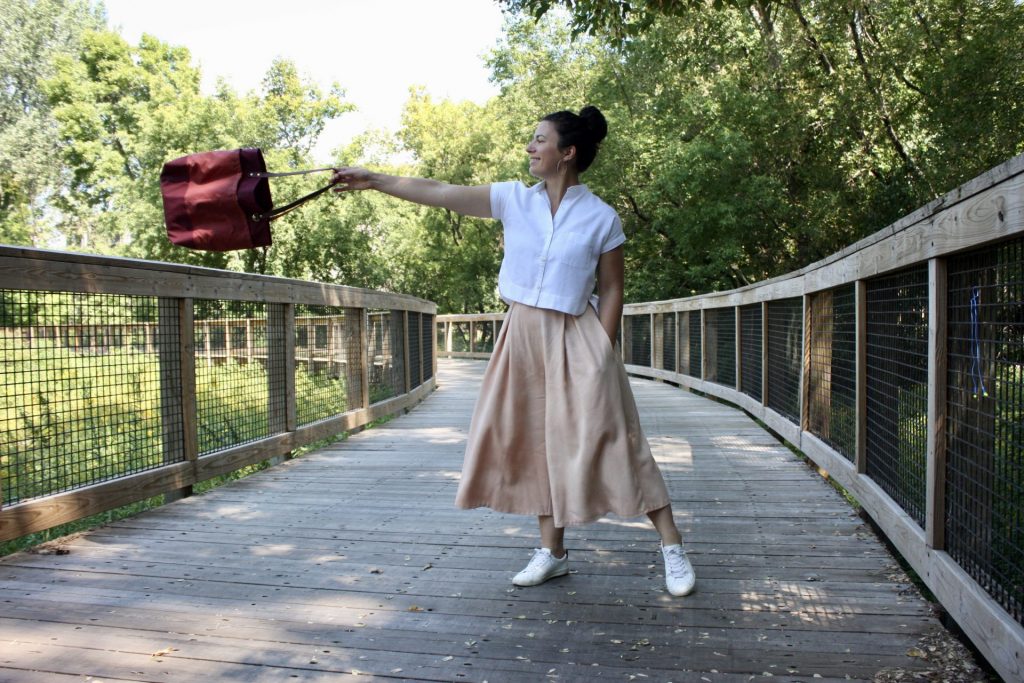
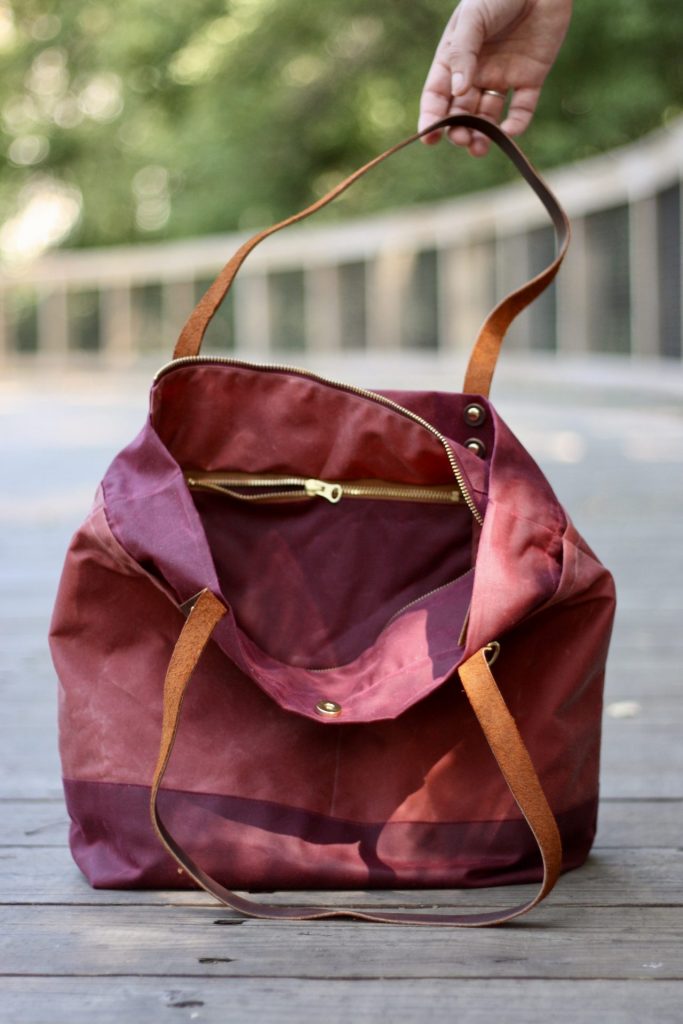
When anyone compliments this bag, I’ll hold it up like this and say, “Thanks! I made it!” Call me a bag-maker-lady, I’m so proud!
Oberlin Pattern and Kit Sale
I highly recommend making the Oberlin – it’s an elevated tote that’s big enough for a laptop, can replace plastic shopping bags, and stylish enough to be an everyday purse. Oberlin maker kit and other Oberlin products are on sale 15% off through September 11, no coupon code necessary. Shop here
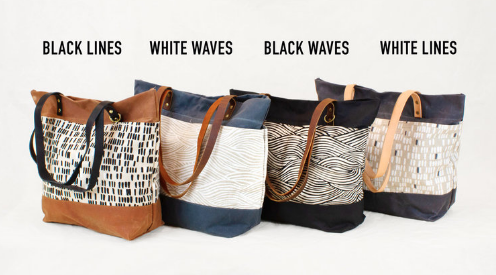
I should also mention there are some limited edition kits still available with fabric from Amy van Luijk’s new “Surface” collection (see below). Last I checked, some of those options are starting to sell out though so I hope you can get your hands on your favorite before it disappears!
Feel free to reach out if you have questions, or if you need a second opinion on which color options to choose!

LOL at “Winter can back off though, nobody wants you yet.” Hilarious and true. Can you tell me which handpress you ordered? It looks like the TEP-1 but can’t tell from the photos. TIA!
Pingback: Raspberry Rucksack Waxed Canvas - SewNorth - Hacks