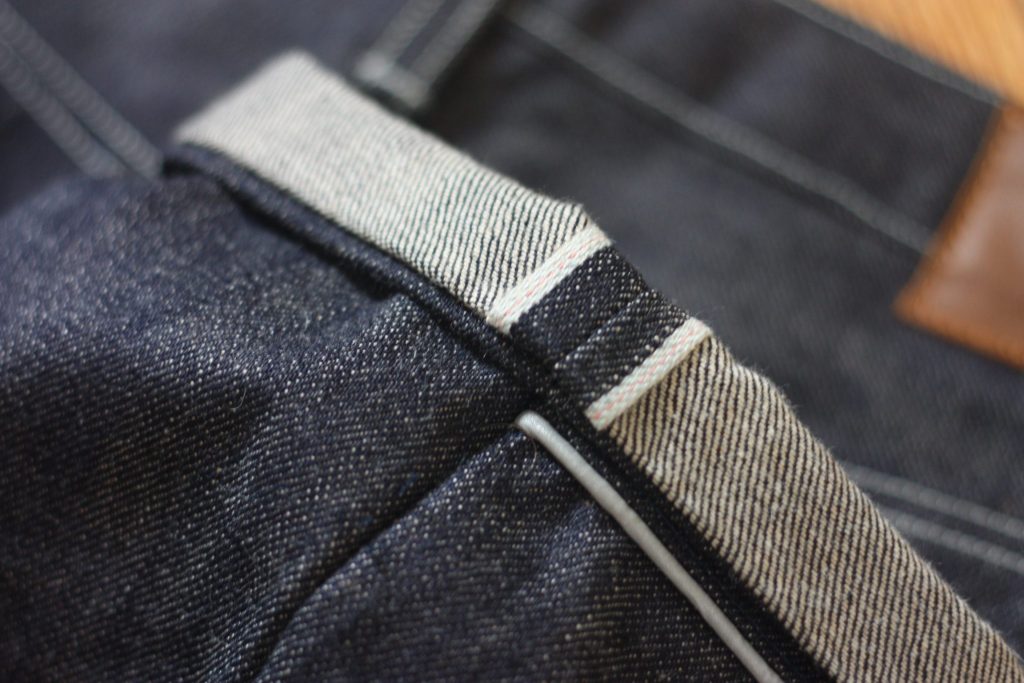
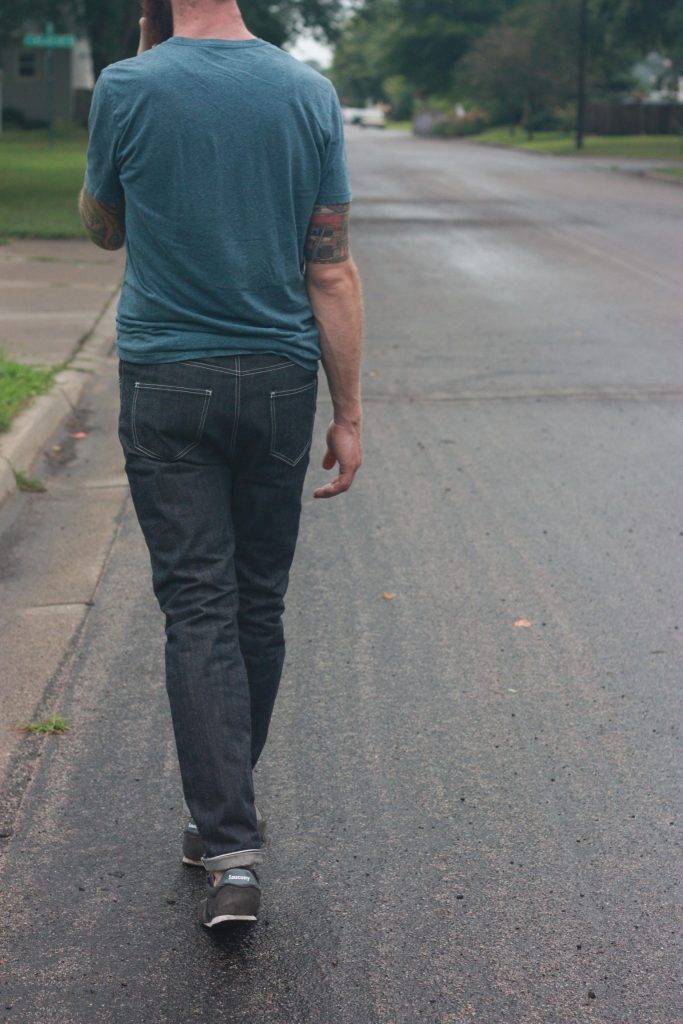
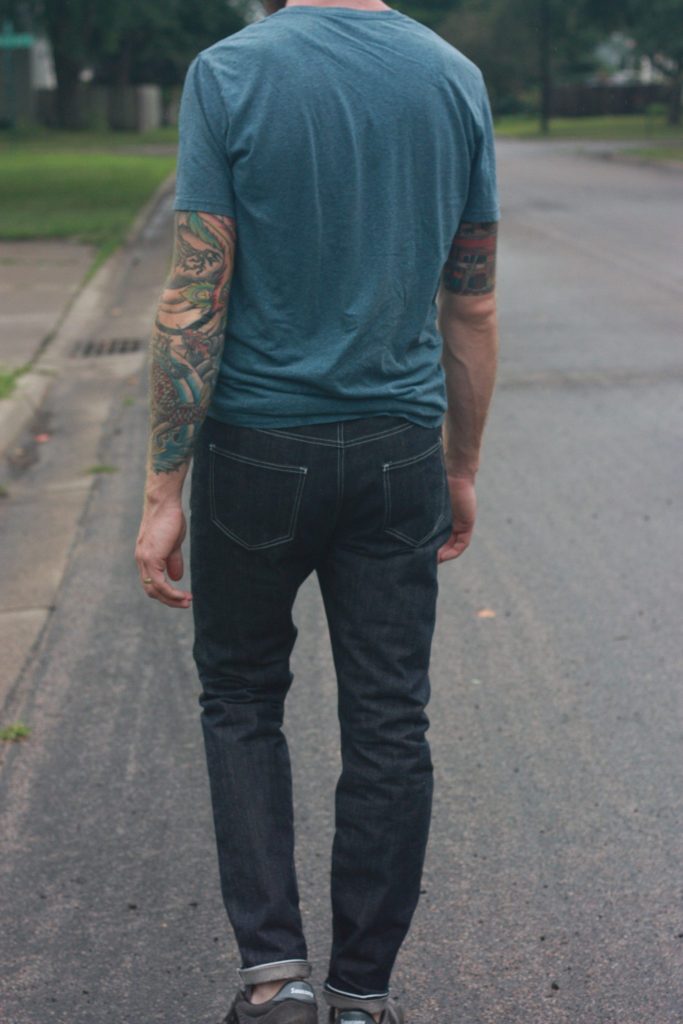
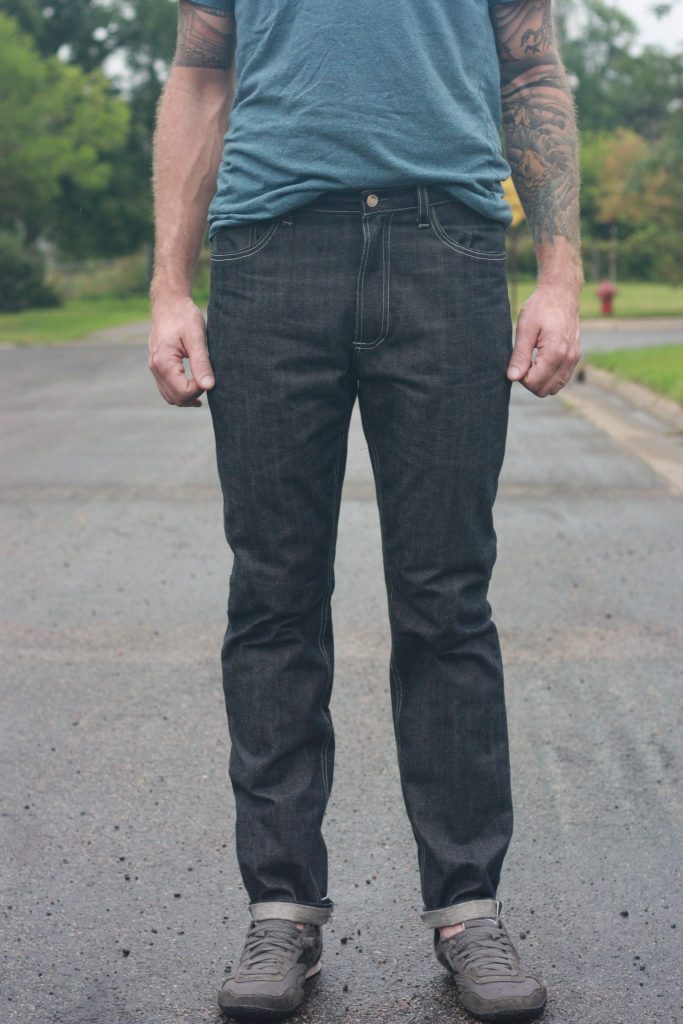
I took the term “boyfriend jean” too literally. The Morgan Jeans pattern is a women’s slim boyfriend jeans pattern by Closet Case Patterns. I wanted to make jeans for my husband and wondered, “If I modify the Morgan Jeans pattern for him, would he even be able to tell they were drafted for women?” I was honestly just trying to avoid buying yet another pattern because I’d been on a pattern-buying frenzy at the time. This is the first pair of jeans I made with a selvedge edge, also the first pair for someone other than me. They turned out really well and I’ll explain the modifications if you want to give this pattern a try for yourself or someone else in your life.
The Details
- Pattern is Morgan Jeans by Closet Case Patterns
- Size 14 (He is normally a 35″ waist 34″ inseam in mens ready-to-wear jeans)
- Denim was labeled “Vintage Selvedge” from my local outlet (SR Harris)
- Zipper closure, hardware is a mix of leftovers from my stash.
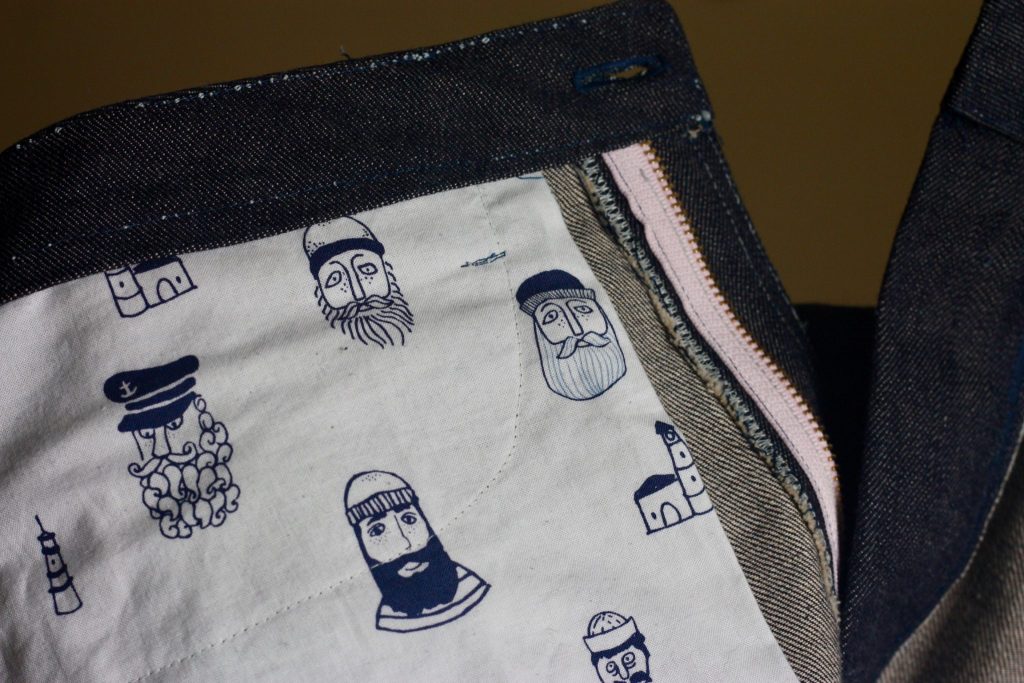
- Pocket bag fabric is Dear Stella Dark and Stormy Perfect Catch (no longer available from where I purchased)
- Machine used: Singer Promise II – I didn’t own my serger at this time yet
- Modifications: added 3.5″ length (he’s 6’4″), added 1″ rise, straightened side seam and reduced hip curve for selvedge edge, flat and low seat adjustments, larger pocket bags and wider front pocket openings.
The Quick Verdict
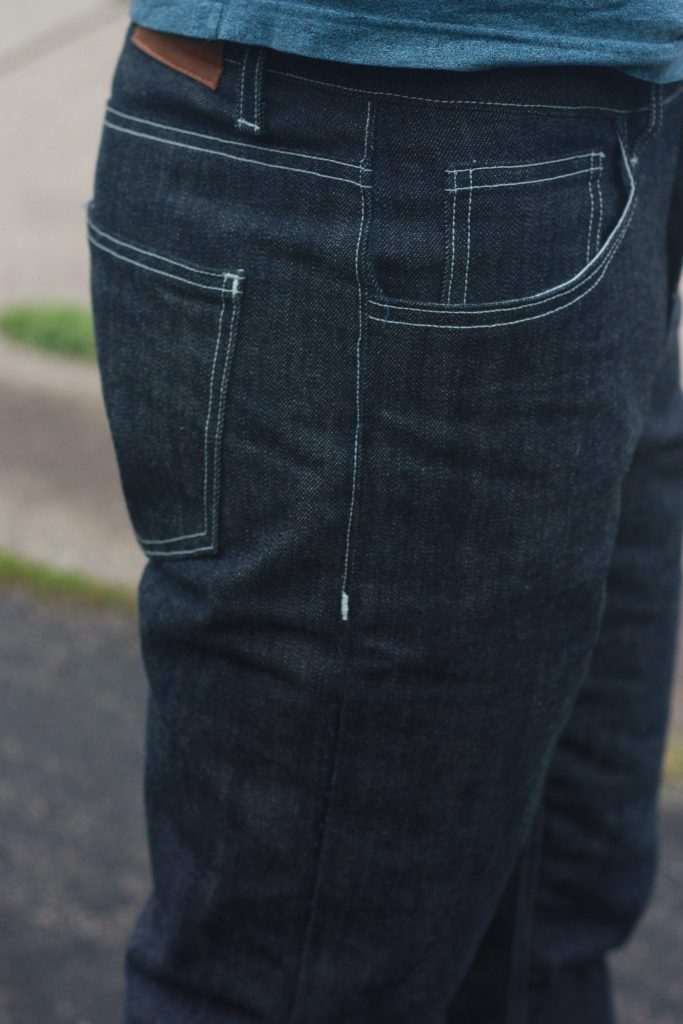
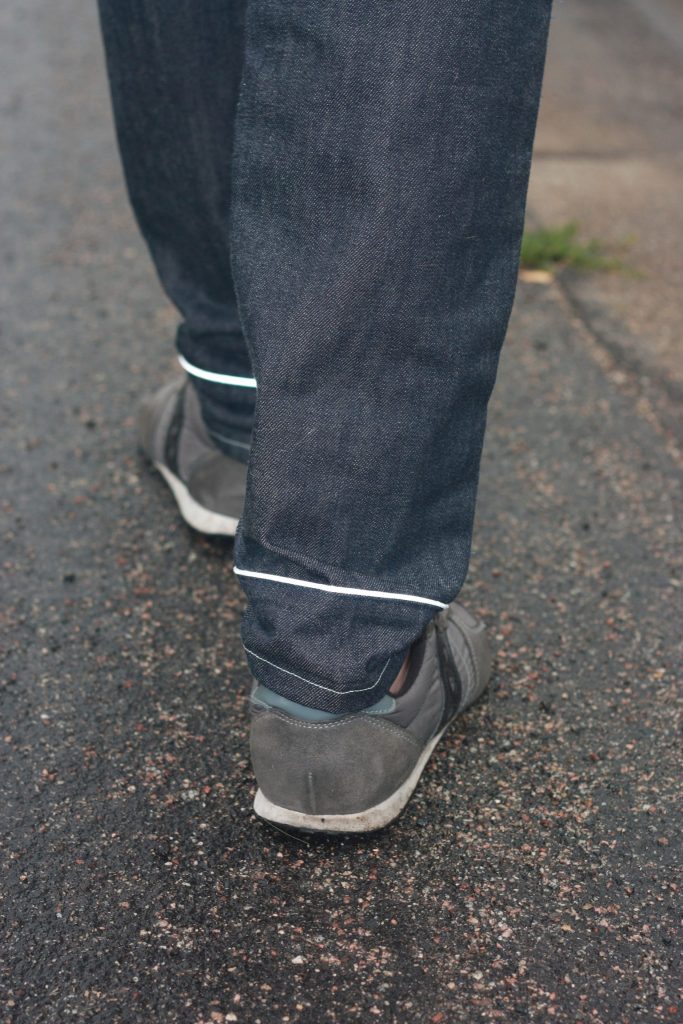
Does this really work? Yes! I don’t think anyone can tell that this pair came from a jeans pattern drafted for women. Would I do it the same way again for his next pair? No! As I mentioned, I added 1″ to the front and back rise. This was unnecessary! It created extra bagginess in in the crotch and low butt; wearable, but slightly annoying. I also made a rookie mistake while cutting these out – more on that in a sec… I did end up making two more pairs of jeans for him in the following months. The pair in this post was my first. The second pair has some cool reflective piping on the back pocket detail – I wrote up a mini tutorial here. The third pair was made on my vintage sewing machine with top stitching of dreams – see those here.
Modifications for Men’s Jeans Using a Women’s Pattern
Length
The biggest adjustment for these was the length. I added 3.5″ in leg length, which was more than enough. He wanted to be able to roll the cuffs a bit. It would be super easy to calculate required lengthening/shortening by comparing a well-fitting pair to the inseam of the pattern of course.
Hip Curve and Selvedge Side Seam
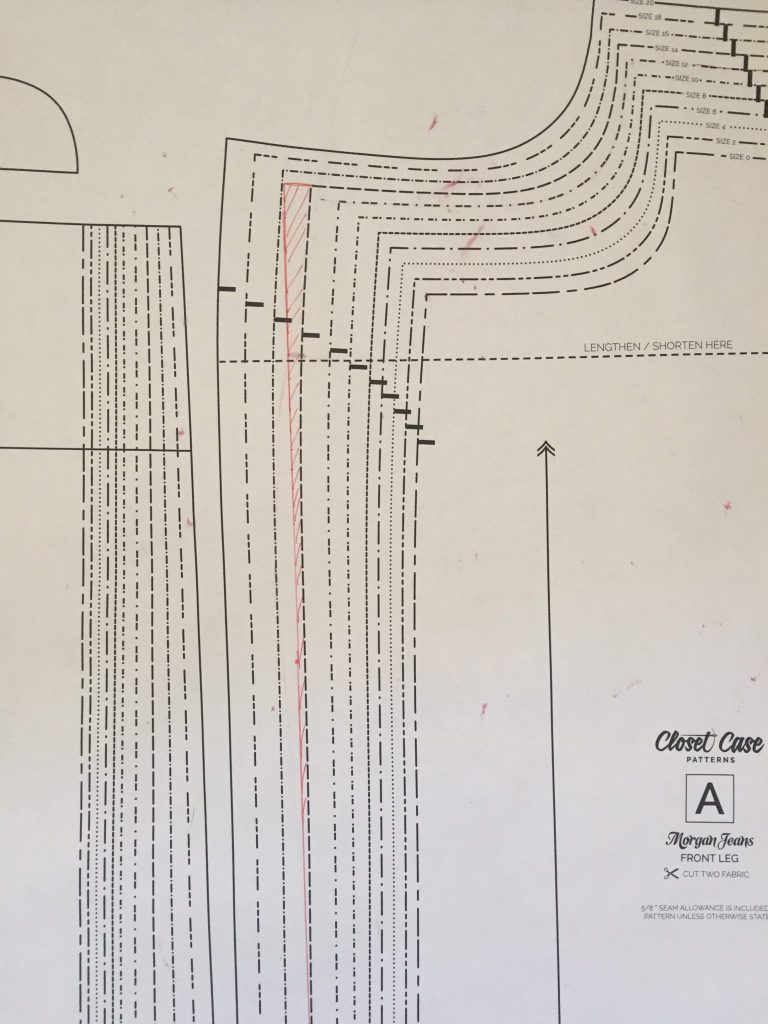
Another adjustment was to remove some of the curve from the hip, which was absolutely necessary for Nick’s non-curvy figure. This also allows for using the selvedge edge at the side seams. Check out how I straightened out the side seams in red below. The new side seam is totally straight and will run along the selvedge edge of the denim. You might find this affects the grain line, so I played with this edge angle to find a happy medium between the selvedge edge and the grain line since they are not perfectly parallel.
Pocket Bags
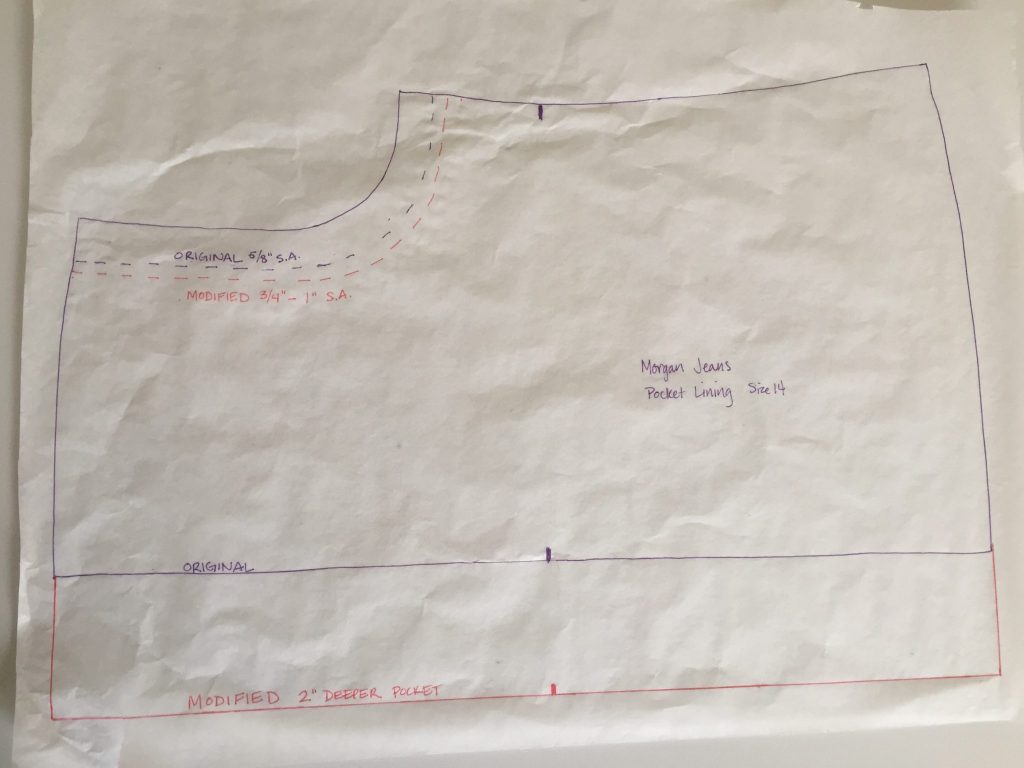
The pocket bags were another adjustment. I don’t think Nick’s hands would fit comfortably in the original Morgan Jeans pockets, so I added about 2″ of depth to the pocket bags, and I increased the seam allowance of the pocket curve. This resulted in a larger opening. If you try this, give it a test before you go and trim/grade/top stitch that seam! Also, remember to adjust the side seam of the pocket bag to match any adjustments you made to straightening the hip. Here’s how I modified the pocket piece:
My Rookie Mistake!
Oh man… I really screwed the pooch on this one. I’m embarrassed to show this photo. It’s filled with shame and regret, but there’s a happy ending after all. Remember how I added 3.5″ to the length of the legs? I added the length to the front pattern pieces, but not the back pieces. I went on my merry way cutting out all the denim. Did I mention that this is vintage denim? I didn’t buy extra yardage either. I went to baste the pieces together for a quick fit check, and my tender little heart broke when I pinned the legs together and the back was way too short.
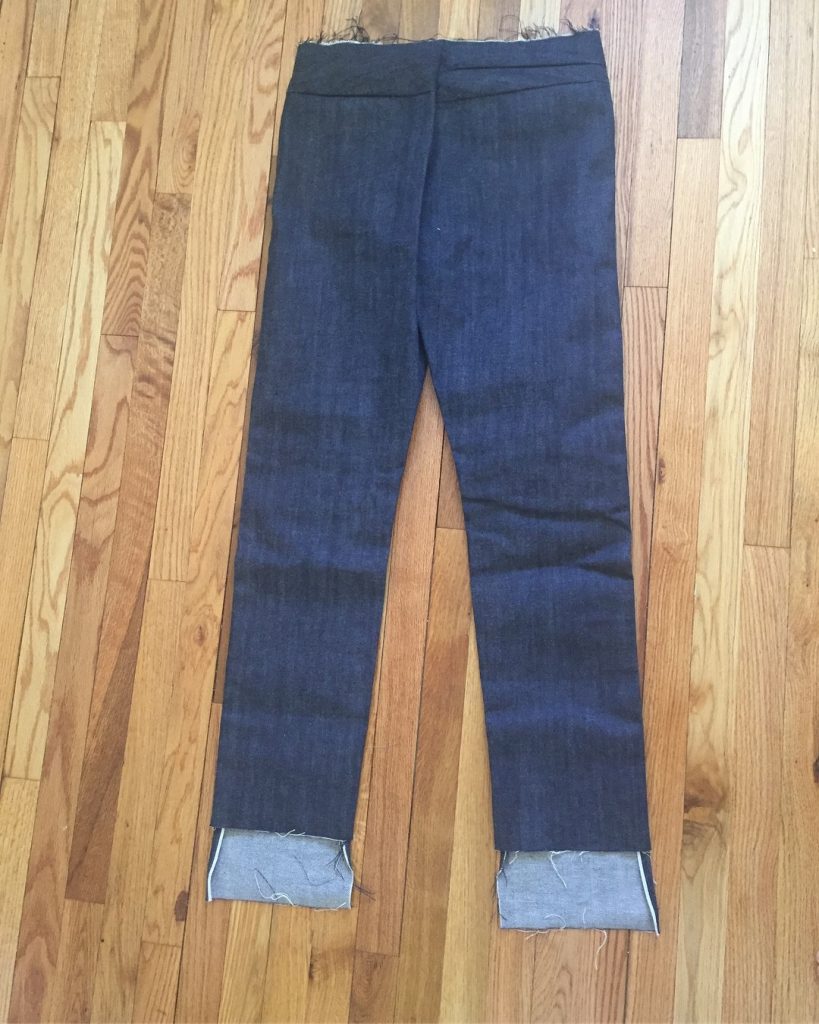
I’m actually really confused by this photo too because it looks like there are two yokes on the right..? I can’t figure that out, but that’s not the point! The legs are so off! I cried and swore and died a little inside. When I told Nick about it he was like, “No big deal. Just add a strip of reflective piping and another piece of denim to correct the length. The reflective on the back ankle will be great for biking.” Goes to show how hard we can be on ourselves, right? Sewing mistakes are not a huge deal, but they can sure feel like it when so much time and energy goes into one project. Anyway, I loved the idea, and that’s how this ended up to be a happy accident instead of a dismal disaster.
Custom Leather Patch
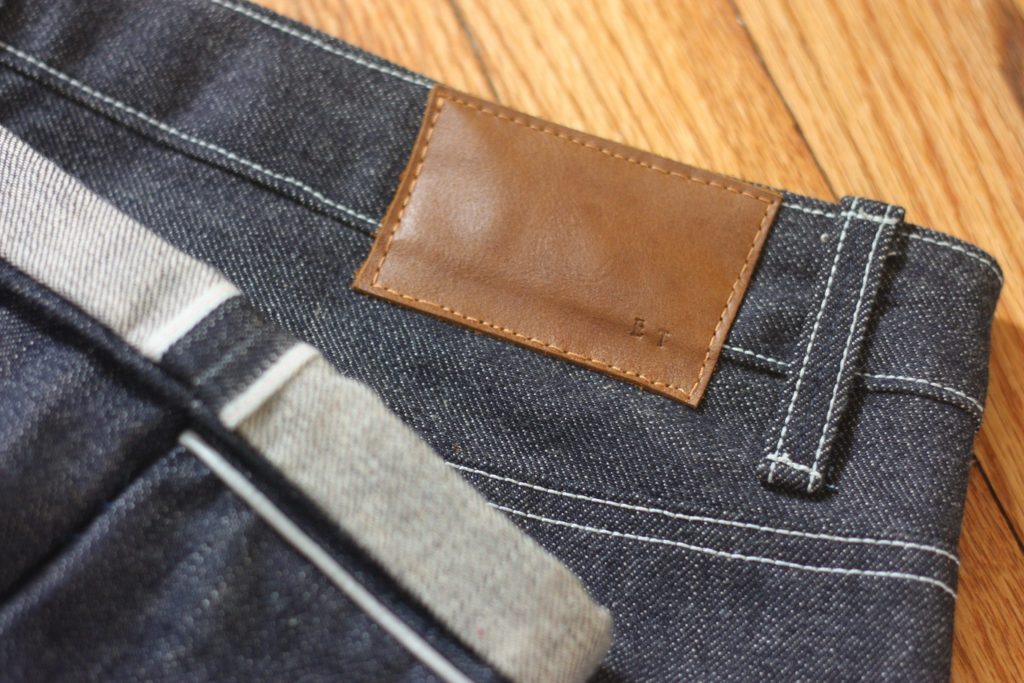
I found some scrap leather pieces that were probably used for samples and swatches for super cheap. My brother gave me a leather stamp set as a gift, but I’m not sure where he purchased it from. It’s similar to this one, just a different font. I stamped Nick’s last name initials in the corner. I used needle recommended for leather, but there were still some skipped and uneven stitches, as you can see. No big deal though, gives me handmade vibes.
Final Thoughts
Mistakes are ok! Design features are real. Bend the rules and make your patterns go the distance. Making clothes for other people is nice…once in awhile. I always need a palette cleanser after a big project like this one. Selfish sewing is self-care.
Have you made something for someone else recently? How did it turn out? Tell me about it!

I just love how these turned out and how I have added reflective piping to a couple pairs for him!!! My husband is also a biker and would seriously appreciate that detail. The sewing for others that I get in is for the kiddos. Serious palette cleansing and scrap busting in these projects. I love it and always wish I had more time to do the thing I love most! Love your blog so far!