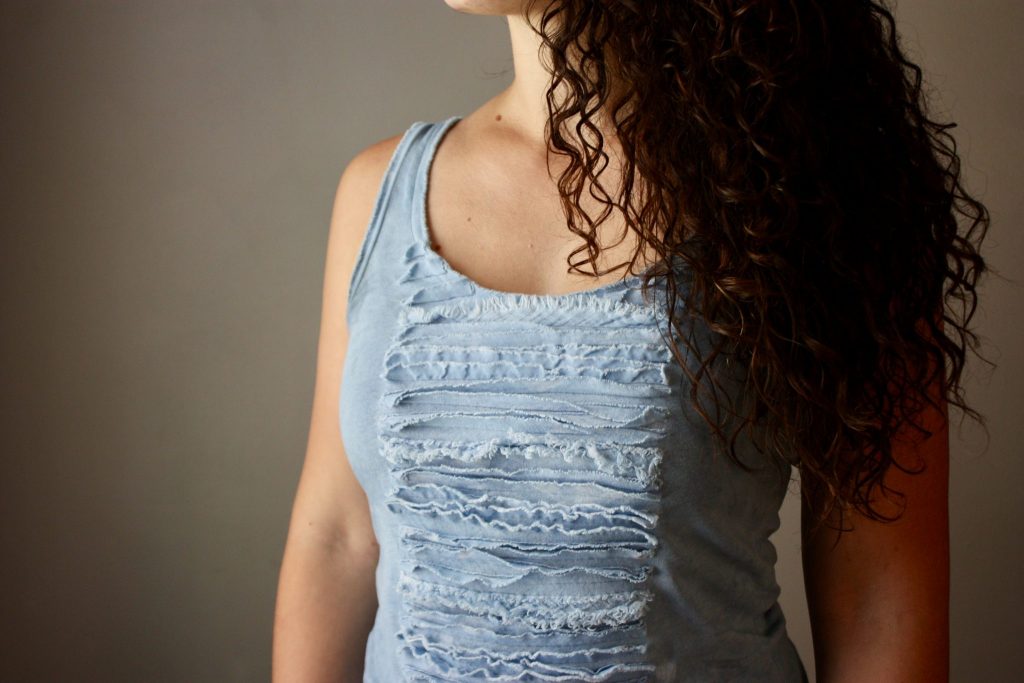
The stars aligned during #alteritaugust when a new friend that I met at some local sewing meetups suggested an indigo dyeing get-together! Indigo dye is totally new to me, but she taught me so much that day! During our dye-fest, I managed to save a couple of old white RTW tanks that were neglected, but in their beautiful blue state I’m happy to wear them again! Hopefully this post will inspire you to get your crafty friends together for an indigo dye party before summer is over.
The Details + Resources
- Indigo dye party – making things blue!
- My new pal Trinity @imadetheseclothes guided me through the whole process
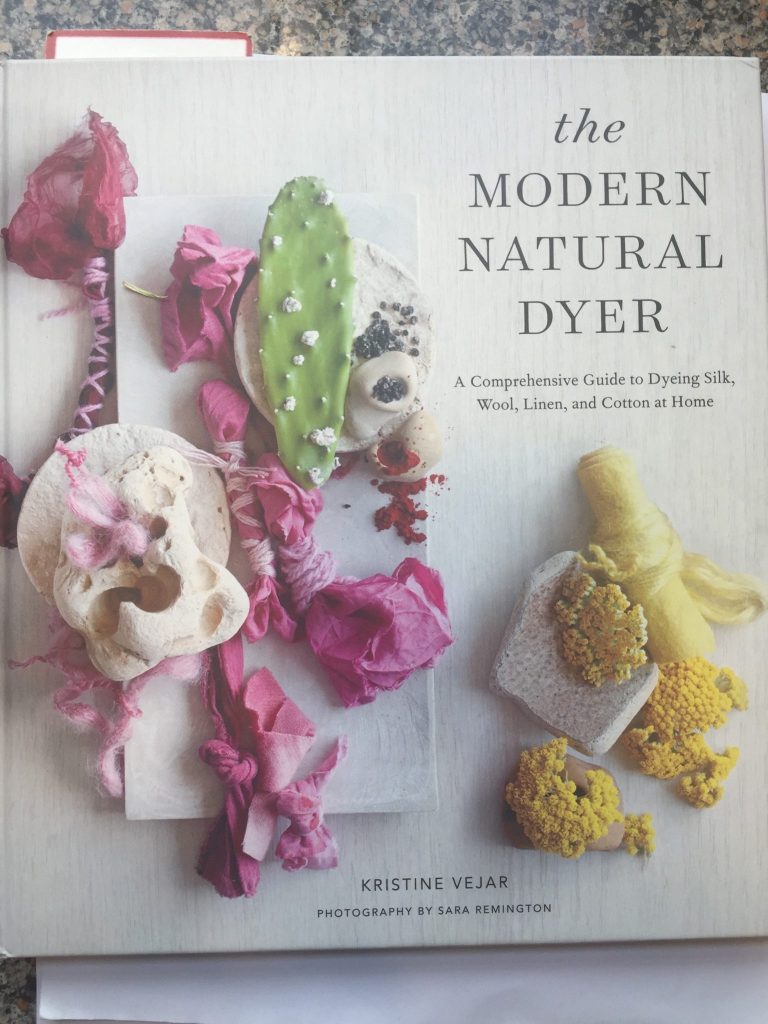
- The Modern Natural Dyer is a beautiful book with comprehensive information on natural dyes and fibers
- Indigo and Snow is also a great local dyer, shop owner, and also hosts workshops (Twin Cities Area)
- Michel Garcia is also a wealth of knowledge in indigo dyeing
Before: Sad and Dingy Whites
Whites and other light neutrals only last so long, don’t they? This was the perfect chance to play with indigo and give these new life. Using old RTW tops definitely felt less risky than dyeing some precious handmades for my first round. These gave me the chance to play freely without worrying about achieving perfection. The left is a J Crew cotton knit tank with pleated strips of fabric down the front, and the right is an old Target brand stretchy cami (synthetic, I believe). Pit stains, bleach spots, the whole thang.
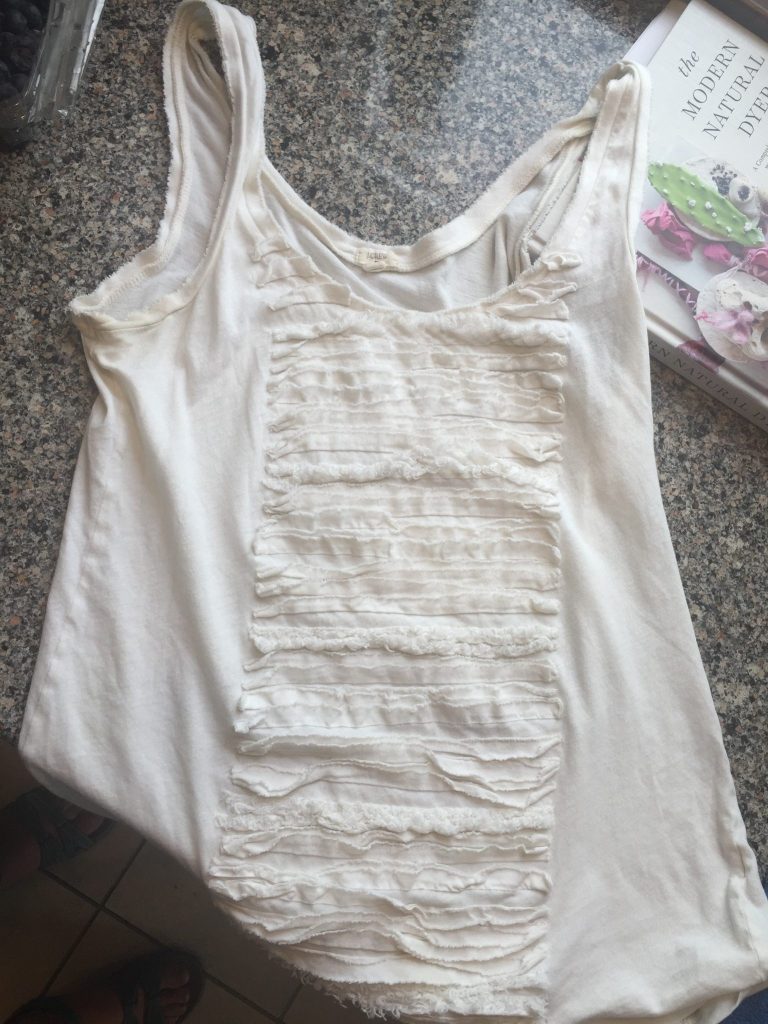
Before: J Crew Tank 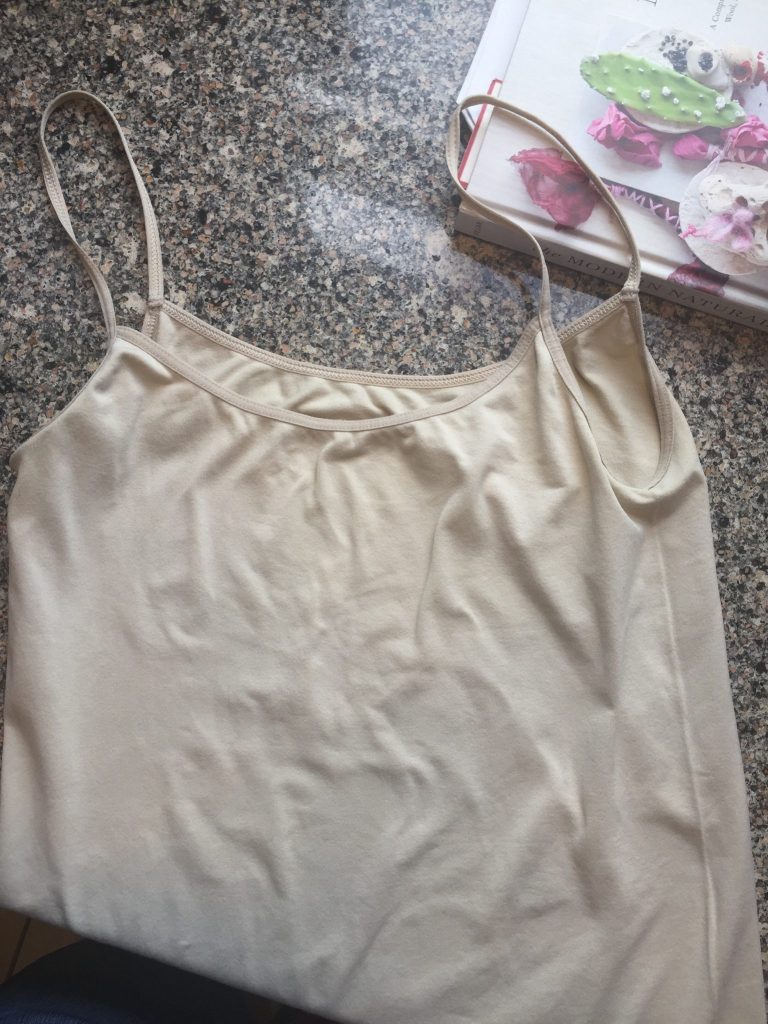
Before: Target brand cami
Sparking Further Interest in Natural Dyeing
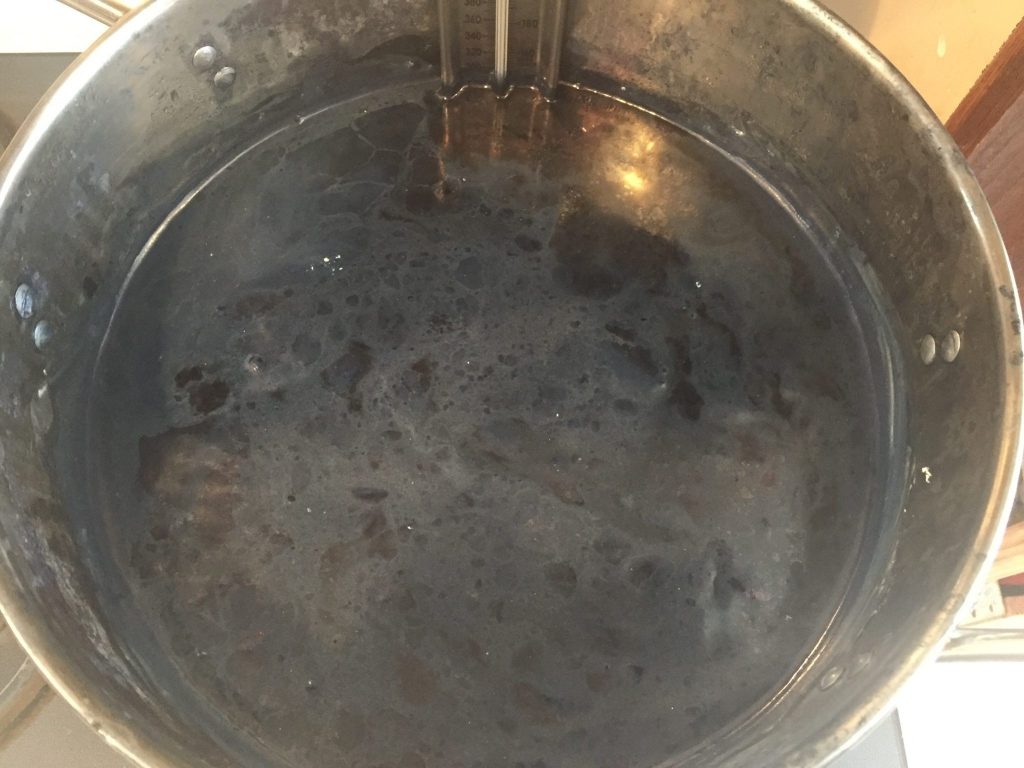
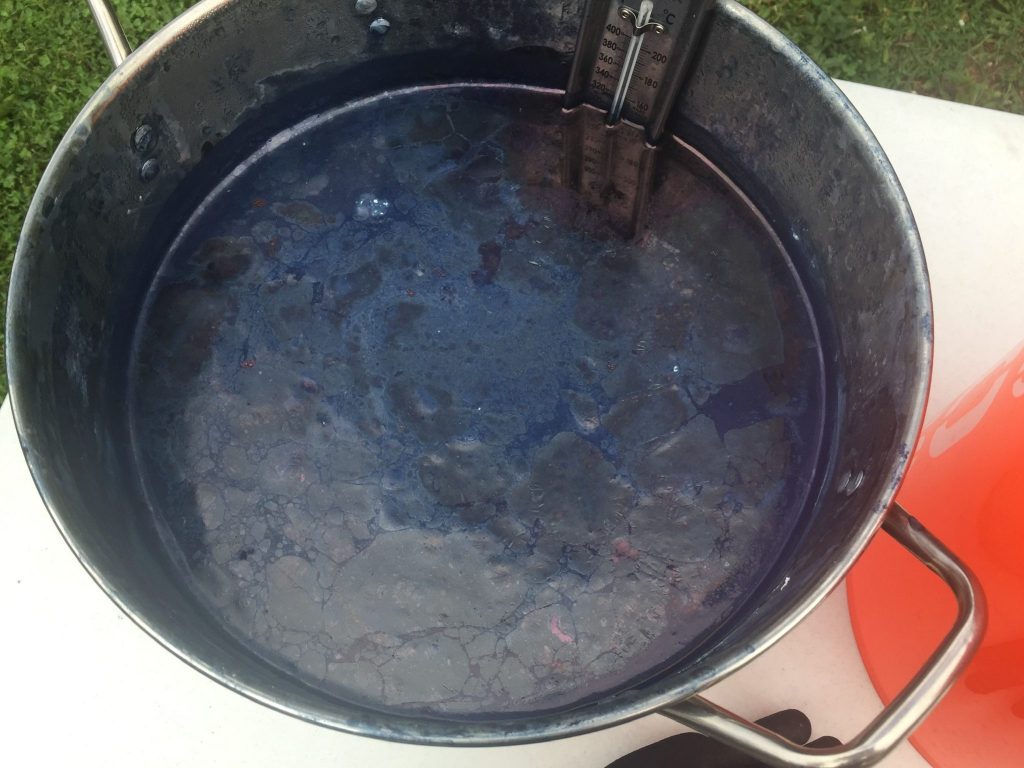
When I arrived at Trinity’s beautiful home she already had the pot of indigo heating up in the kitchen. It has s spooky appearance, doesn’t it? It looks more blue in person, and it has a distinct but attractive smell.
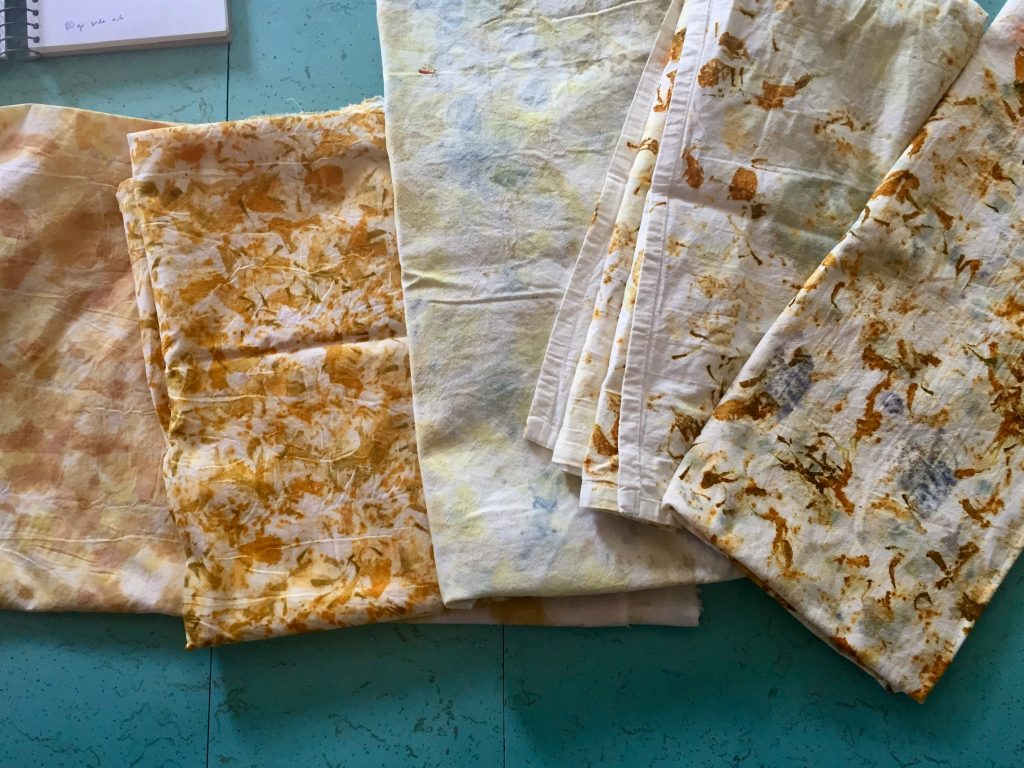
While we were waiting for the indigo dye vat to come up to the proper temperature, she showed me some of her other dye projects. Many of these were dyed from plants in her beautiful garden. We seem to be kindred spirits in the “curious, try, and do” department. I am impressed with her knowledge of plants and dyeing experience. Aren’t these beautiful?
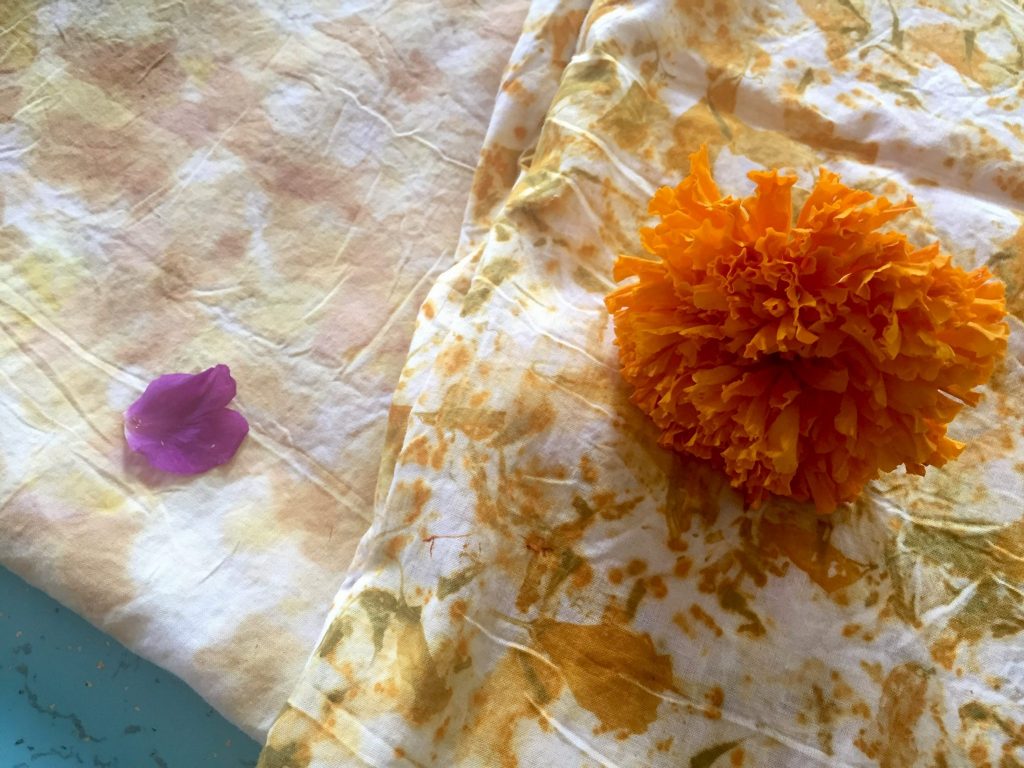
rose, marigold 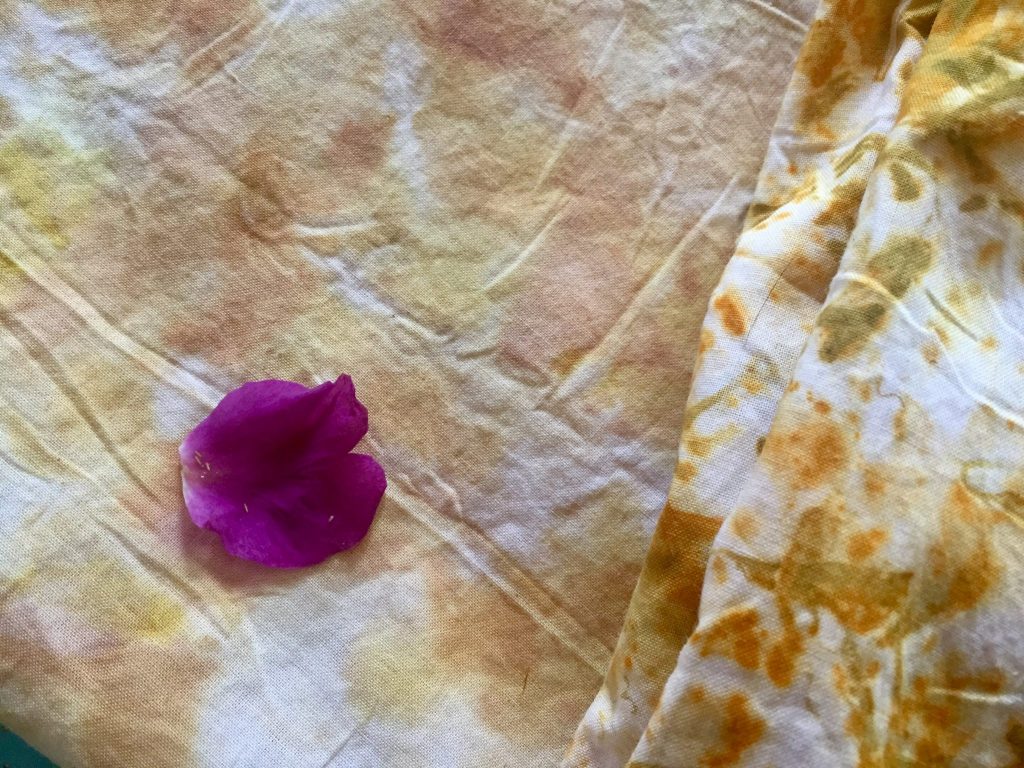
rose gives soft pink/peach
She sent me home with some giant marigolds, so you can expect another dye project coming soon! Besides this indigo project, the only natural dyeing I have done thus far is my avocado dyed fabric and dip dyed tops. I’m so looking forward to more of this.
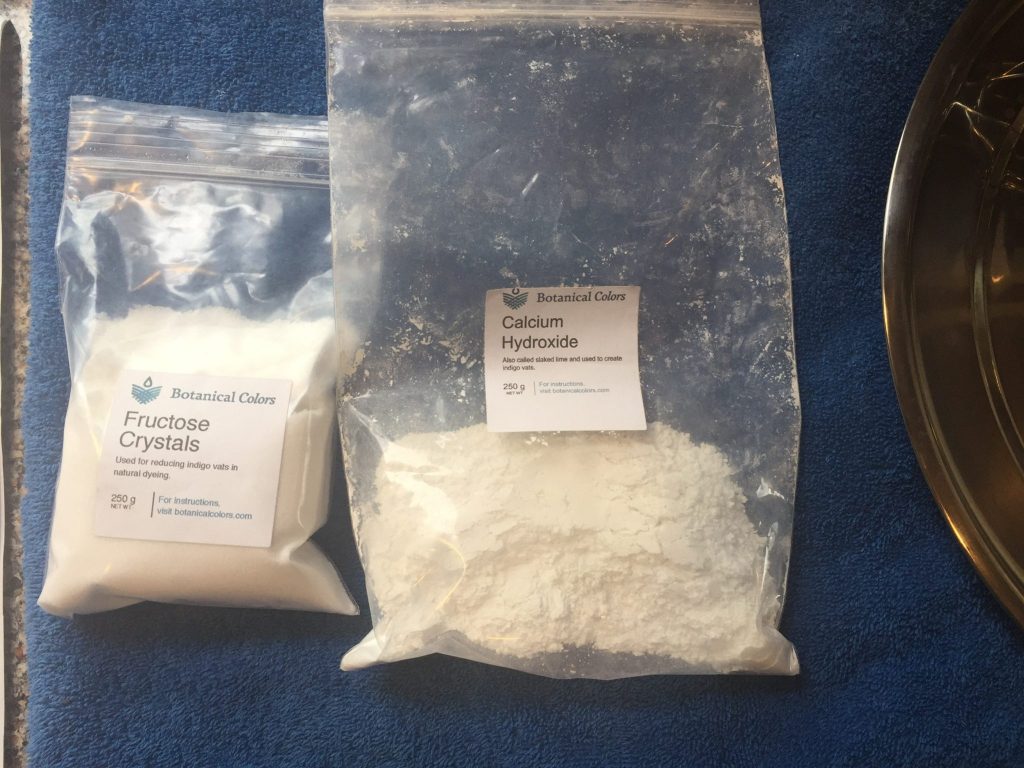
Fructose crystals and calcium hydroxide from Botanical Colors went into the pot, according to the instructions she had printed out. The Modern Natural Dyer and other resources listed above can provide the detailed steps of this process.
Preparing the Whites
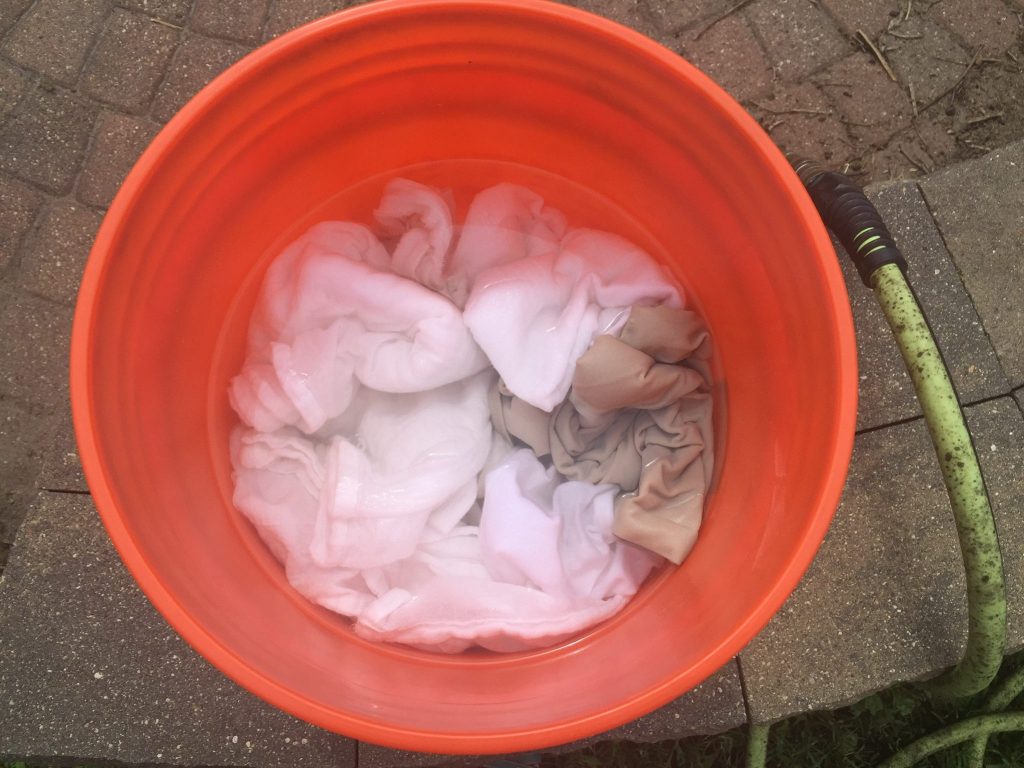
We soaked the garments and tea towels in a 5 gallon bucket of water since damp fabric takes dye better and perhaps more evenly than dry fabric. Also, we played a little bit with Shibori manual resist techniques. We used rubber bands, clothes pins, but my guess was as good as yours as to what they’d look like in the end. That is really part of the fun!
Presoak 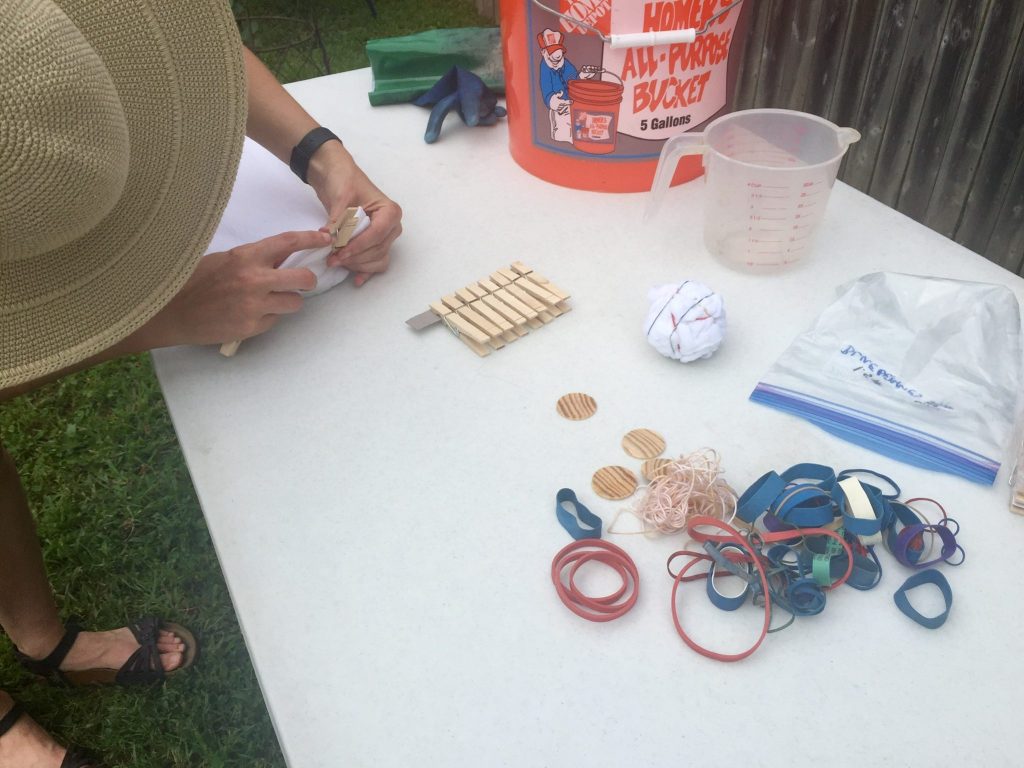
Shibori prep 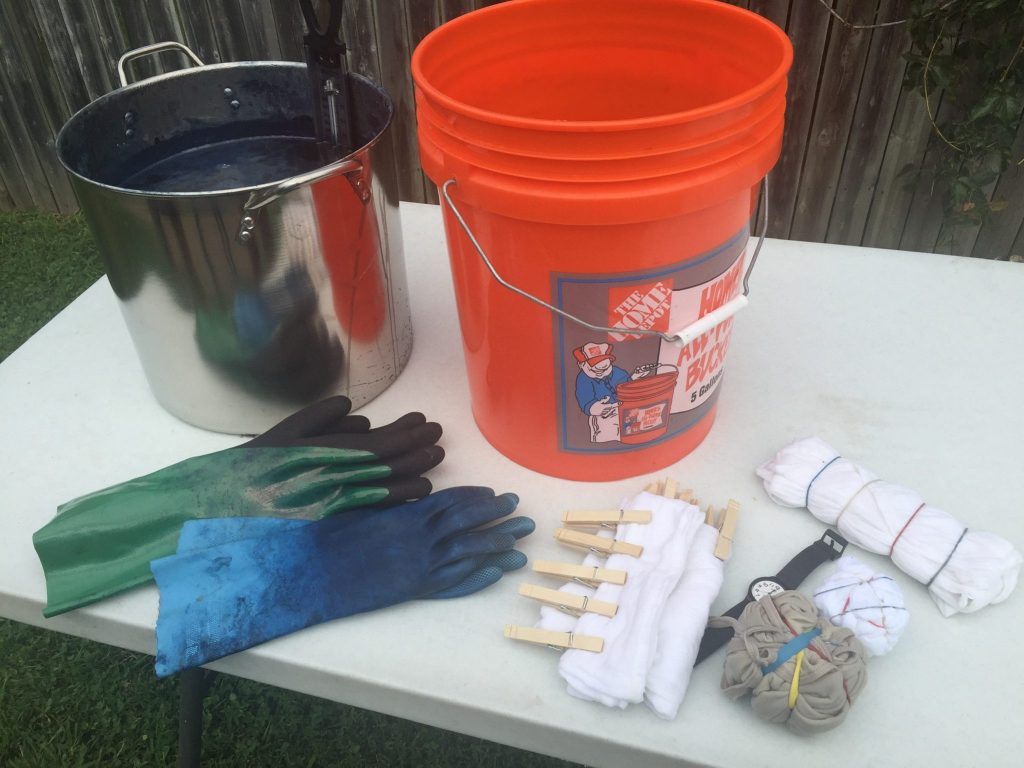
Ready to dip
A utility table in the back yard along with a drip bucket, some rubber gloves, a stopwatch, and vinegar for rinsing later. She has chickens!!
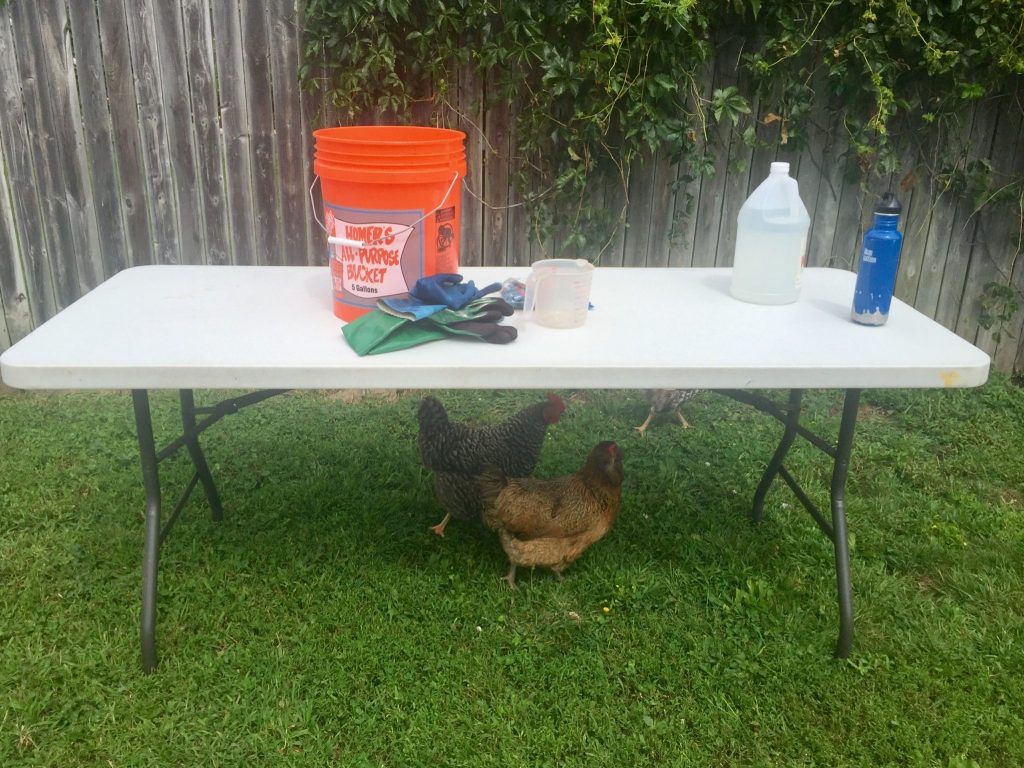
Ready to Dip!
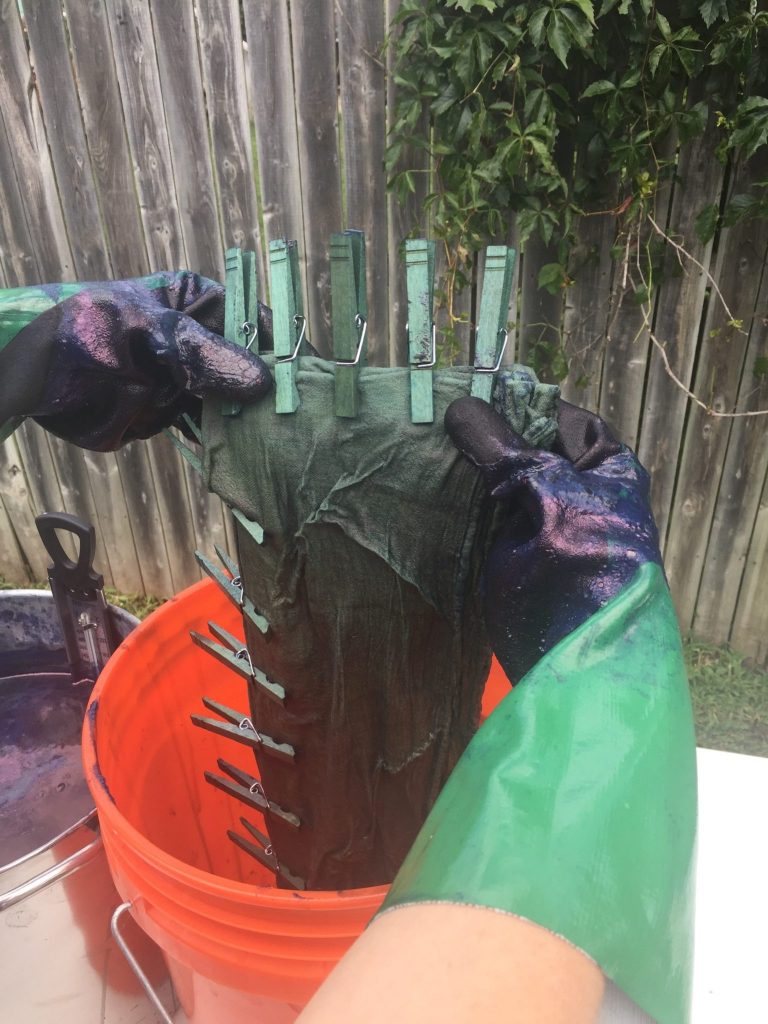
The temp of the vat was around 135 degrees F, and we both noted that while our hands were in there (gloves on), it was hot! We dipped each piece separately with two gloved hands in the indigo dye pot for 60 seconds. A great tip is to lower the piece along the edge of the vat to reduce the amount of oxygen entering the dye pot. Also, keeping hands submerged, holding the piece while gently rotating it around in your hands so your fingers holding the piece aren’t preventing the dye from getting to all parts of the fabric.
The most surprising and mind blowing part of this whole thing is when she pulled out her first piece and it was GREEN. In just a few seconds as it oxidized, it started to turn teal and then blue.
Below you can see the color of the pieces as they dried on the racks. Some of them went in for a second dip, depending on how dark we wanted to go. We knew that these would be a few shades lighter in the end after rinsing and drying.
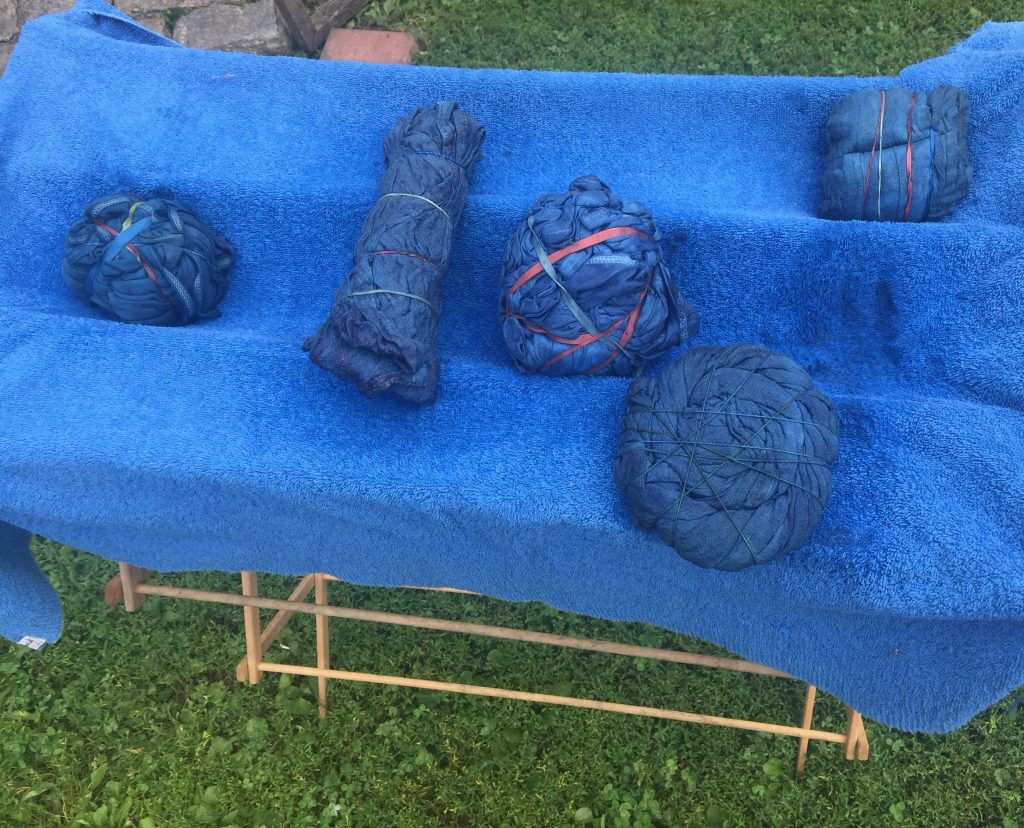
Still tied while drying 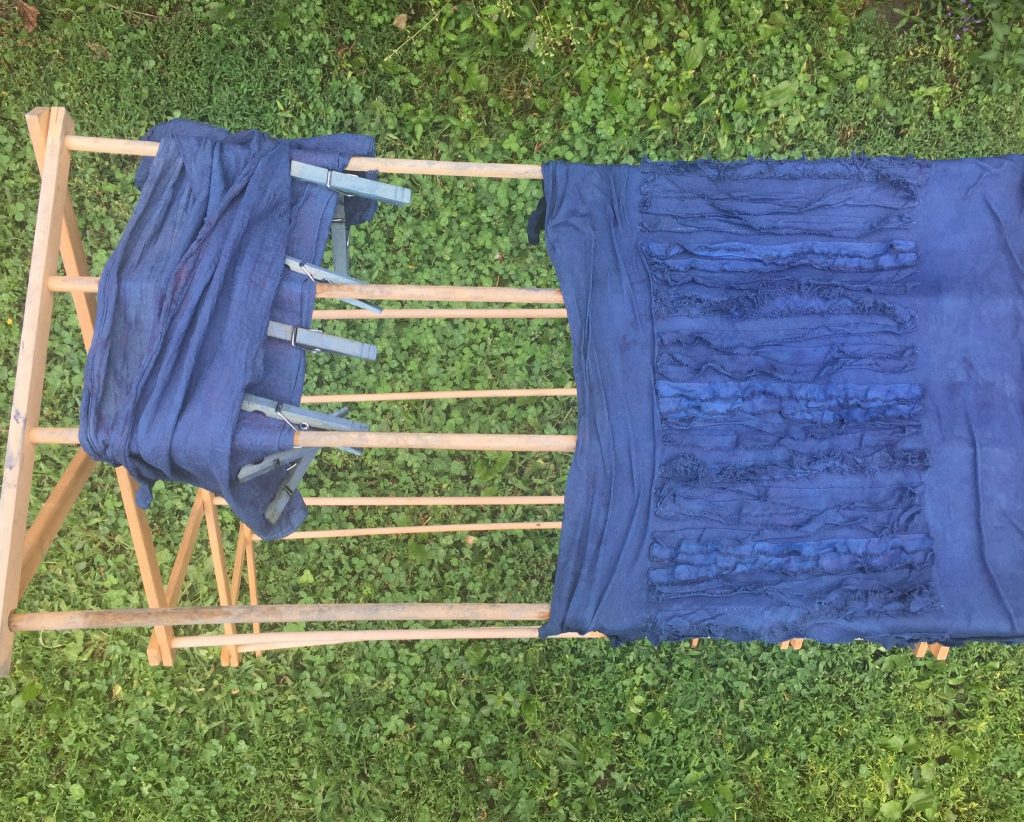
Tank on the right was an even dye 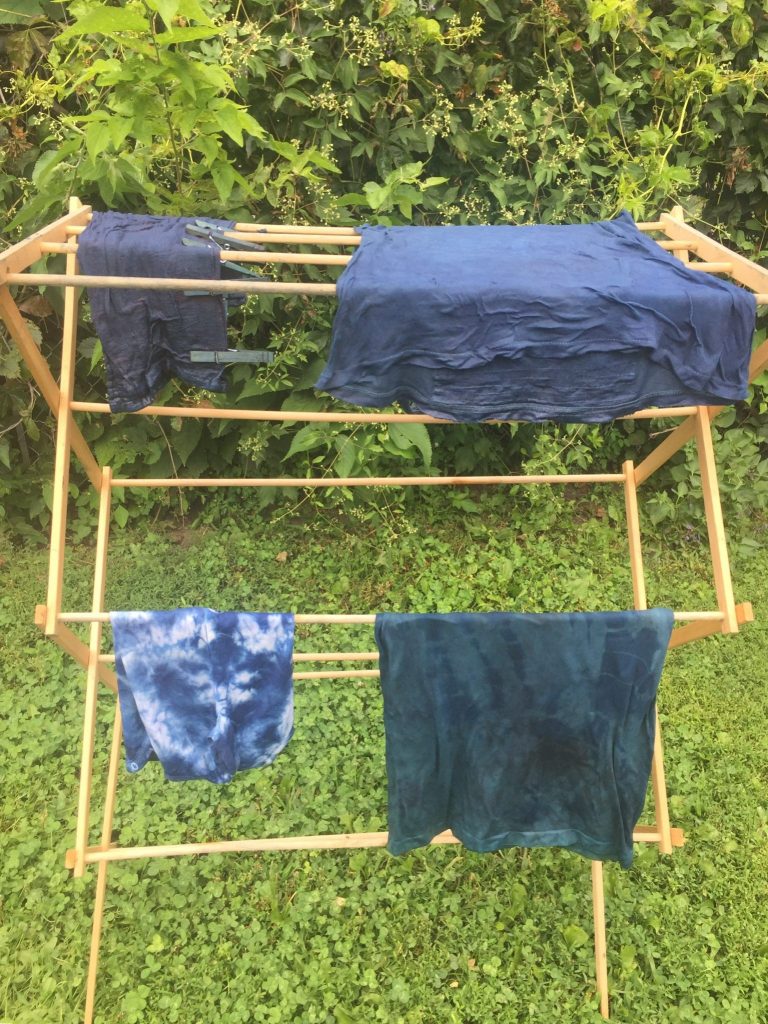
Cute shibori onesie on the bottom left
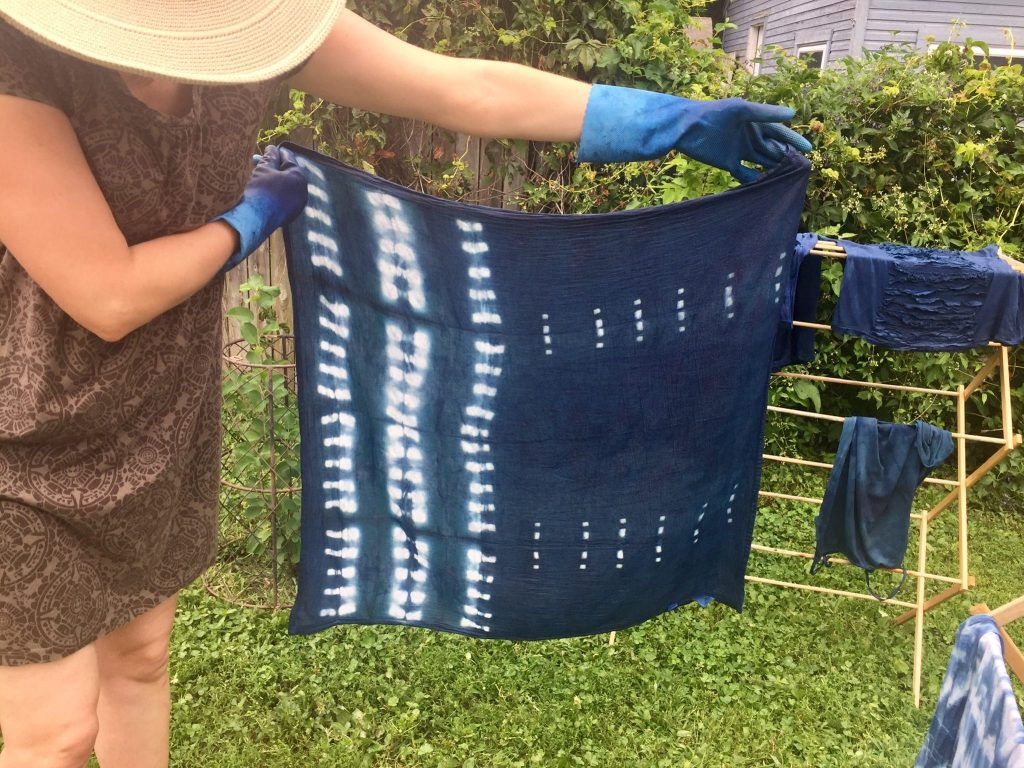
The Rinsing Process + Fresh Eggs
Did I mention she has chickens?! She sent me home with beautiful fresh eggs from her backyard coop. How special is that?? She also sent me home with two of the white tea towels she let me try out some Shibori techniques on.
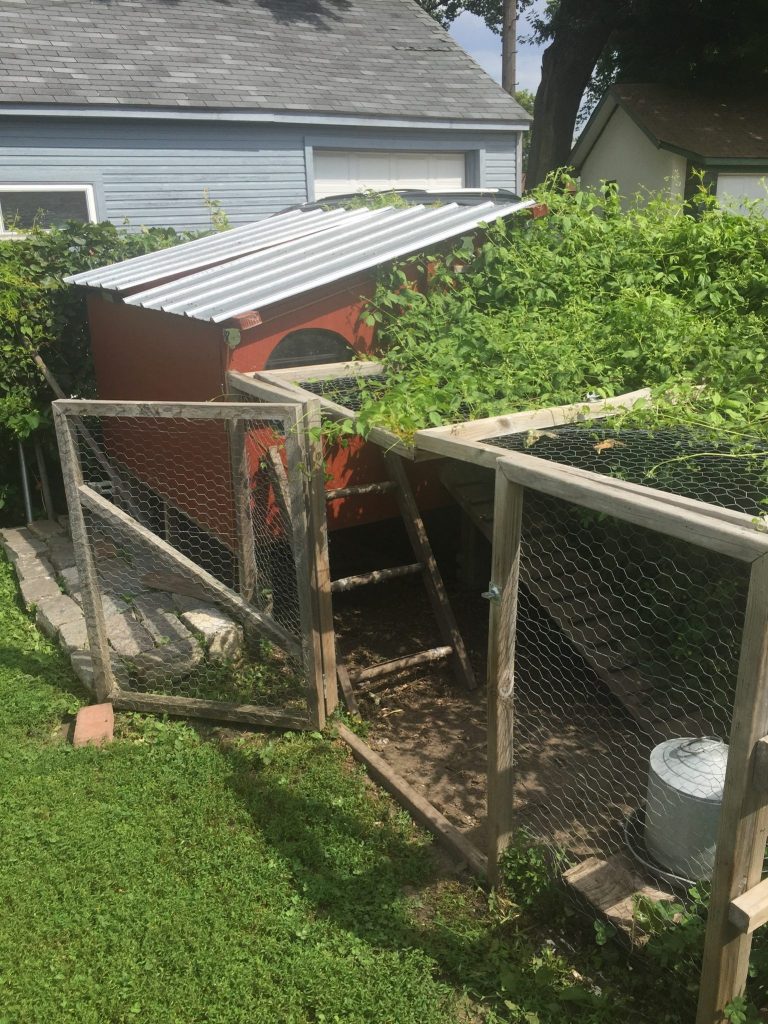
Backyard chicken coup of dreams 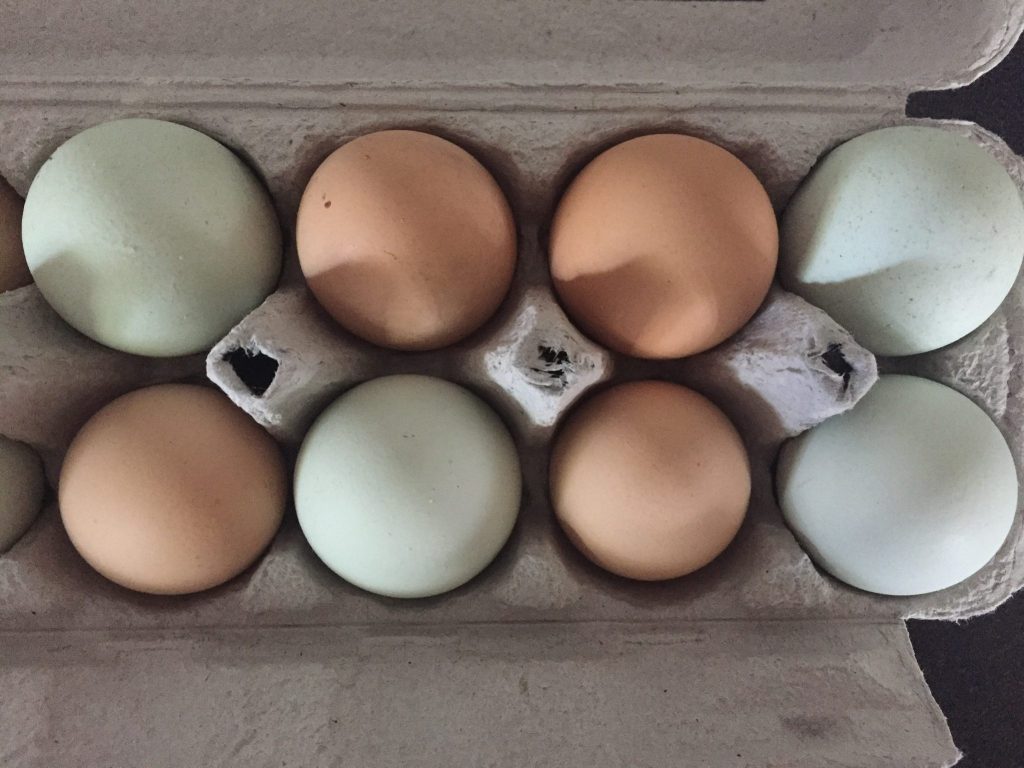
Some of her chickens lay blue eggs!
I let my pieces hang dry in the laundry room overnight. The sun can bleach the indigo, so it’s best not to leave them outside for too long. I used a half cup of vinegar in one gallon of water and rinsed the pieces with gentle agitation for a few minutes.
The following rinses require a lot of water – you basically keep rinsing until the water runs almost clear. I had a full rain barrel in the backyard, so it felt good to get all this rinsing done without wasting any water. I’m guessing I went through around 10 gallons of water for these two tanks and two tea towels. My fingernails did turn blue! I could have certainly used gloves, but I just loved the feeling of swishing the fabric around I couldn’t stop.
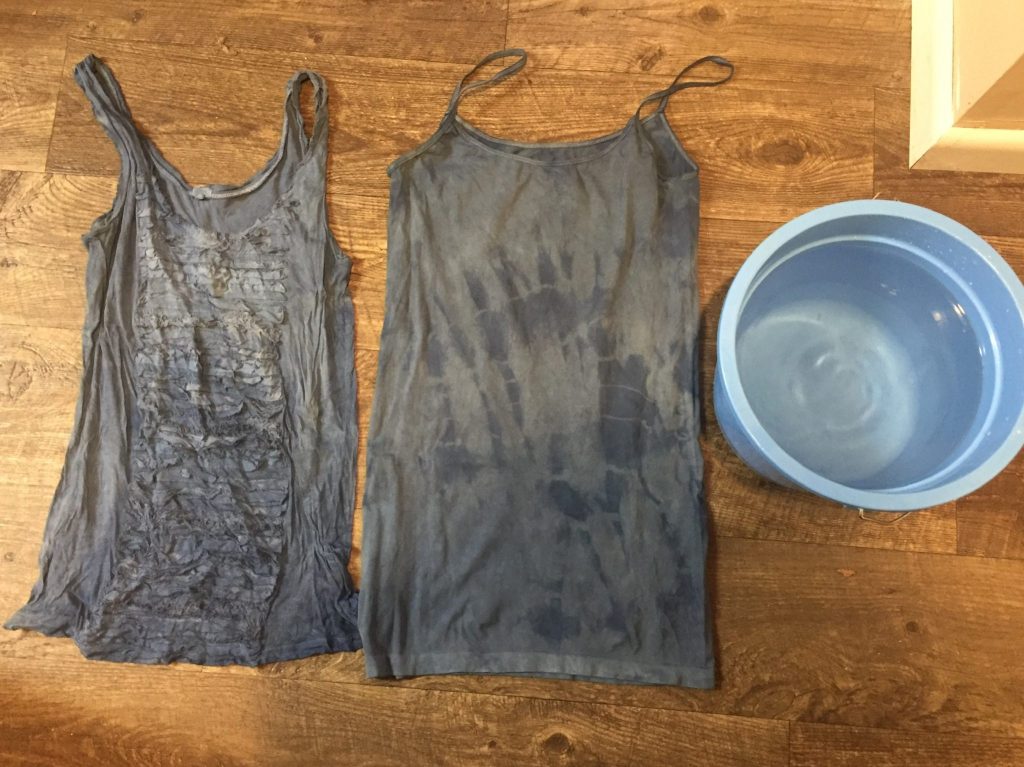
Tanks before rinsing 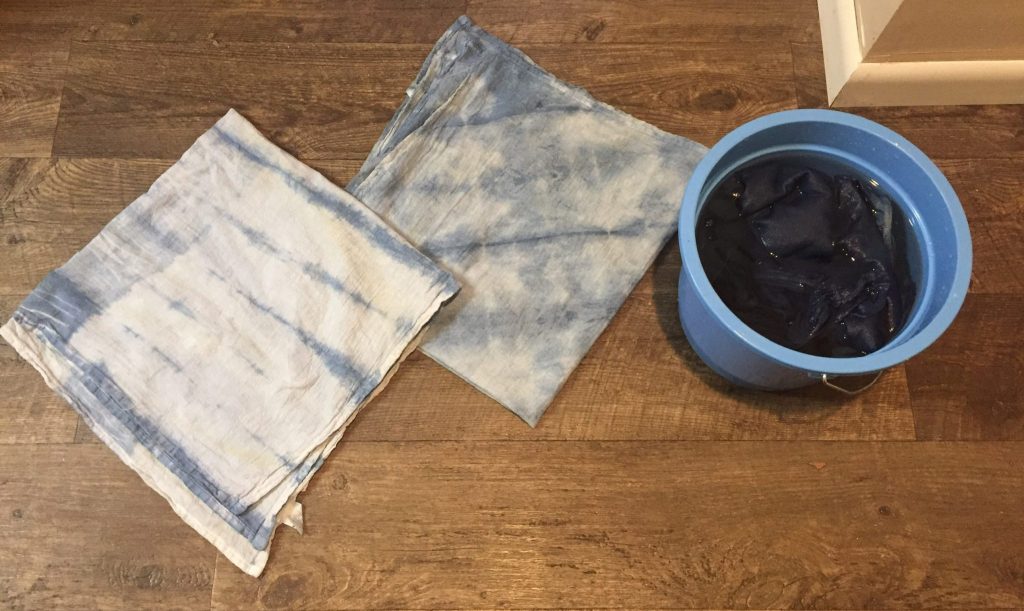
Towels before rinsing 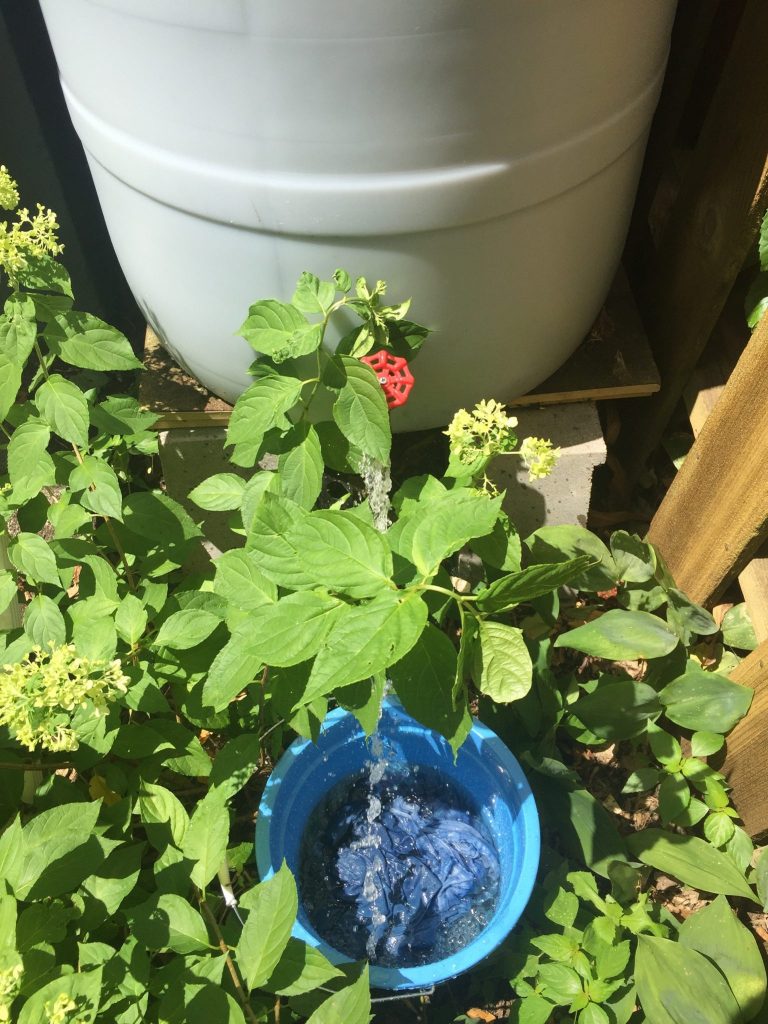
Perfect use for my rain barrel water 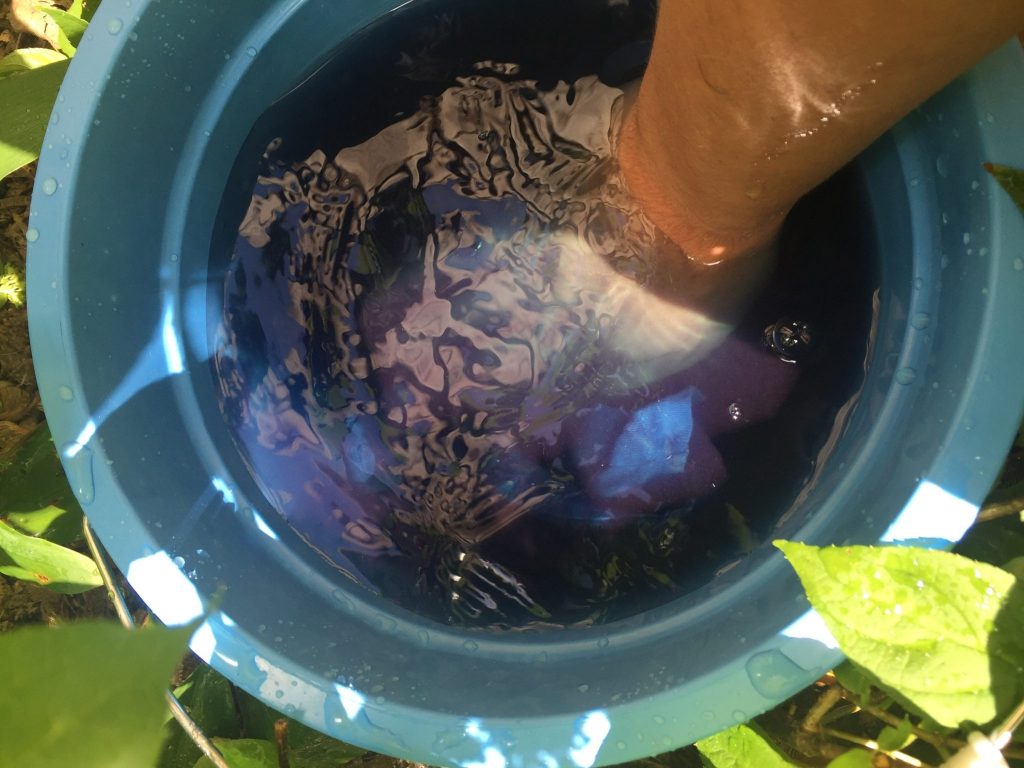
You can see how blue the water is – this is rinse number 2 of 10.
After everything was rinsed, I threw all the pieces in the washing machine with Second Generation detergent and let them hang dry indoors.
Finished Pieces – Rinsed and Dried
I was surprised to see how many shades lighter these turned out – not disappointed! I don’t think I have anything in my wardrobe in this shade of blue so it feels a little out of my norm, but I’m into it! I’m really happy this is color is far enough from my blue jeans and my denim shirt because they go together really nicely. I also just love white jeans with a blue top – it makes me want to book a trip to Greece.
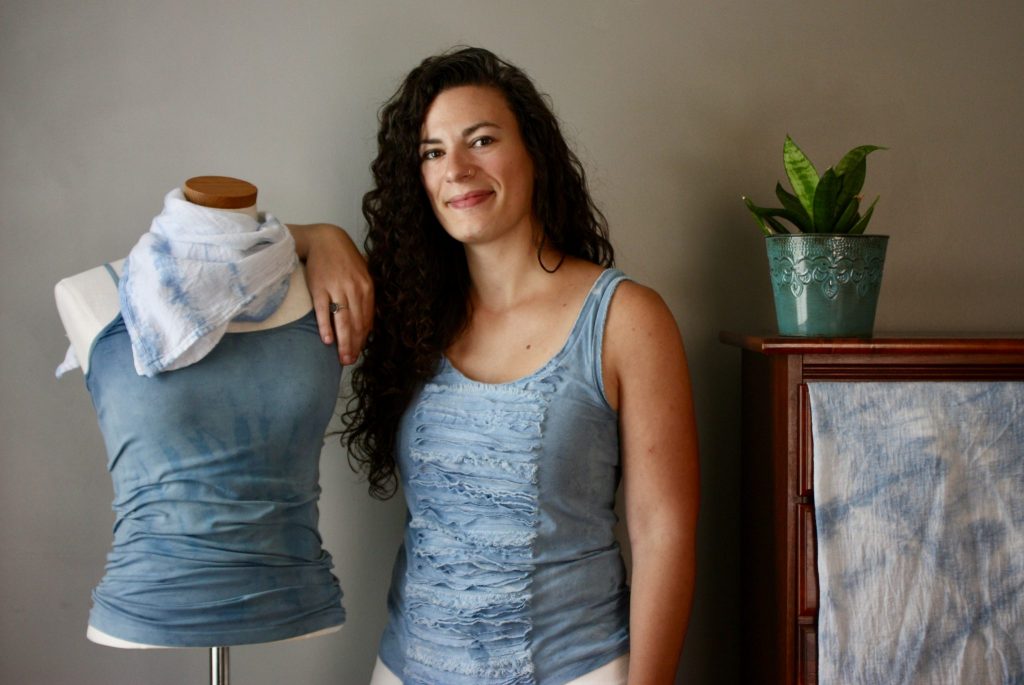

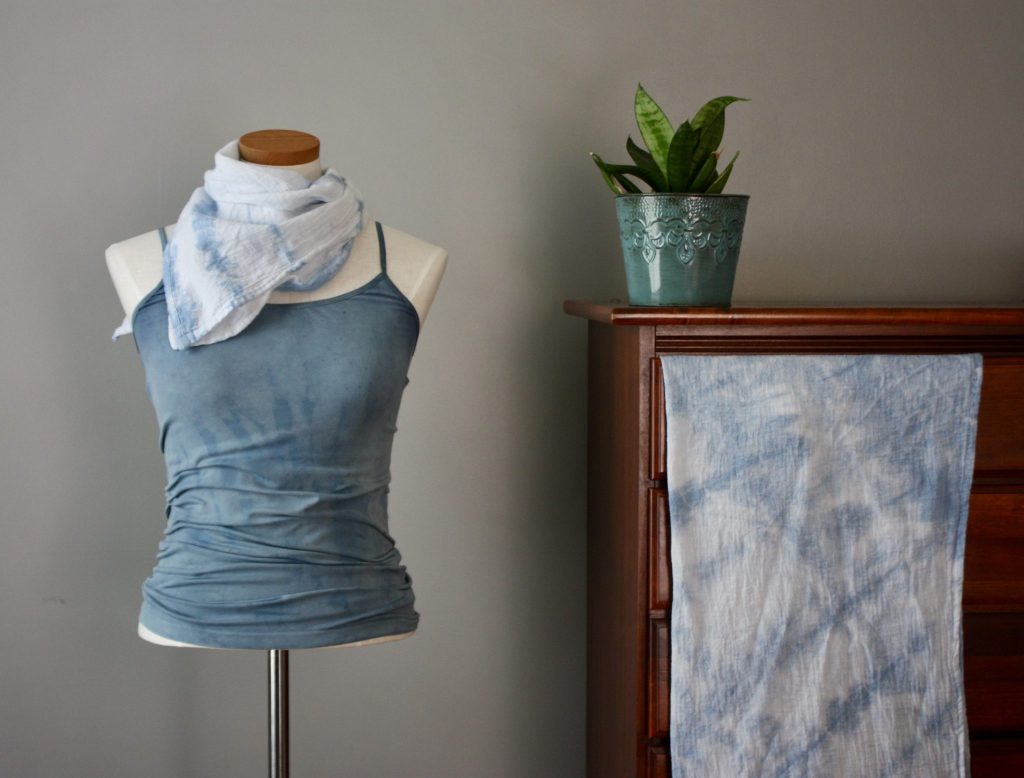
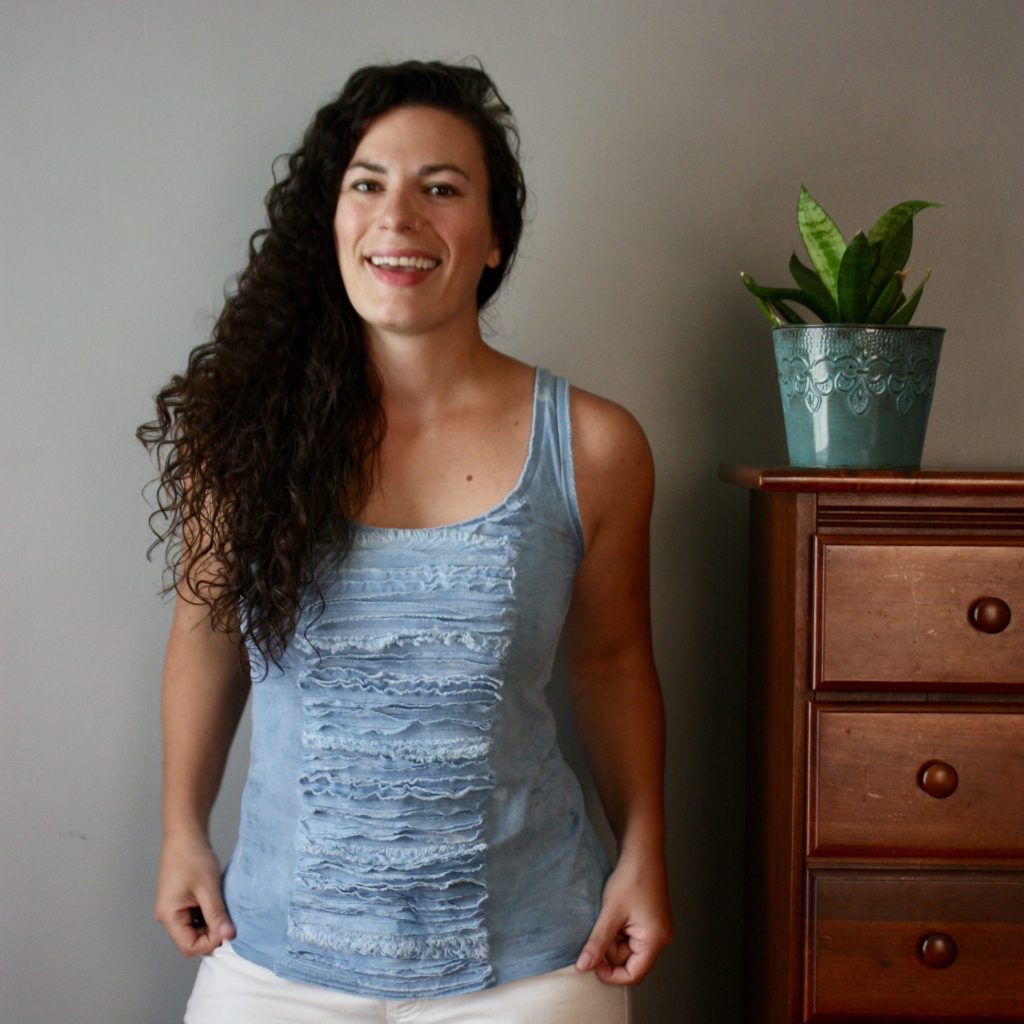
Let me know if you organize an indigo dye party – I can’t recommend it enough! If you’re interested to see my other natural dye project, check out my post on dyeing with avocados.
This was the perfect project to do during Alter it August, which is a maker challenge this month to take unworn garments from your wardrobe and give them new life with some simple changes in the spirit of sustainability. Read more on this month-long initiative (there are prizes)!

