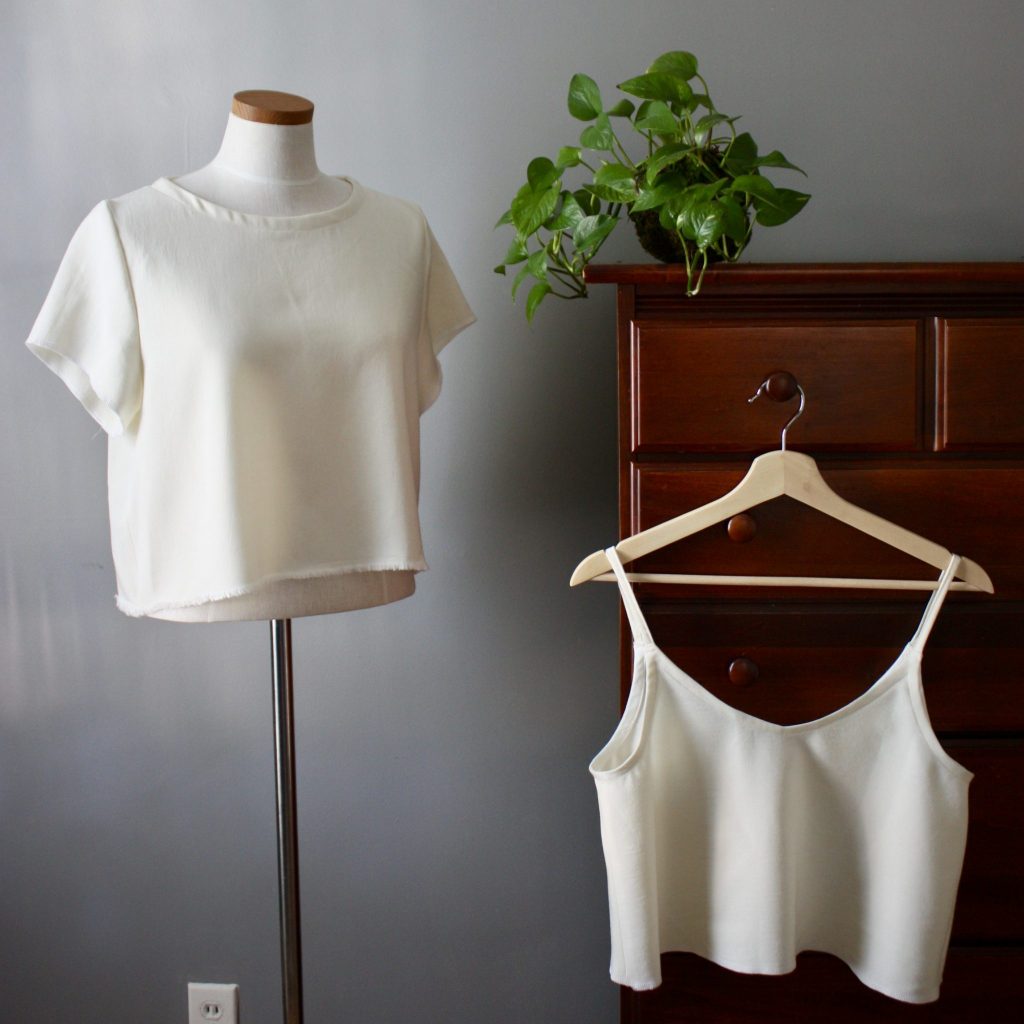
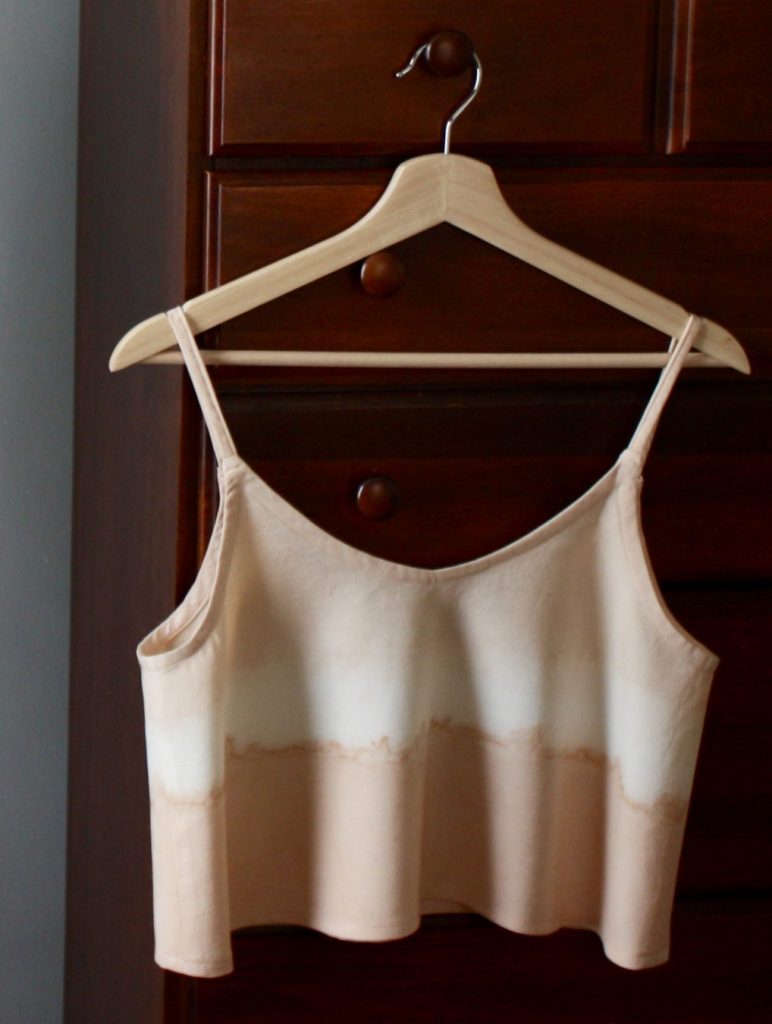
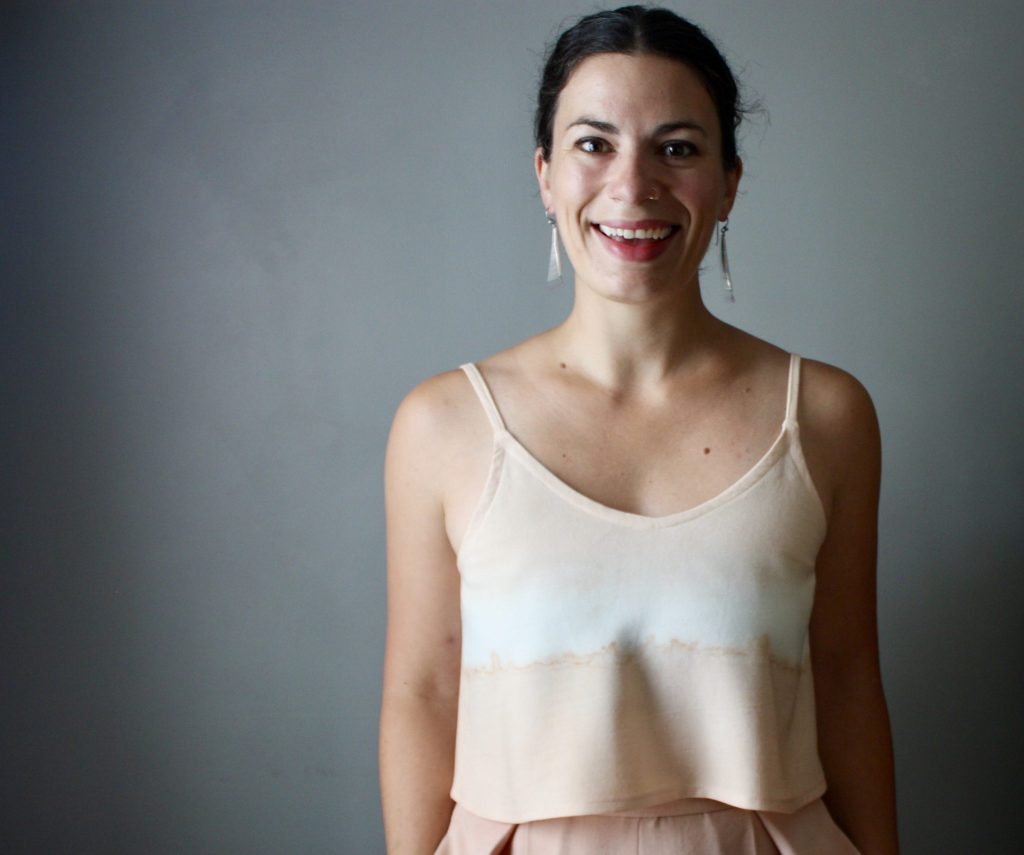
The Ogden Cami is a stash buster in its own right, but making it unlined is an ultimate scrap buster. I made a super cropped unlined Ogden Cami, and if you’ve got some fabric leftover from your last project, give this one a try! You might be surprised at how much you like matching your camis to your pants/skirts. Separates sets are some of my favorite easy grabs from my wardrobe. I used bias binding for the seams of this Ogden Cami instead of the facing/lining in the original instructions. Let’s bust some scraps!
The Details
- Pattern is the Ogden Cami by True Bias
- I sewed a size 8, and my measurements are 36/29″ bust/waist
- Modifications: Shorten! Omit lining! Use bias binding for the neckline and arms.
- Use a package of pre-made single fold bias tape or make your own, have fun with contrast.
- Fabric is merino tencel PFD from APC Fabrics, gifted
- Dipped the cami in dye extracted from avocado pits, full details on the dye process here!
Bodice Construction
Follow the instructions for cutting your pattern pieces, but skip the lining pieces. Shorten as much as you like (or as needed in my case as I had limited yardage). I finished the side seams of the front and back bodice pieces with my serger right away.
I tried turning a strap in this fabric and it was just too fussy. Instead I pressed the raw edges in and folded in half and top stitched closed.
Sew the side seams and press open. Baste the straps in place on both front and back pieces. So you already have a rough cami put together!
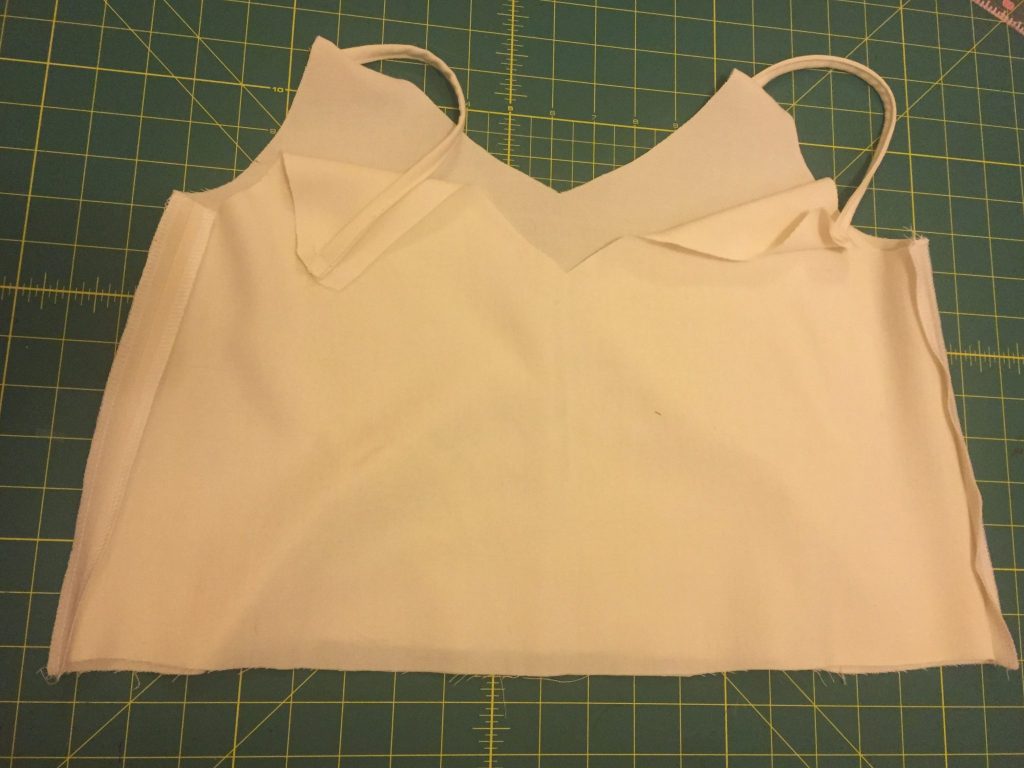
Prepping for Bias Binding
When I first started working through this hack, I thought at this point, “Ok, easy, I’ll just put bias tape around the neck and arm holes.” Then I realized that if I lined my bias tape up right against the raw edge, I’d be giving my garment only 1/4″ seam allowance instead of the 1/2″ per the design. Derp.
So I chose to finish the neckline (front and back) as well as the arm holes with my serger. This helped me in a later step to estimate where that 1/2″ seam allowance line will fall. My serger sews 1/4″ wide.
If you haven’t sewn with bias tape before, I encourage you to practice the method on a couple of scraps before starting on your final garment! In most bias tape methods, you’ll align the raw edge of the seam and the raw edge of the bias tape together, but in our case, we have to align the raw edge of the bias tape 1/4″ away from the edge of the bodice. You have the option to trim off the excess if you like too!
Sewing the Bias Binding – A Photo Tutorial
Follow along with the pictures below:
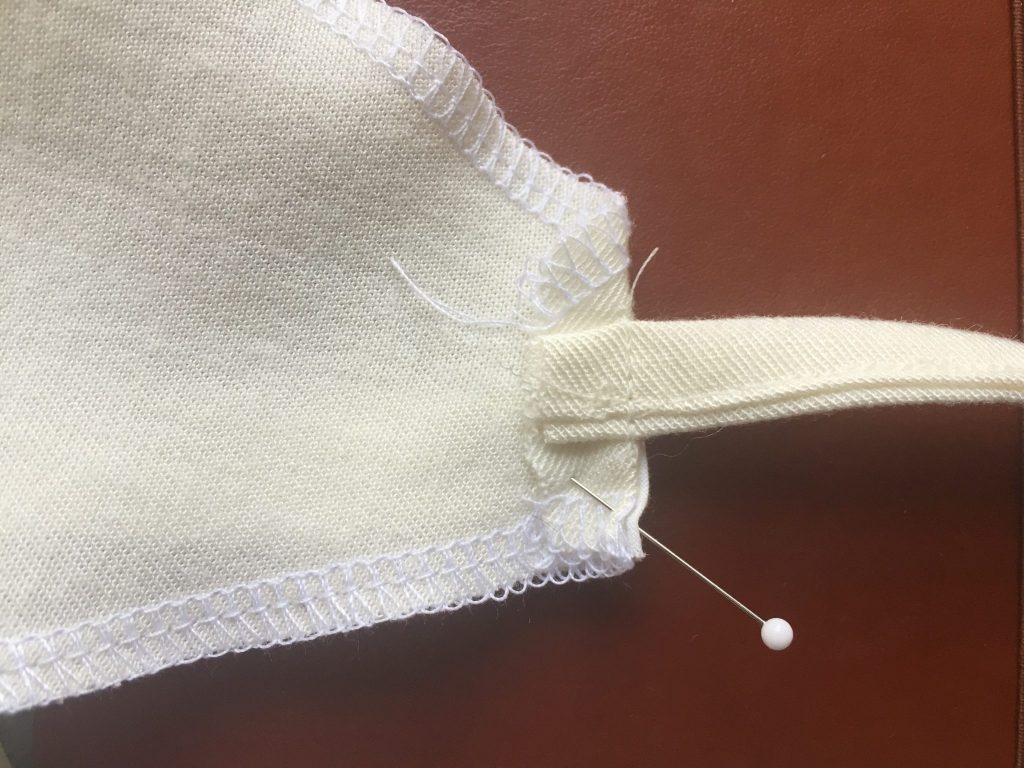
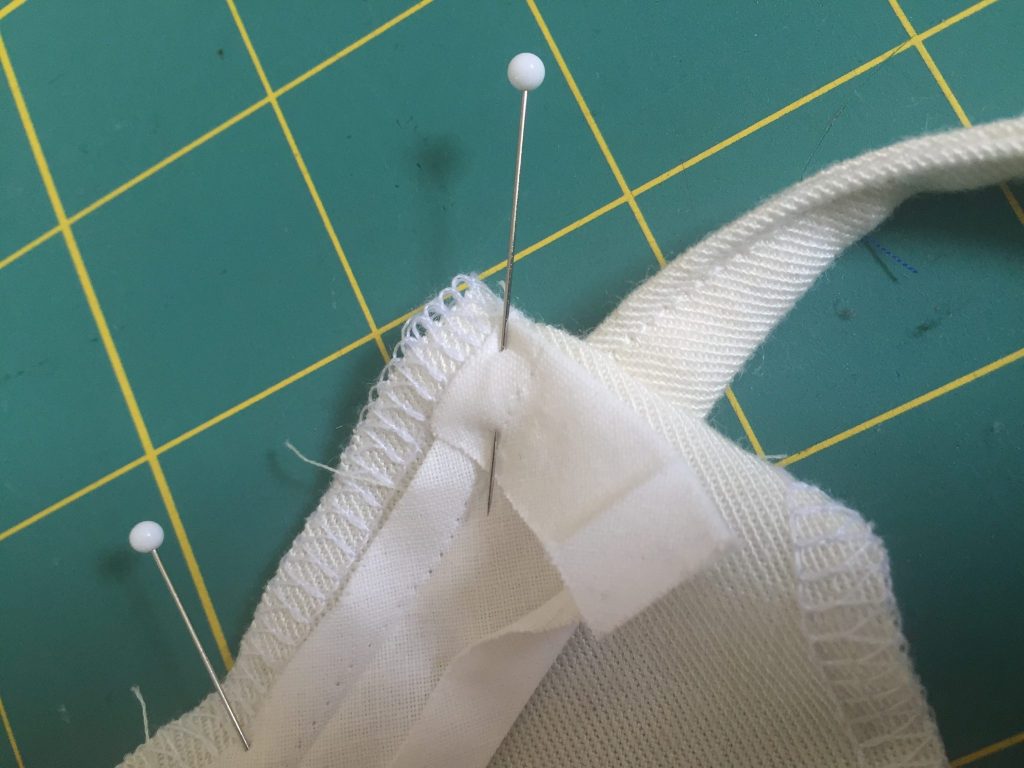
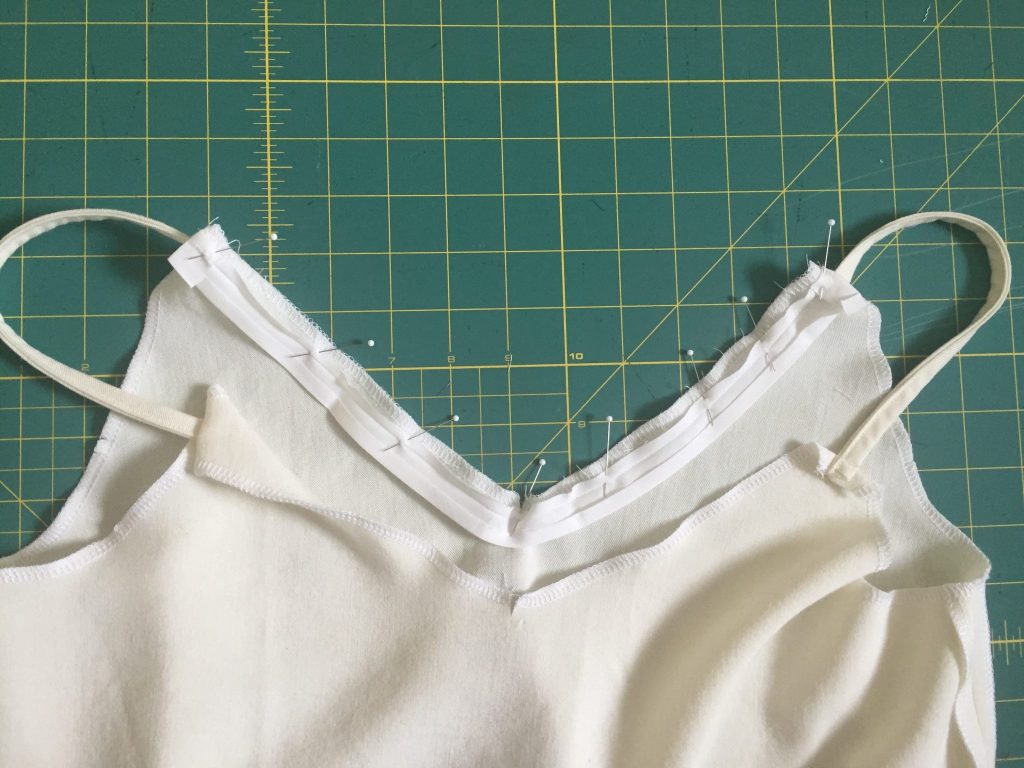
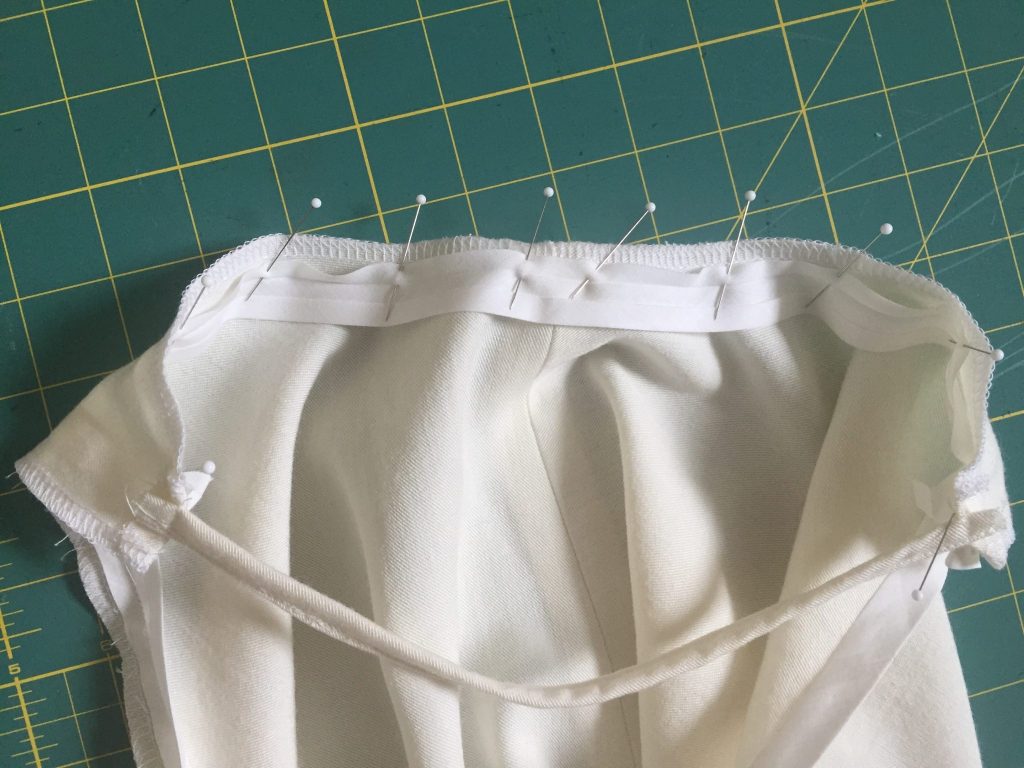
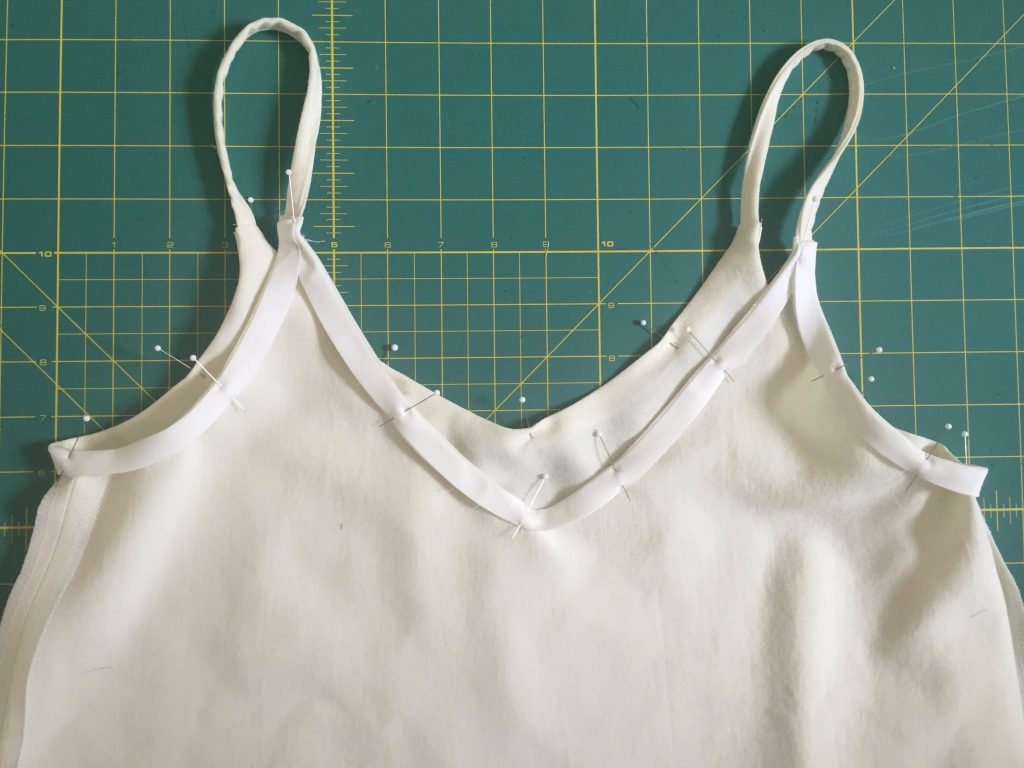
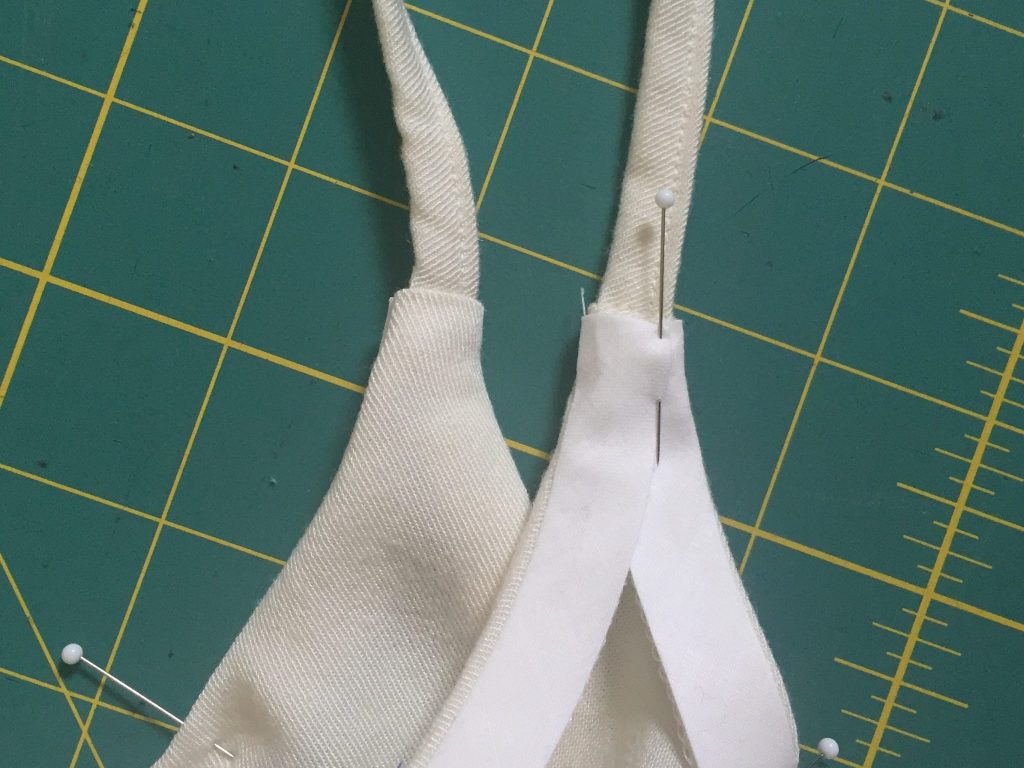
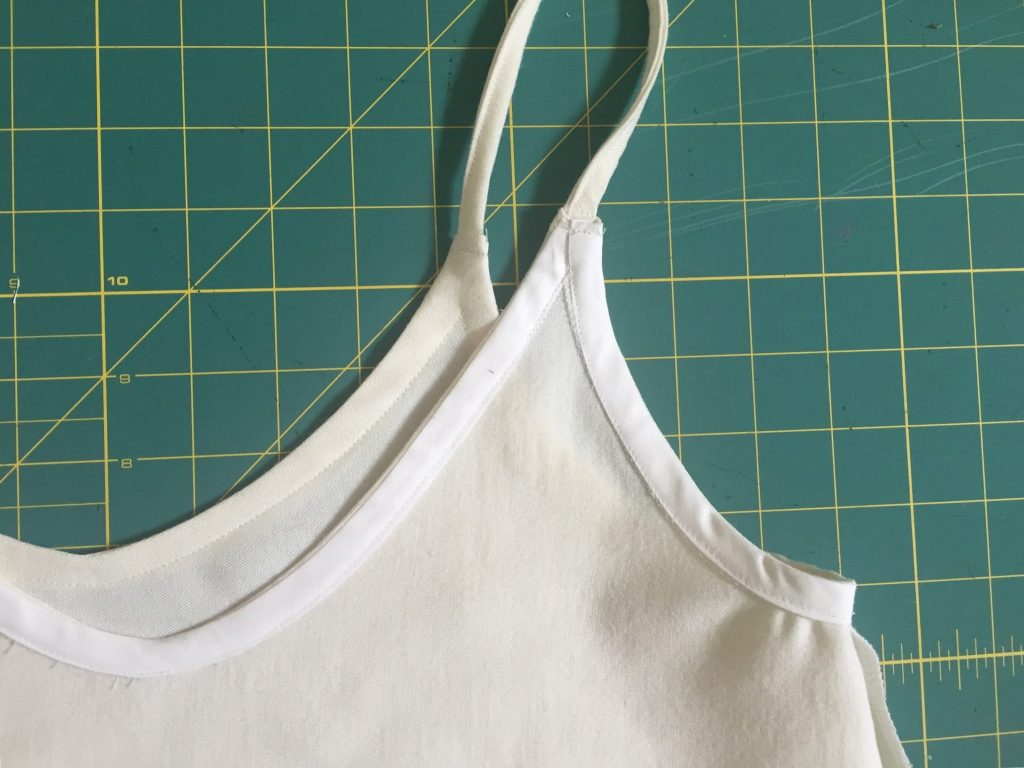
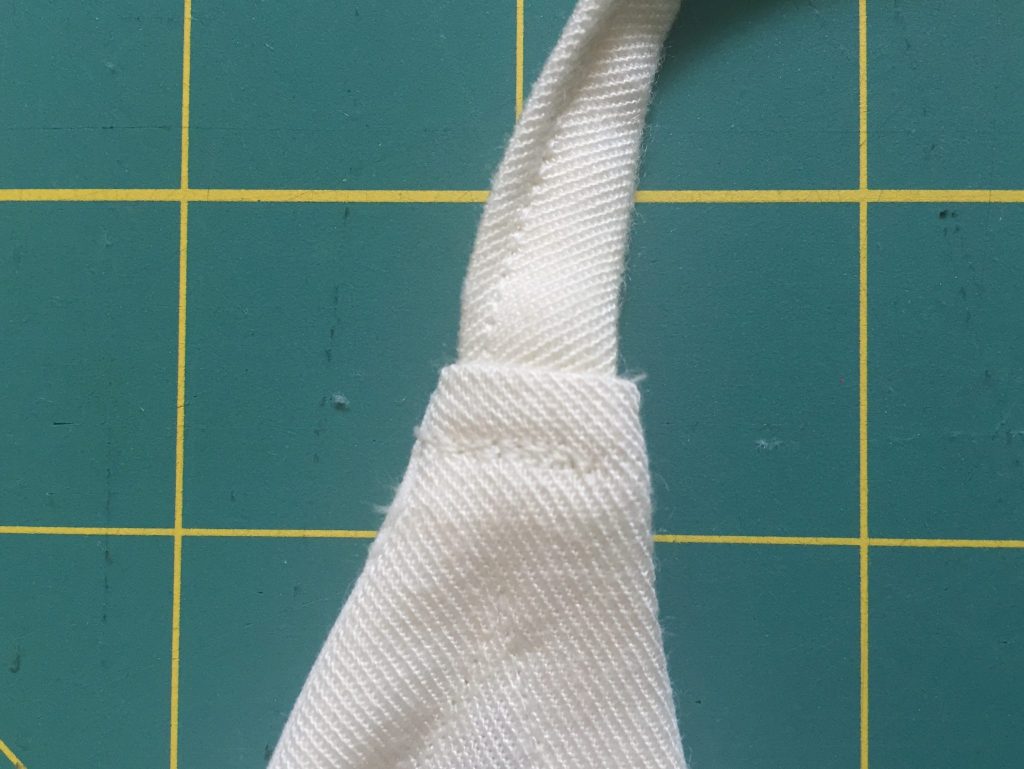
At this point you can hem your cami and you’re all set! Enjoy!
Bonus Material: Avocado Dip Dye
If you’re interested in how this little cami turned into one of my favorite new garments, check out the following photos of my process dip dyeing this cami (along with a cropped tee) using avocados. It turned out so well! You can read more about everything from mordanting the fabric, to extracting the dye, and finally dip dyeing these tops in my avocado dye blog post here. The results were amazing!
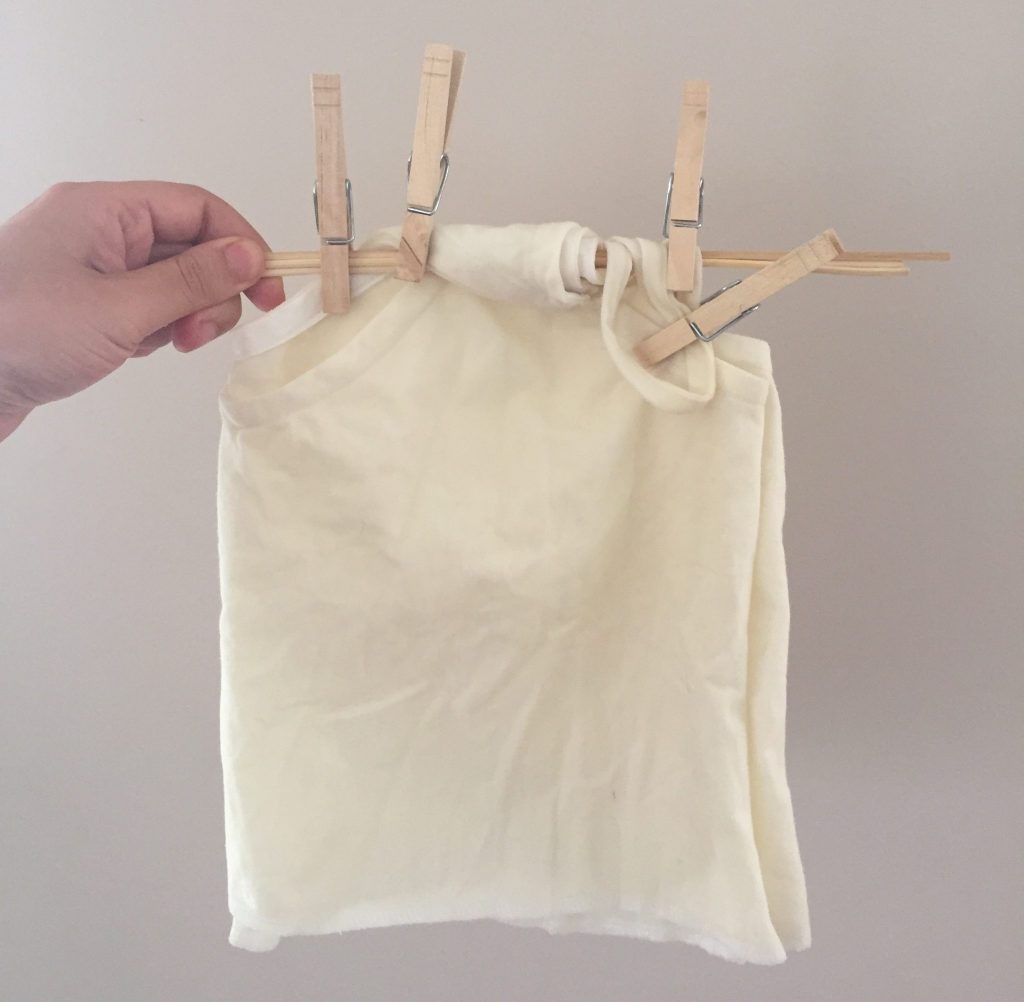
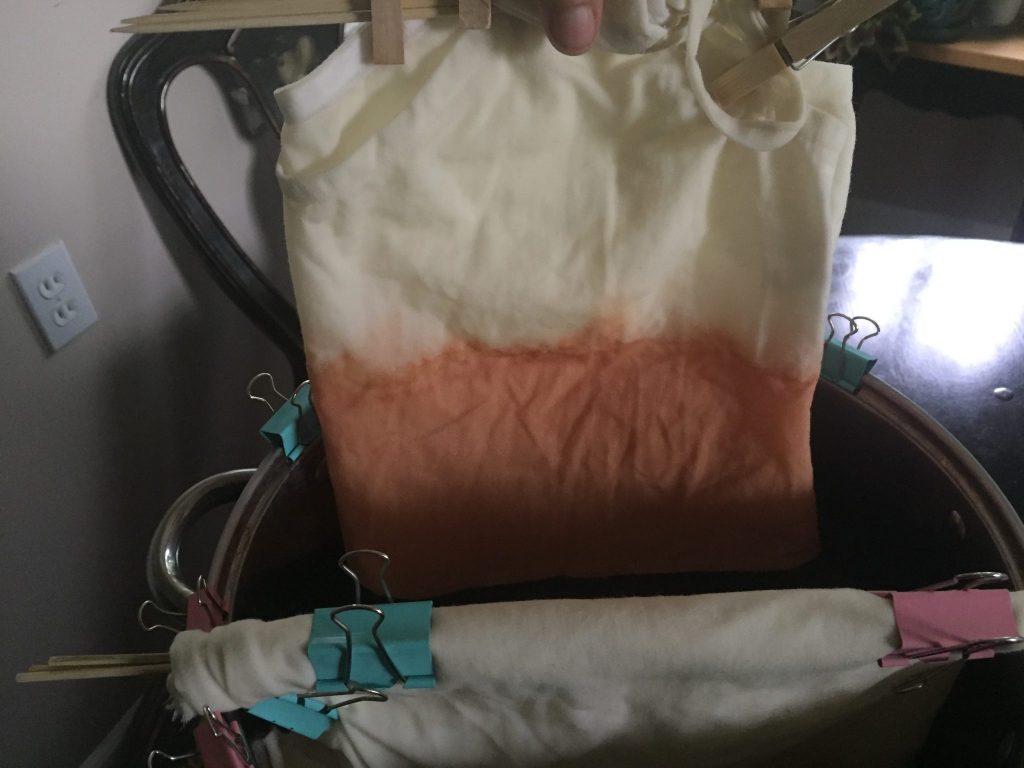
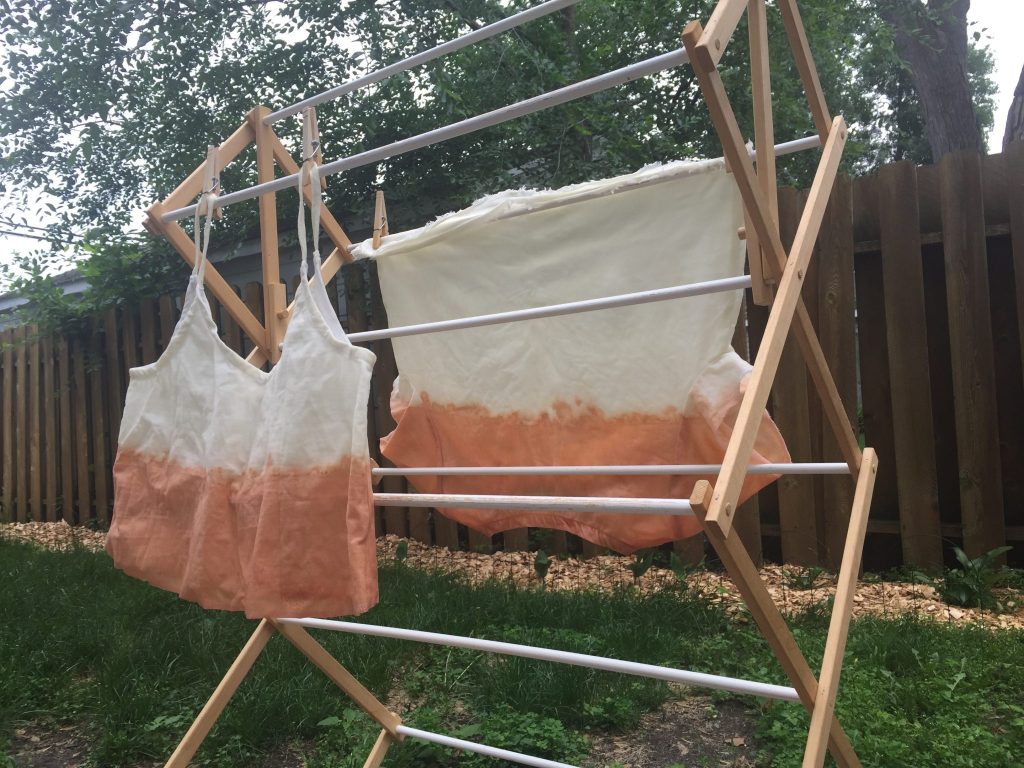
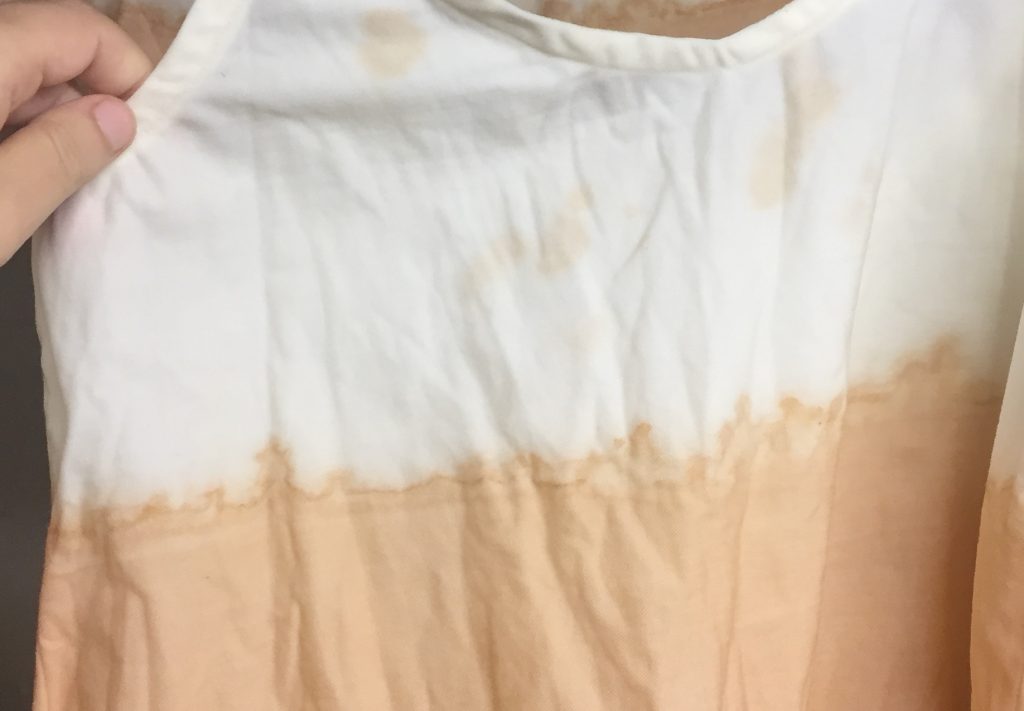

Again, if you’re interested in reading about my full dye process, pop over here. Bookmark it for when you’re ready to give it a try yourself. And let me know if you give this scrap busta-bust unlined Ogden Cami a try too! I’d love to hear how it goes.

Pingback: Dye Fabric With Avocados - SewNorth - Sewing Talk
This is soooooo good and your tutorial is really well done and explains all of the steps perfectly. I eat mountains of avocados and I’m also super excited to try the dye. Thank you!
Thank YOU, Kristi! That means a lot!
Don’t you love it when wind disaster results in a wonderfully fantastic design change? Your Ogden is very cute and the bias binding works great!
Wow, this is such a great picture tutorial!! Everything is explained so clearly. I’ll definitely be watching for more blogs from you. Thanks!
This is such a great idea! I will have to try both. I have always wanted to try dyeing something.
Awesome! I was looking for a tutorial like this a couple weeks ago 🙂 Thank you!!
This set of dyed clothes is amazing ! Great job Mia ! And I didn’t know about the wind disaster, but I htink it was ment to be 😉 I love this !
It turned out for the best, as it usual does with the right attitude! 😉 Thank you.